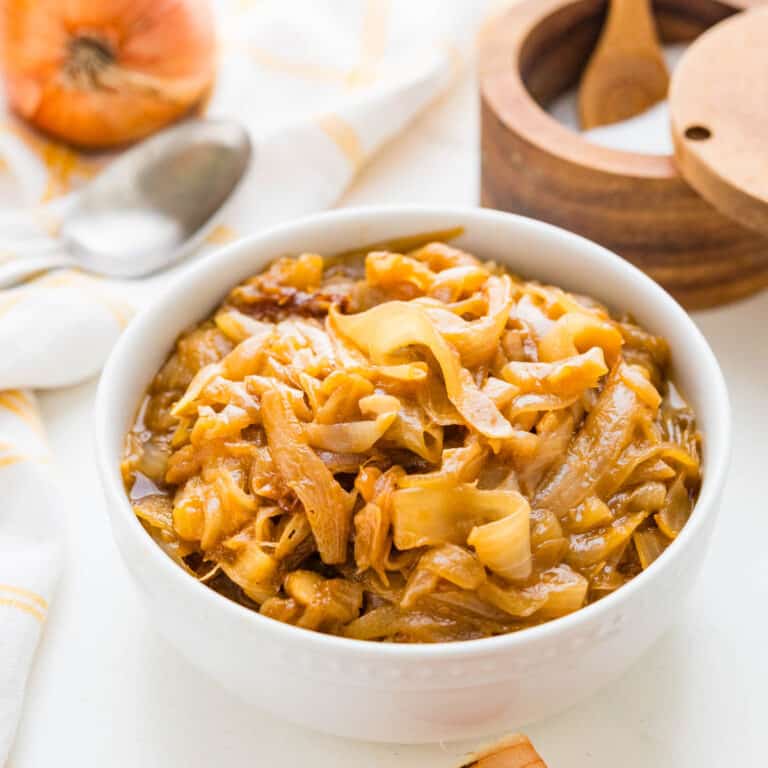
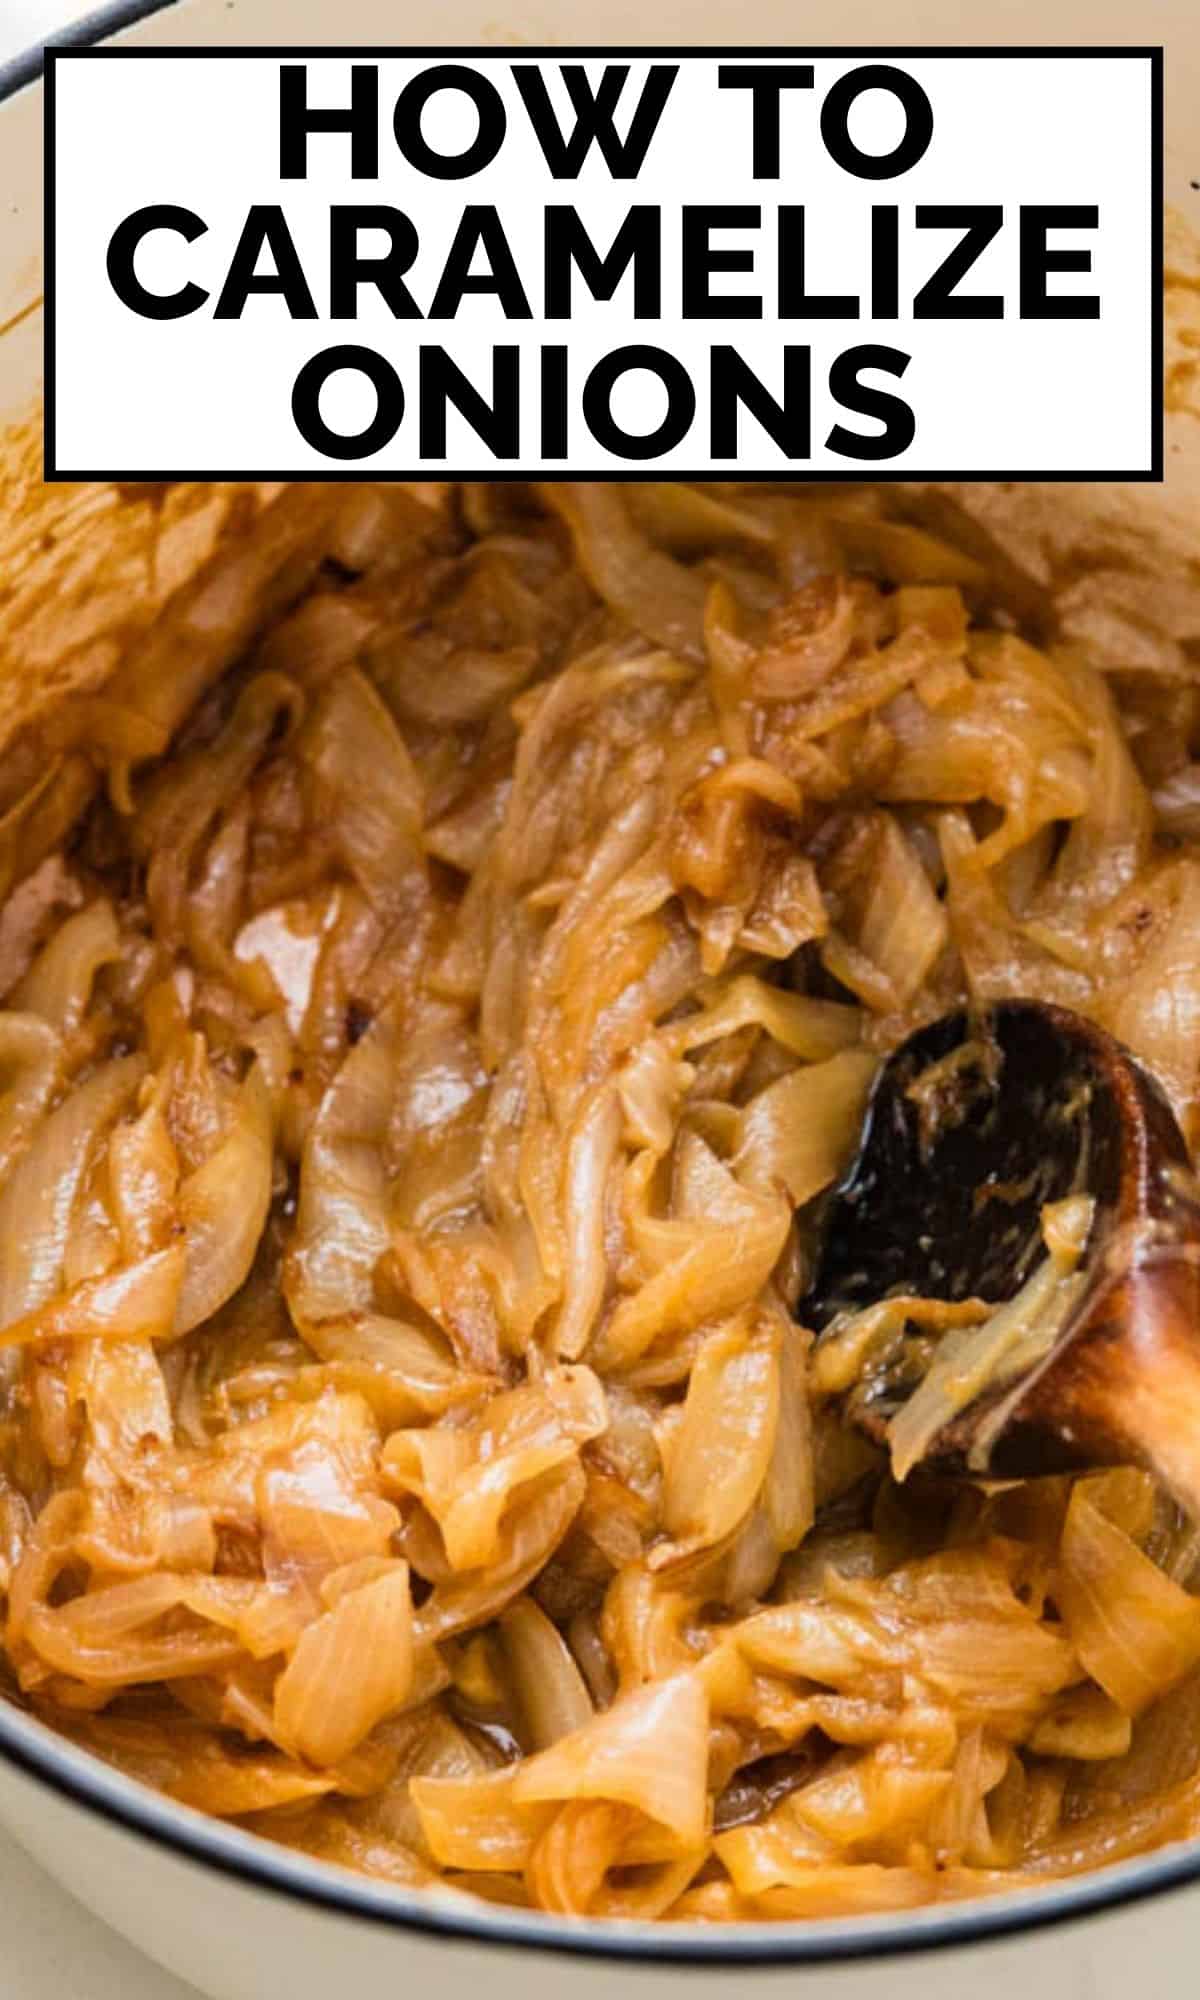
How To Caramelize Onions
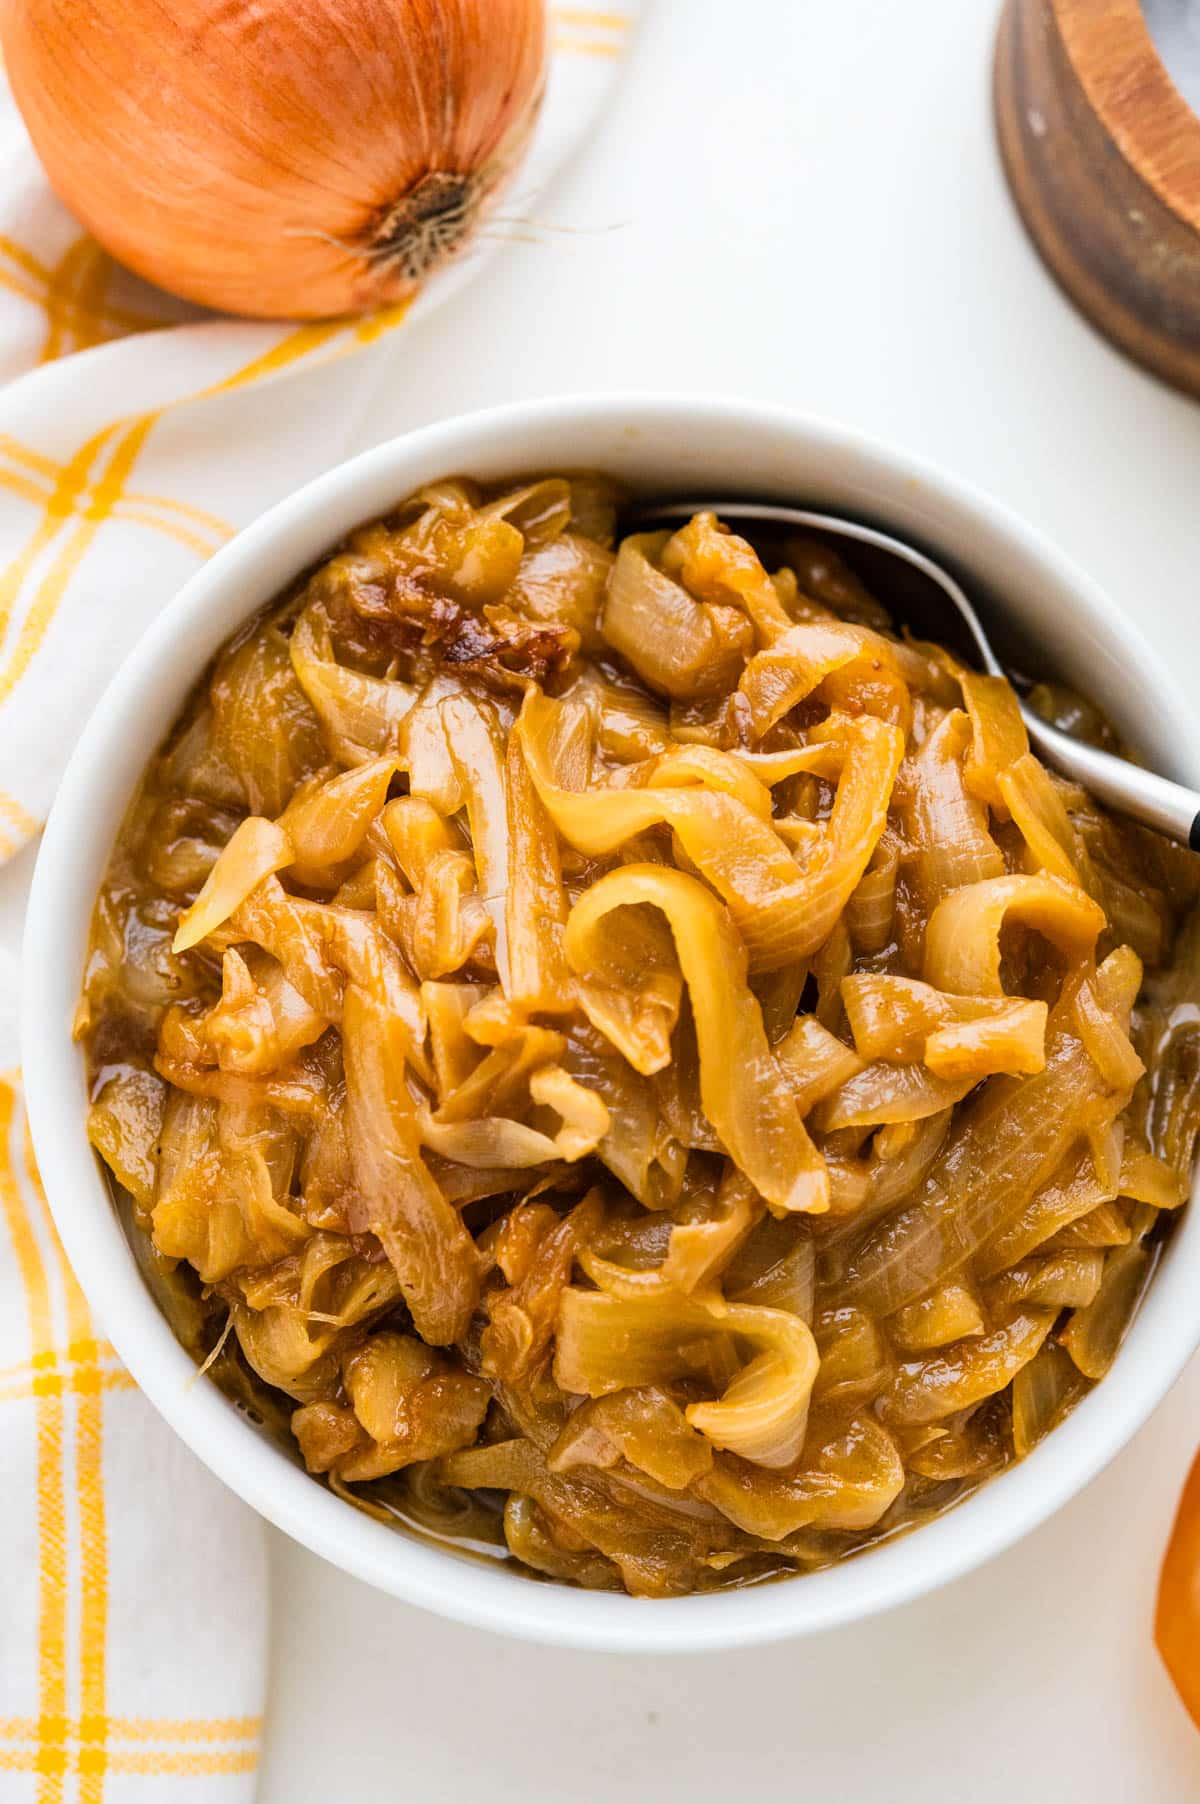
Everyone should know how to caramelize onions at home. It’s a simple process that yields big results. You can use caramelized onions to top steaks, toss with sauteed vegetables, and take pizzas and sandwiches to the next level. This recipe is easy to follow, and they’re ready to use in under an hour.
Transforming eye-stinging alliums into a sweet, jammy condiment is like kitchen magic. It’s easy to do, takes less than an hour and will elevate your cooking game.
These slow-cooked onions are one of my favorite extras. They add a subtle complex sweetness to everything from French onion soup to French Dip sandwiches.
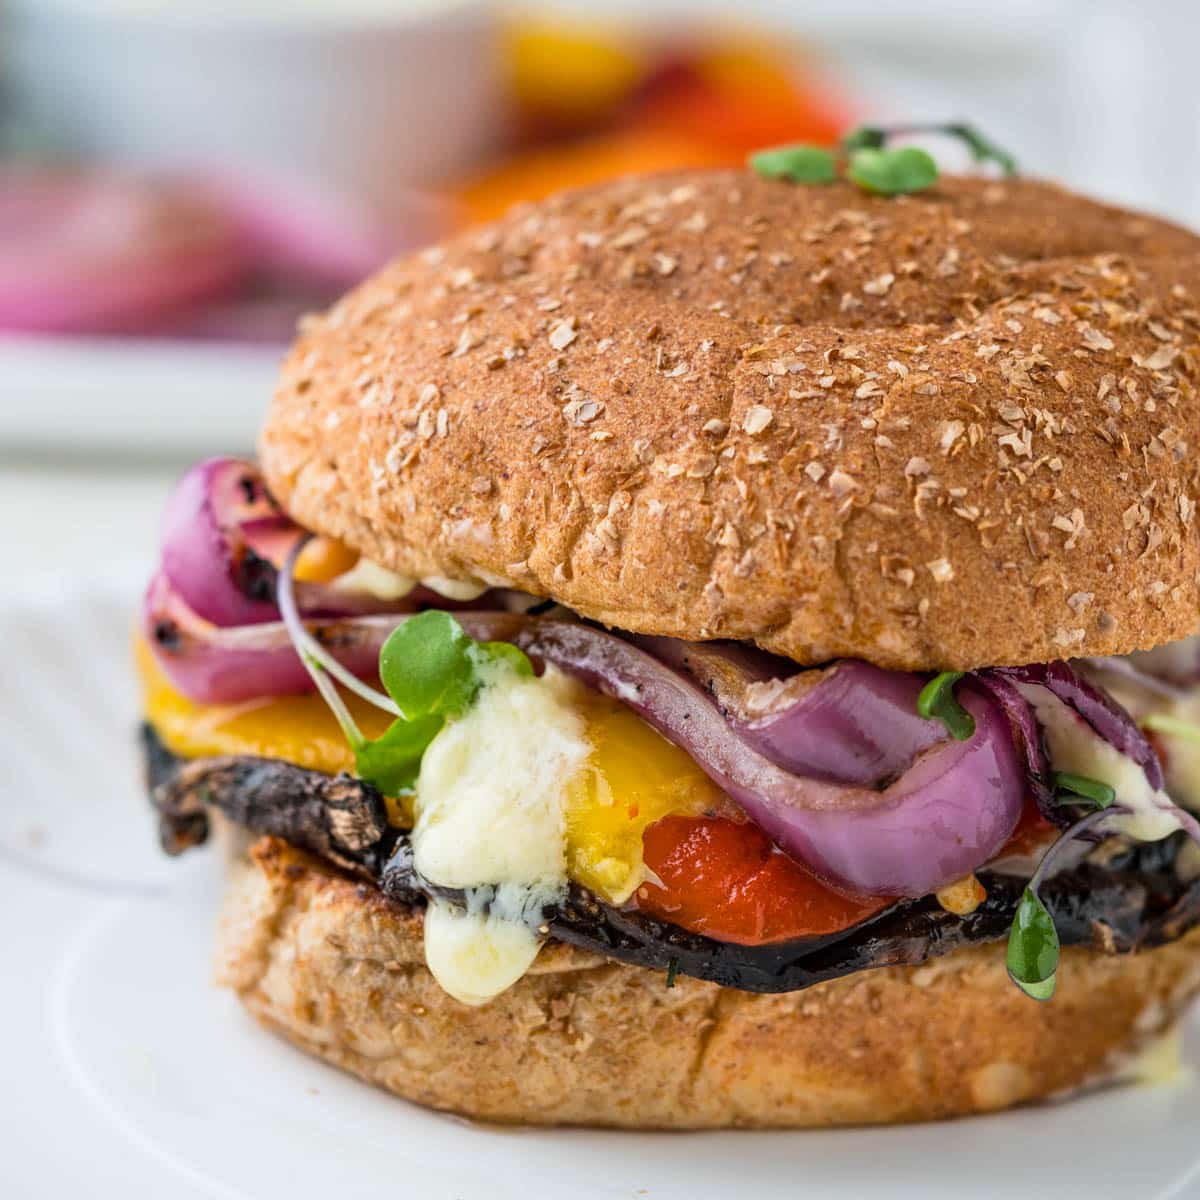
I use caramelized onion for burgers and garnishing pizzas, but you’ll find plenty of uses in your everyday cooking.
Get my latest recipes, helpful kitchen tips and more good things each week in your inbox.
Table of Contents
Why you’ll love this recipe
- It’s a delicious condiment that works with many recipes.
- This recipe is easy and foolproof.
- Even people who don’t like onions love them when caramelized.
- You can make them in advance.
- Double or triple the recipe; you’ll just need a large enough pot.
- This recipe freezes well so that you can have them anytime.
Ingredients you’ll need:
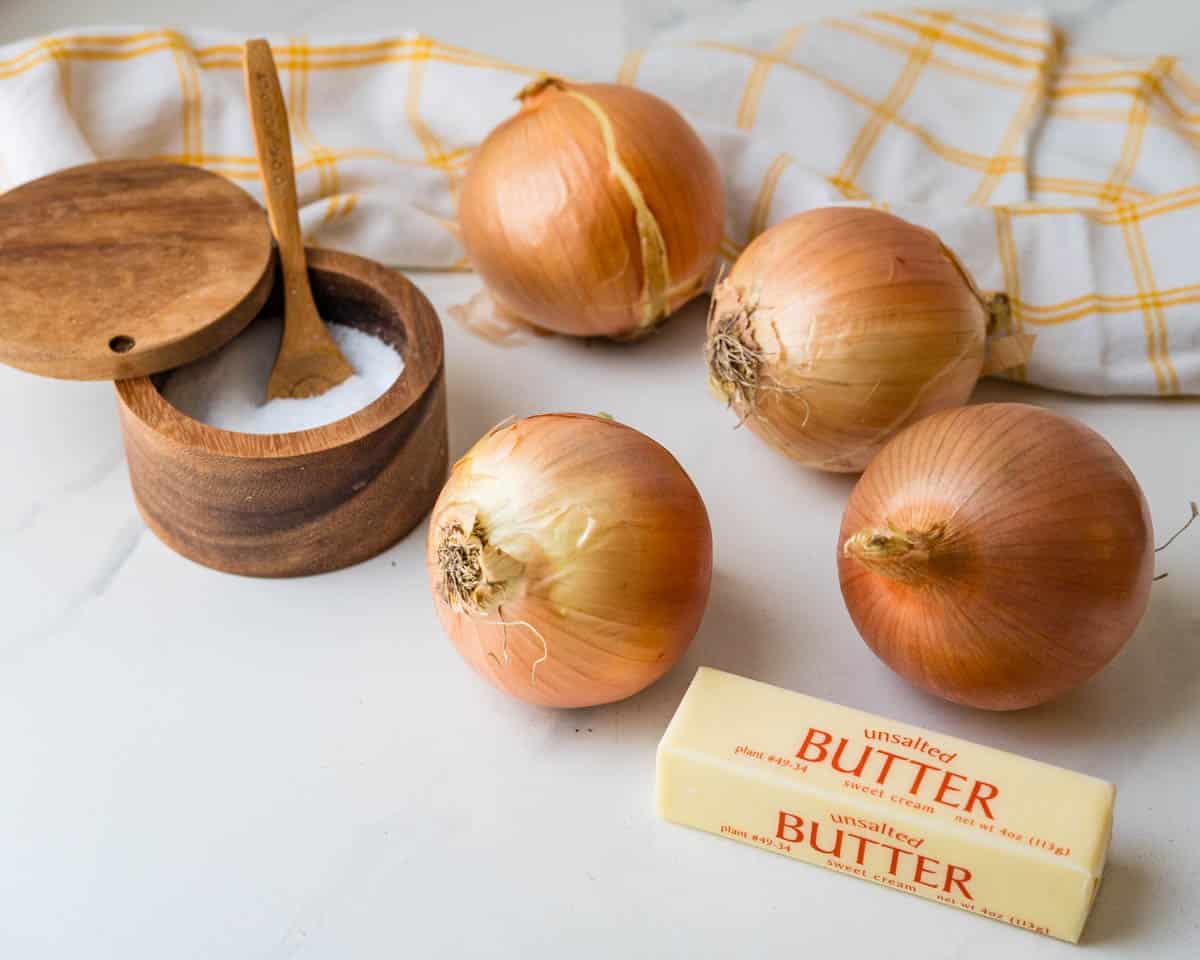
- Onions – you can use any kind of onion for this recipe, from yellow to red, white, Vidalia, or a combination.
- Butter – to help with caramelization and browning. I prefer unsalted butter and augment it with a pinch of salt. You can also use olive oil. However, I’ve found that butter does a better job of browning and bringing out the natural sugars in the onions.
- Kosher Salt — just enough for wilting the onions and seasoning them.
How to caramelize onions (step-by-step instructions):
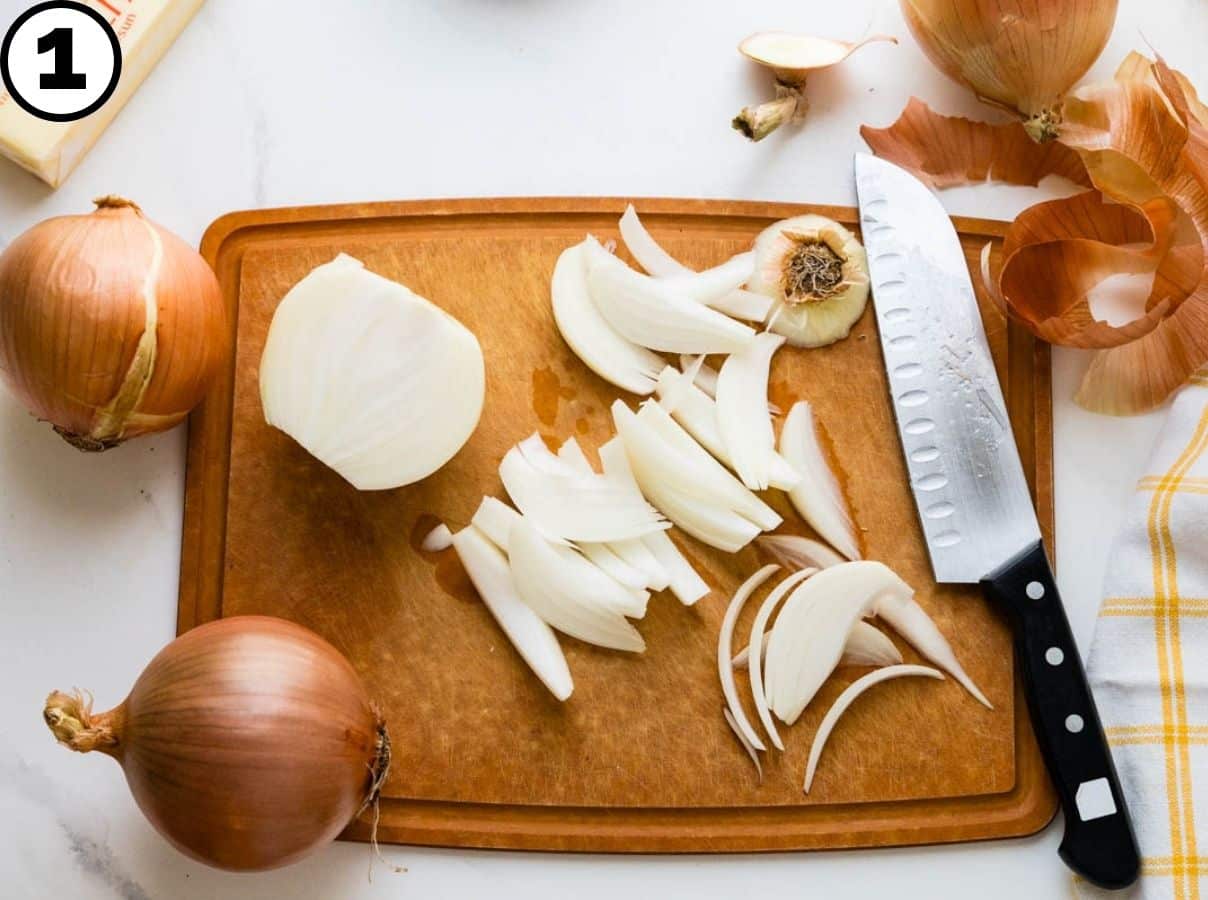
- Slice the tip off of the alliums and peel them. Cut off the root end and cut them lengthwise from root to tip in ¼”-½” slices.
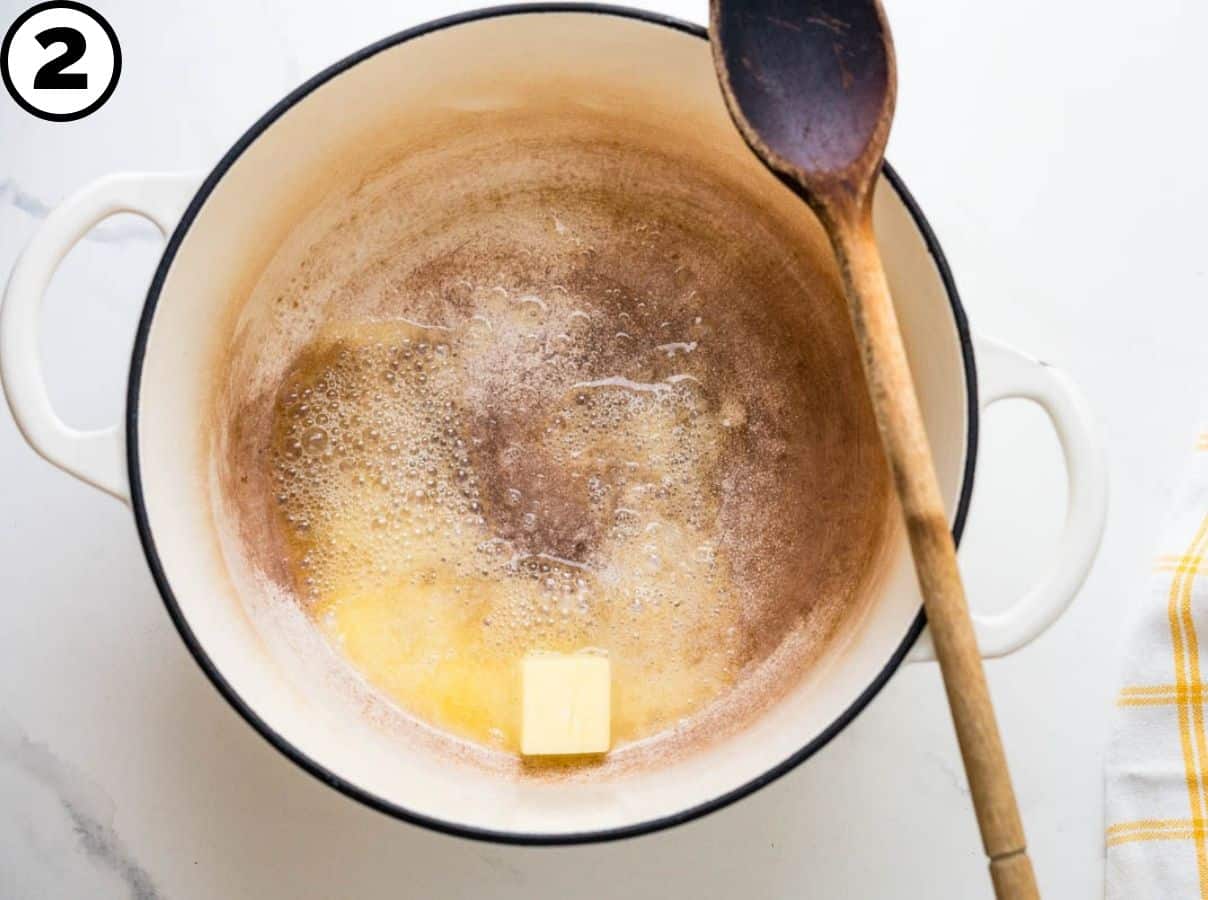
2. Place a heavy-bottomed pot or Dutch oven over medium heat and heat until the pot is hot. Add the butter to melt.
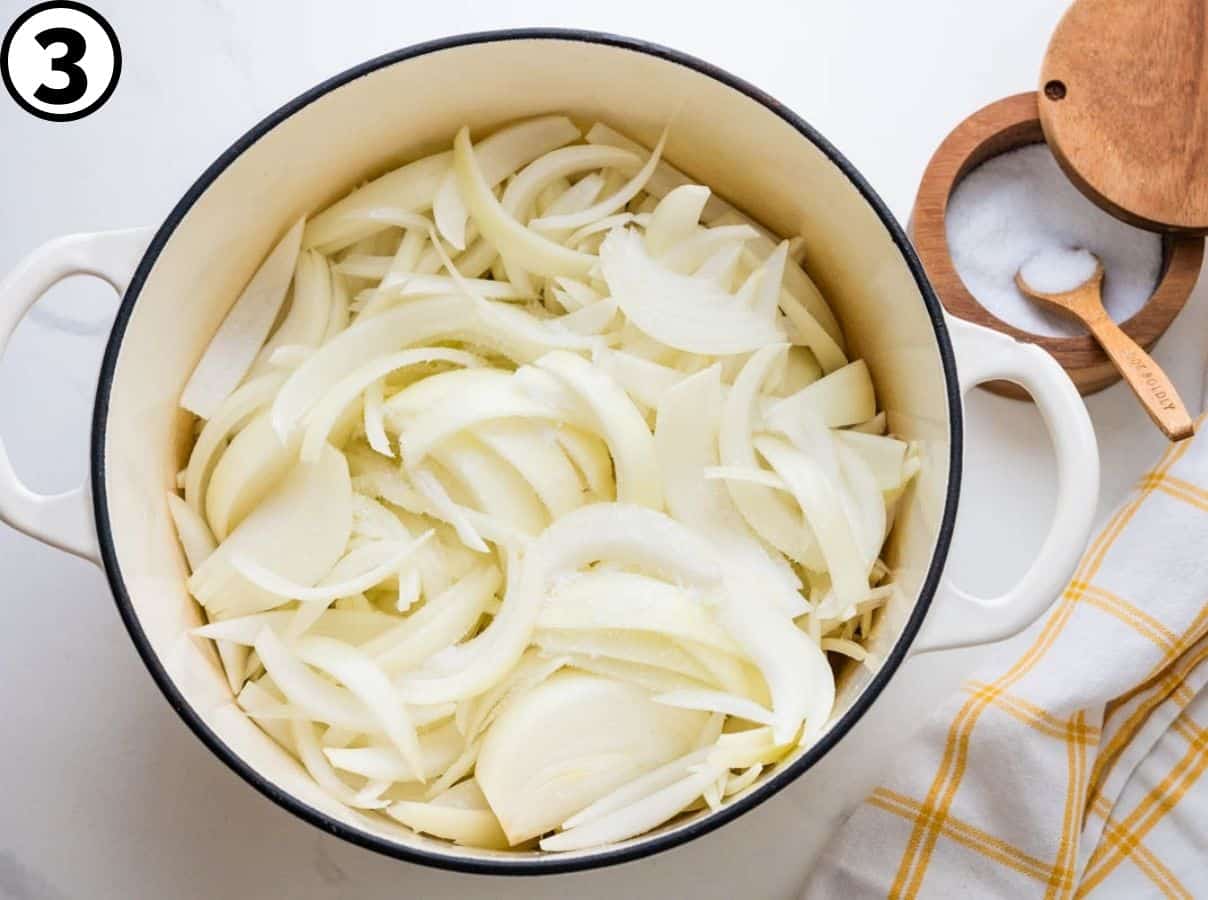
3. Add the slices and sprinkle with kosher salt. Cover the pot to seal and cook for 5 minutes without lifting the lid or stirring.
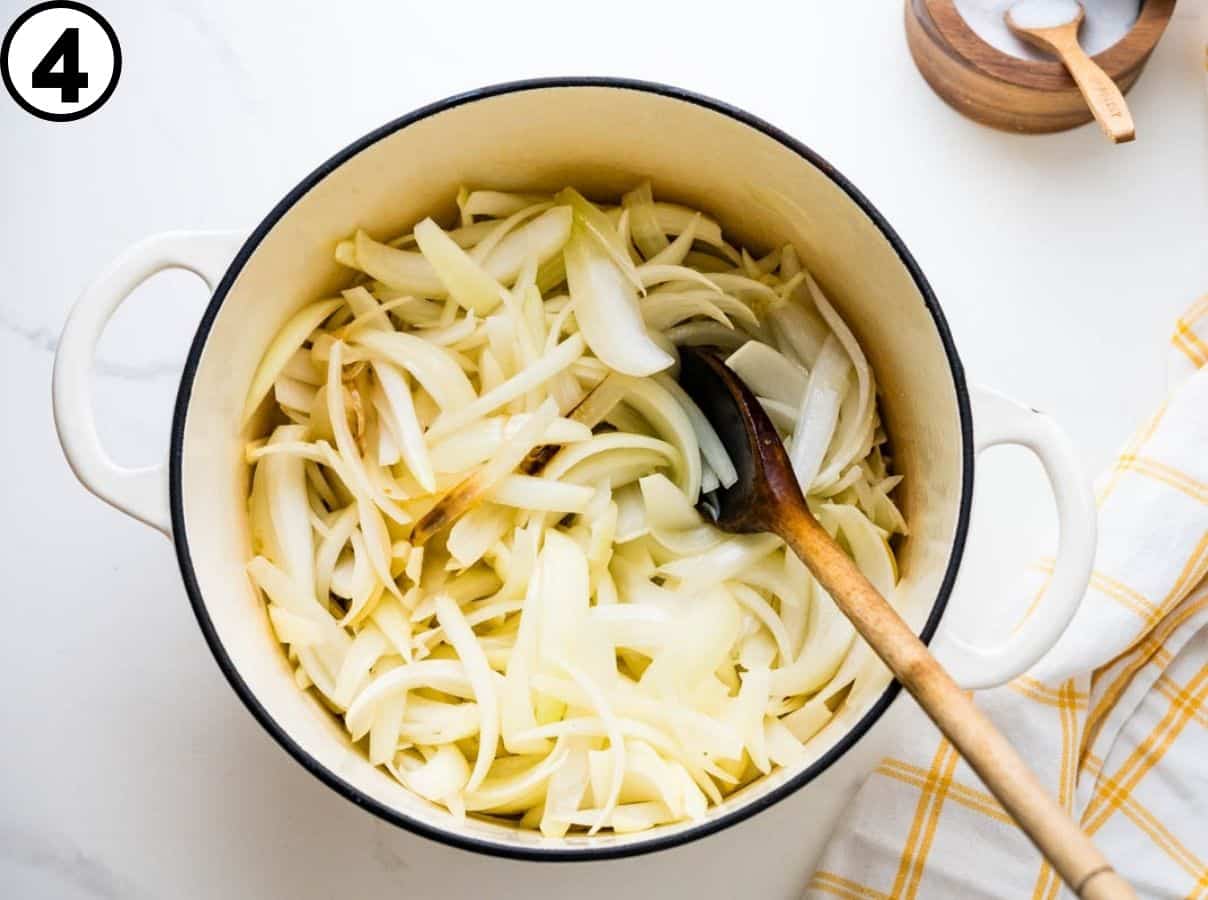
4. After 5 minutes, lift the lid and stir, scraping any stuck bits off the bottom of the pot. There may be parts that start to brown (a good thing), but more importantly, the sealed pot will begin to steam and wilt the onions.

5. Cover the pot and cook for 3-4 more minutes, then lift the pot and stir. More steam and concentrated cooking will begin to brown the vegetables in the butter as they soften and mellow.
6. Continue to cook them in this fashion, letting them cook with the lid on for 4-5 minutes, then stirring and scraping the bottom of the pan.
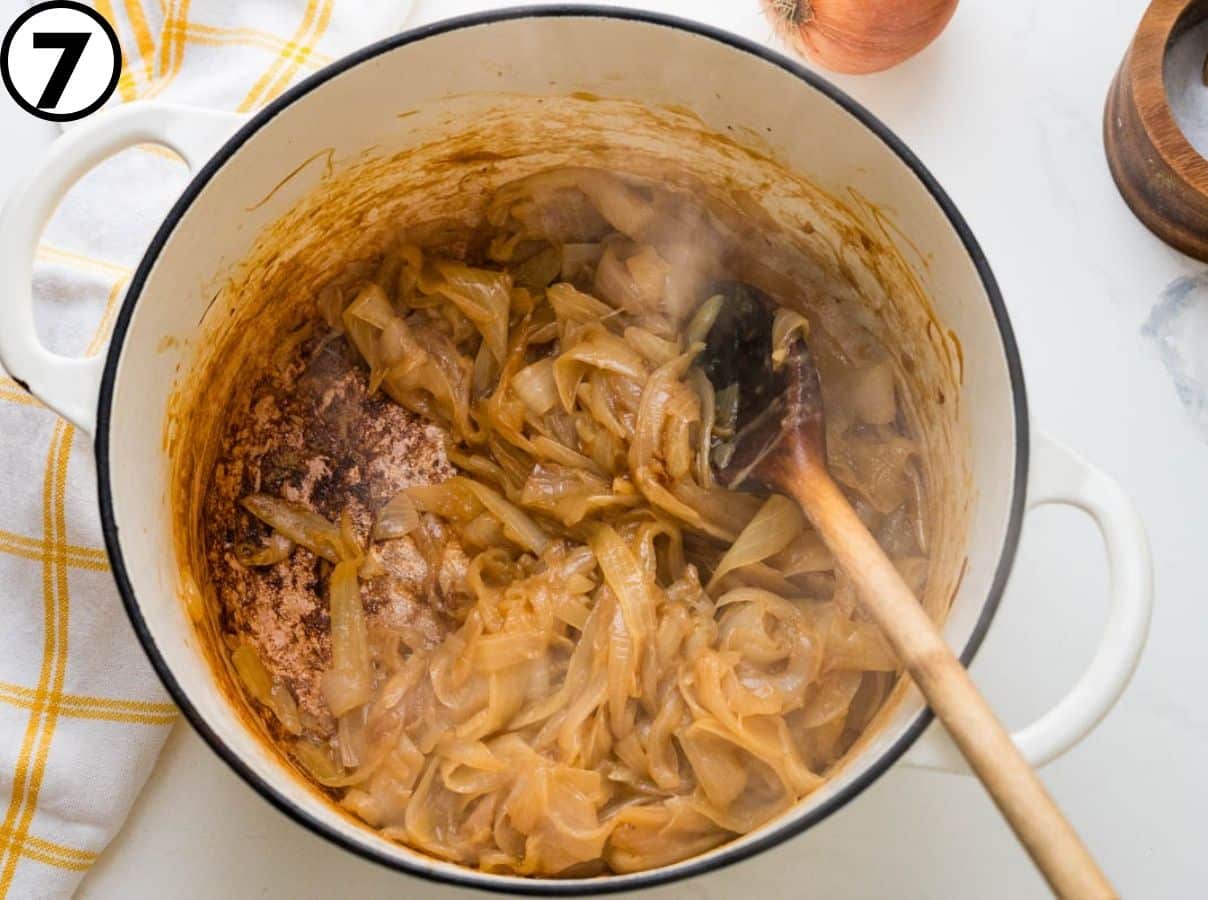
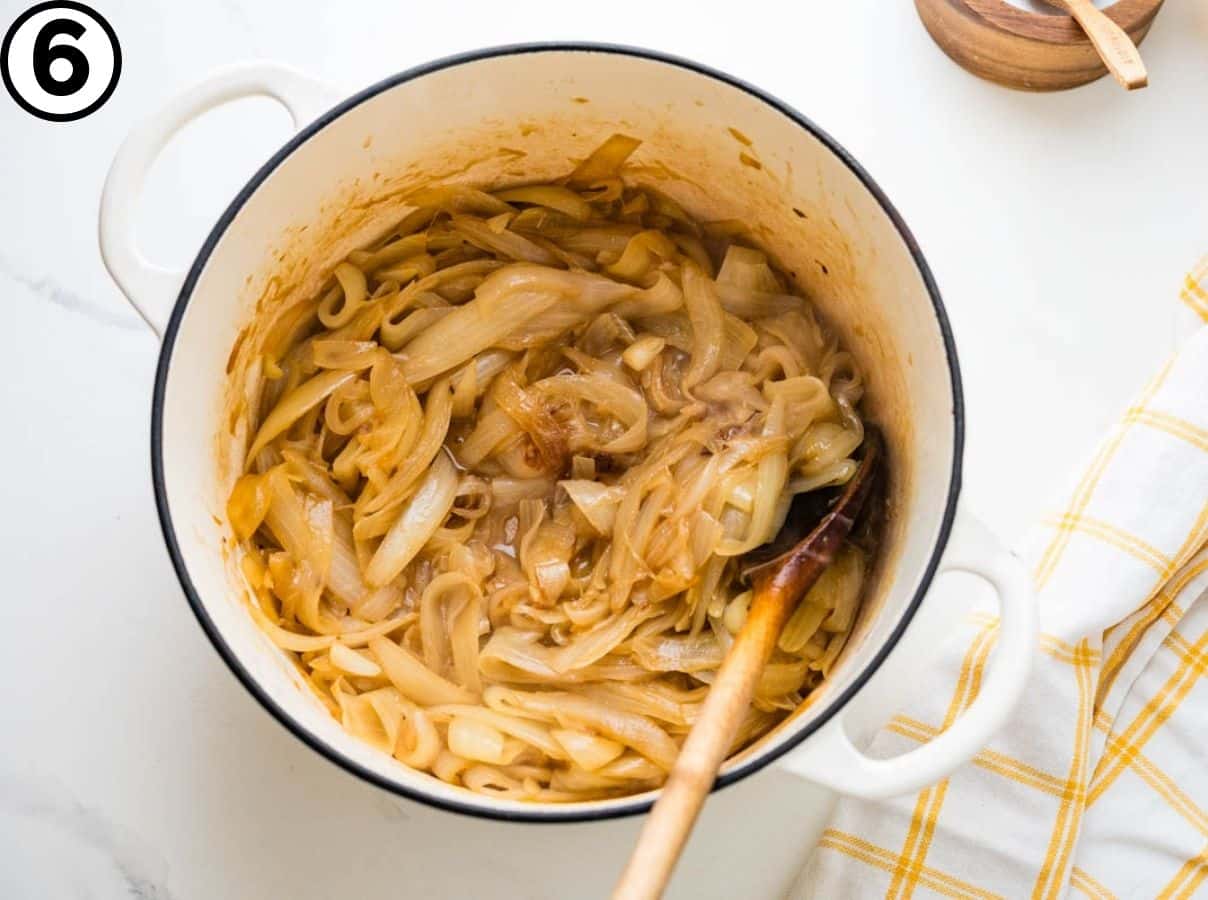
7. After 25-30 minutes, remove the lid from the pot and stir more frequently to promote evaporation and browning. Use the spoon to scrape up any browned bits at the bottom of the pot or Dutch oven.
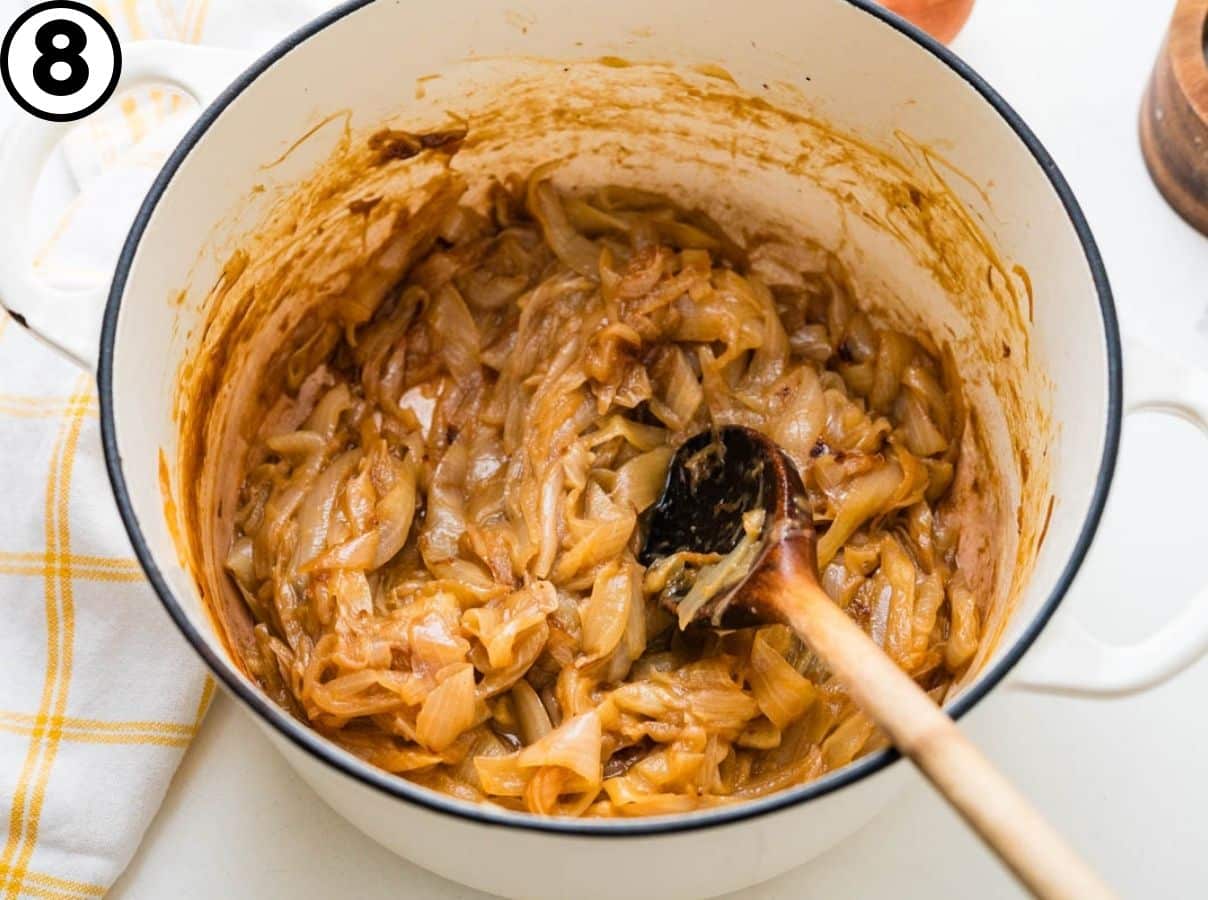
8. Once the excess liquid has evaporated and the veg is golden, soft and sweet, they’re ready to use.
Cooking Tips:
- Use a heavy-bottomed pot or Dutch oven with a tight-fitting lid. Dutch ovens are made of cast iron and usually have a smooth enamel coating. The heavy pot maintains an even heat without hot spots, which is ideal for caramelizing onions. You can also use a heavy stainless steel skillet with 3-4″ high sides and a lid.
- Monitor your heat. All stoves are different, so it’s important to be able to read yours. If it runs very hot, you may want to keep the heat low or medium-low during the caramelization process.
- The tight lid ensures that the alliums sweat and steam at the onset so that they cook down quickly. Salt also draws out moisture, helping them sweat and reduce faster.
- If you have hot spots on your stove or your pot isn’t the best, you may need to stir more frequently to prevent scorching. Pay attention.
- If they get too brown or start to scorch, deglaze with a tablespoon of water or broth and stir it in to loosen any stuck-on bits.
After the onions are caramelized you can add other seasonings to take them in one direction or another.
Variations:
- Add a few dashes of Worcestershire sauce for a more savory flavor – great for caramelized onions on burgers.
- For sweetness, add a teaspoon or two of brown sugar.
- Add a sprig of fresh thyme, sage or rosemary as they’re caramelizing.
- Stir in 2-3 teaspoons of balsamic vinegar for more depth and a little tangy component.
Storage and Freezing:
Storage: You can keep sweet onions in an airtight container in the refrigerator for up to 10 days.
Freezing: You can freeze them in smaller, portioned containers for up to two to three months. I buy ¼ to ½ cup freezer containers to freeze the sweet alliums and keep them on hand for last-minute recipes.
Alternatively, you can also freeze them in ice cube trays and store them in zip-top baggies.
Ways to use this caramelized onion recipe:
- Add the sweet onions to pasta in casseroles and bakes or stir them into tomato sauces to soften the acidity.
- Top your grilled cheese sandwiches with a spoonful before griddling.
- Make homemade caramelized onion dip with sour cream, mayo, and a dash of Worcestershire.
- Dress up frozen peas with ¼ cup of caramelized onions.
More onion recipes to try:
- Steak and Cheese Sliders
- Easy Egg Strata Recipe w/Bacon
- Creamy Chicken Liver Pâté with caramelized onions.
- Caramelized Onion and Thyme Quiche
- Salmon and Caramelized Onion Frittata
- Homemade French Onion Soup
- Egg, Cheese and Avocado Sandwich

Tried this recipe? Leave a rating and review.
Your comments and shares are invaluable to me and the thousands of readers who use this site daily. If you've made the recipe, leave a star rating and review. We want to hear how you liked it.
We'd love it if you shared the recipe with your friends on social media!
How To Caramelize Onions
SPECIAL EQUIPMENT:
- 1 Dutch oven or heavy pot with a tight fitting lid
INGREDIENTS:
- 3 pounds onions I used 4 large yellow onions
- 3 tablespoons butter
- 1 teaspoon kosher salt
DIRECTIONS:
- Slice the root and tip off 3 pounds onions and peel. Slice the onions from root to tip in ¼ to ⅓” slices.
- Heat the dutch oven over medium heat until the pot is hot. Add 3 tablespoons butter, which should melt and bubble when it hits the pot. Add the onions and 1 teaspoon kosher salt. Place the lid tightly on the pot and cook for about 5 minutes to jump start the onions into steaming and browning.
- Stir the onions with a wooden spoon, scraping at the bottom to dislodge any cooked on bits. Return the lid to the pot and cook for 4-5 minutes and stir.
- Continue in this manner of stirring, scraping and covering the pot for another 20-25 minutes or until the onions are soft and golden but still giving off their liquid in the pot.
- Remove the lid to promote evaporation and stir every 2-3 minutes, scraping up any stuck bits from the bottom of the pot. Pay attention. If the heat is too hot, it will cook quickly and you risk burning the onions. Adjust the heat lower if necessary.
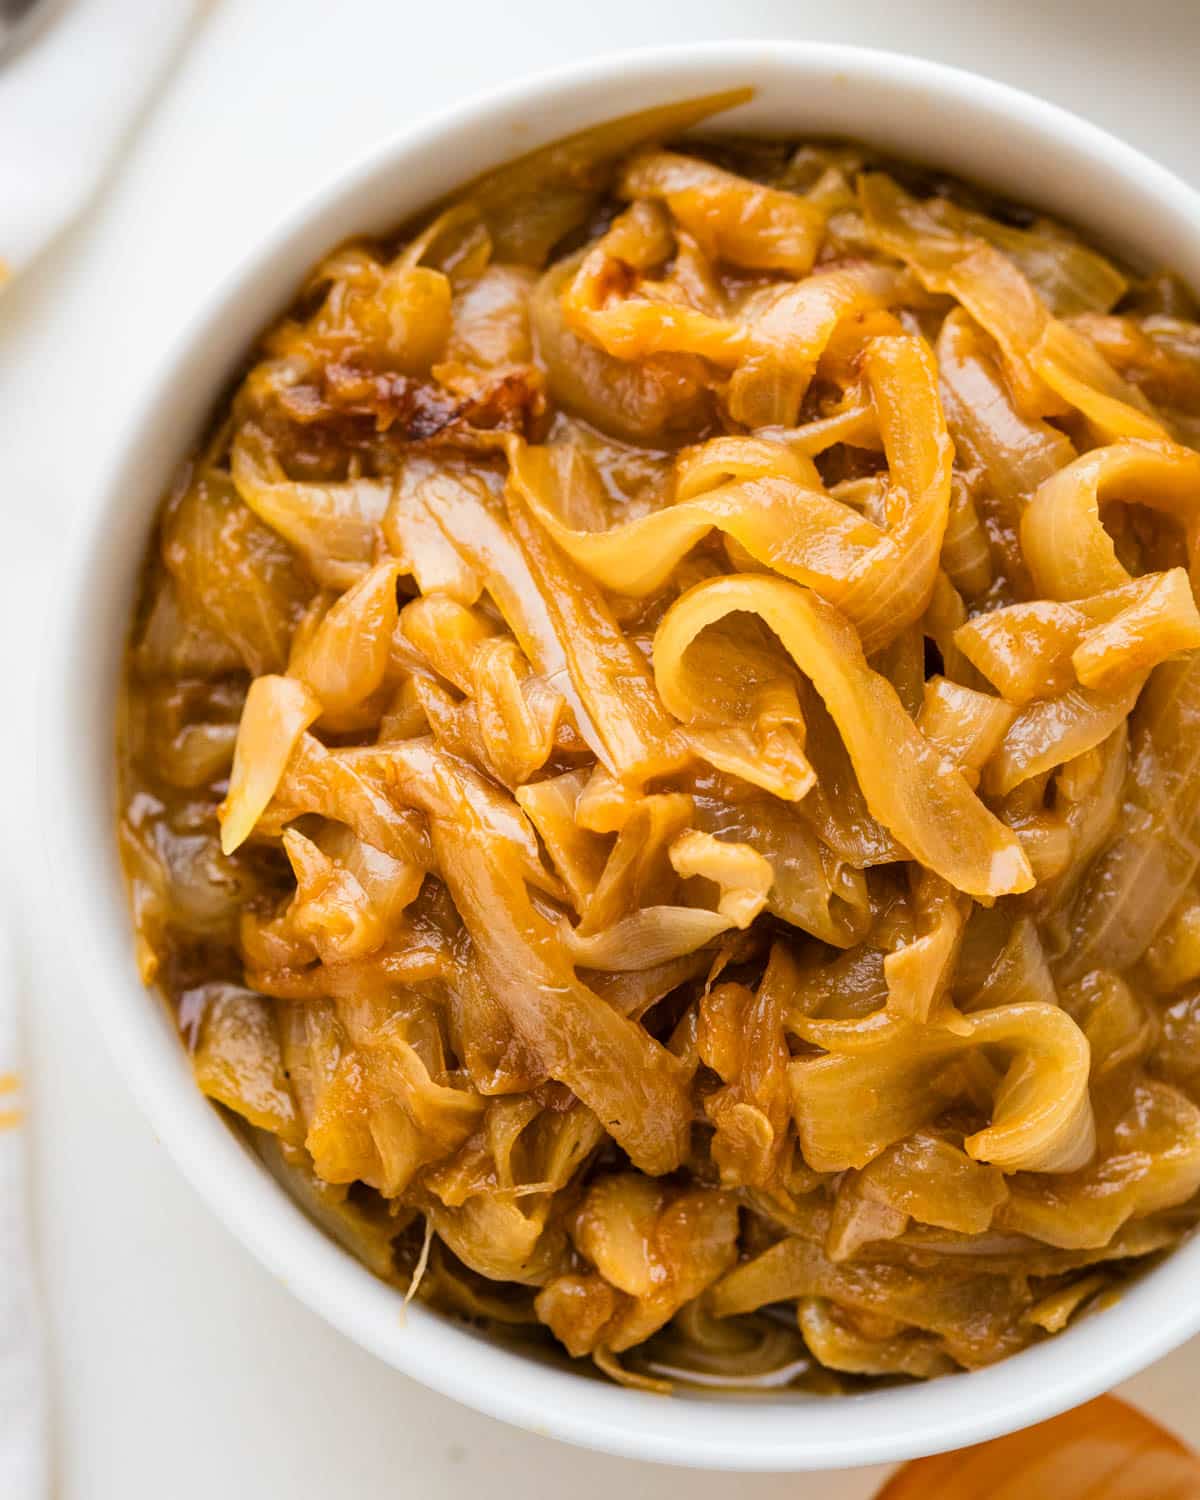
- Continue cooking until the liquid has evaporated and the onions take on a deep golden hue. The onions should be so tender that they almost fall apart and should be sweet to taste.
NOTES:
NUTRITION:
Pin It For Later!
I’m making these for french dip sandwiches. Is there a point in the recipe where you remove the lid, or do you leave it on the whole time?
You’ll remove the lid to stir the onions, but it should be kept on for most of the time.
I would like to use these onions with garlic to add to steamed cabbage and carrots. I am making this recipe for 100 people.
That’s a lot of people! You should be able to use garlic… but I would add it after the onions start to soften. You’ll need boatloads of onions for that many folks!
I’ve tried to caramelize onions once before but it was a disaster. Thanks to your recipe, this task seems so manageable! Does this goes only for yellow onions or I can use also white ones?
I’ve never done it with white onions, but I don’t see why it wouldn’t work with them as well. You could probably use red onions as well.
My hubby would gobble it up straight away
I can eat this whole pot with a spoon!
Wow! I had no idea! I would probably put a spoon in this and eat it straight up!
Learning how to properly caramelize onions was a game changer for me in the kitchen. I love to do it on fall days. And you’re right – low and slow is best! I’ve honestly never frozen them before. Do they retain their yumminess?
They absolutely do! I’ve found little quarter cup plastic containers that I use for freezing. It’s just the right amount of onions for a few omelettes or burgers or whatever…
I do love the rich flavors that are pulled from caramelized onions. They can make a simple dish absolutely fabulous. I have never made them in advance and frozen them, hadn’t even thought about it… great idea.
I try to save time whenever I can!
This looks mouthwatering! I have the Dutch oven and can get the onions, just need the patience. I can’t wait to make these. Maybe tonight! What a great idea to make them ahead of time and freeze.