
How to Roast Butternut Squash in the Oven (Garlic & Lemon)
Inside: How to cut a butternut squash for oven roasting, the best temperature and timing, why you don’t add garlic until the end, and ideas for using leftover roasted butternut squash.
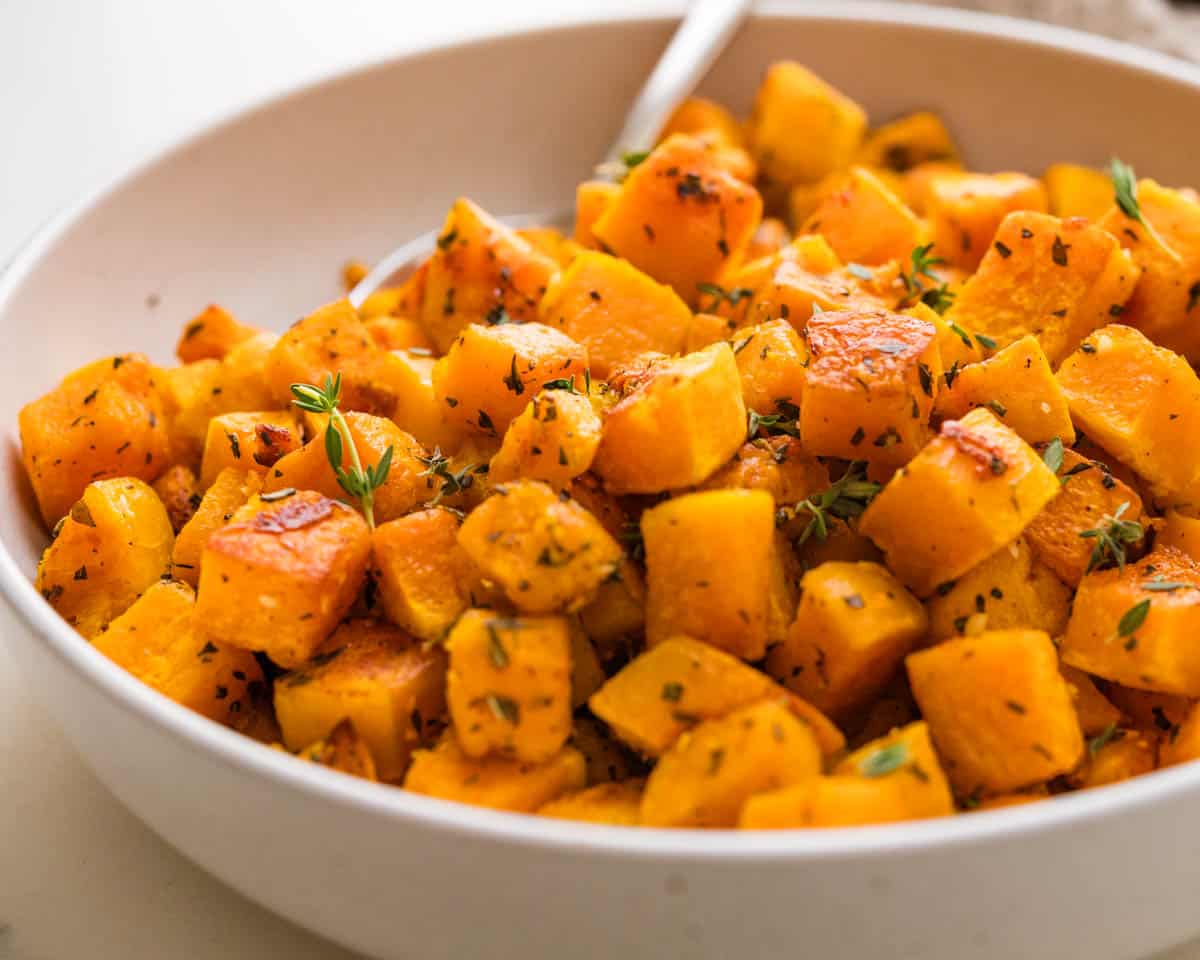
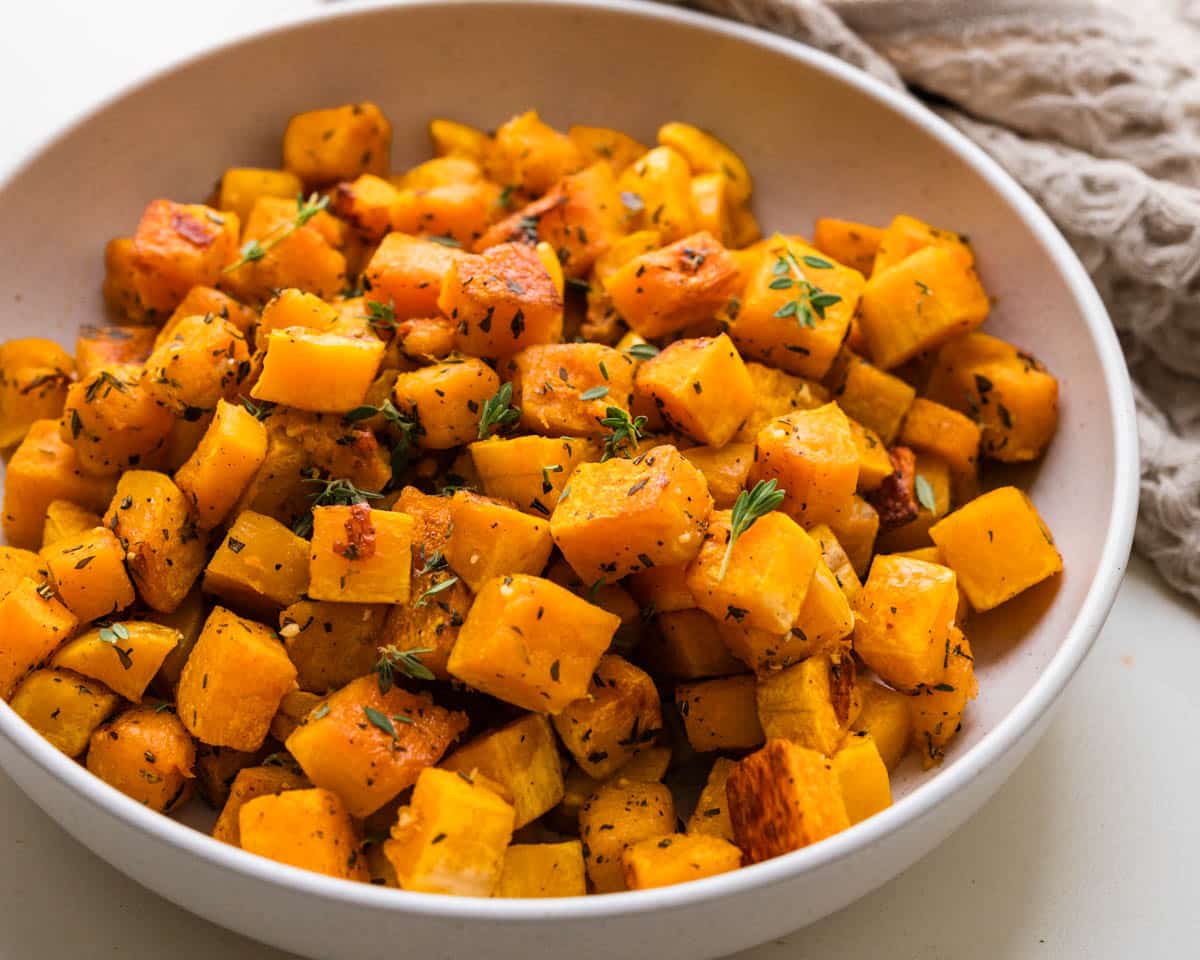
Most oven-roasted butternut squash recipes treat it like dessert, piling on brown sugar, maple syrup and cinnamon until it tastes like pie filling. This one goes the other way. Fresh rosemary and thyme enhance the squash’s natural sweetness, garlic adds a savory backbone, and a squeeze of lemon adds enough acidity to balance the flavors. The edges get a golden caramelization that’s irresistible.
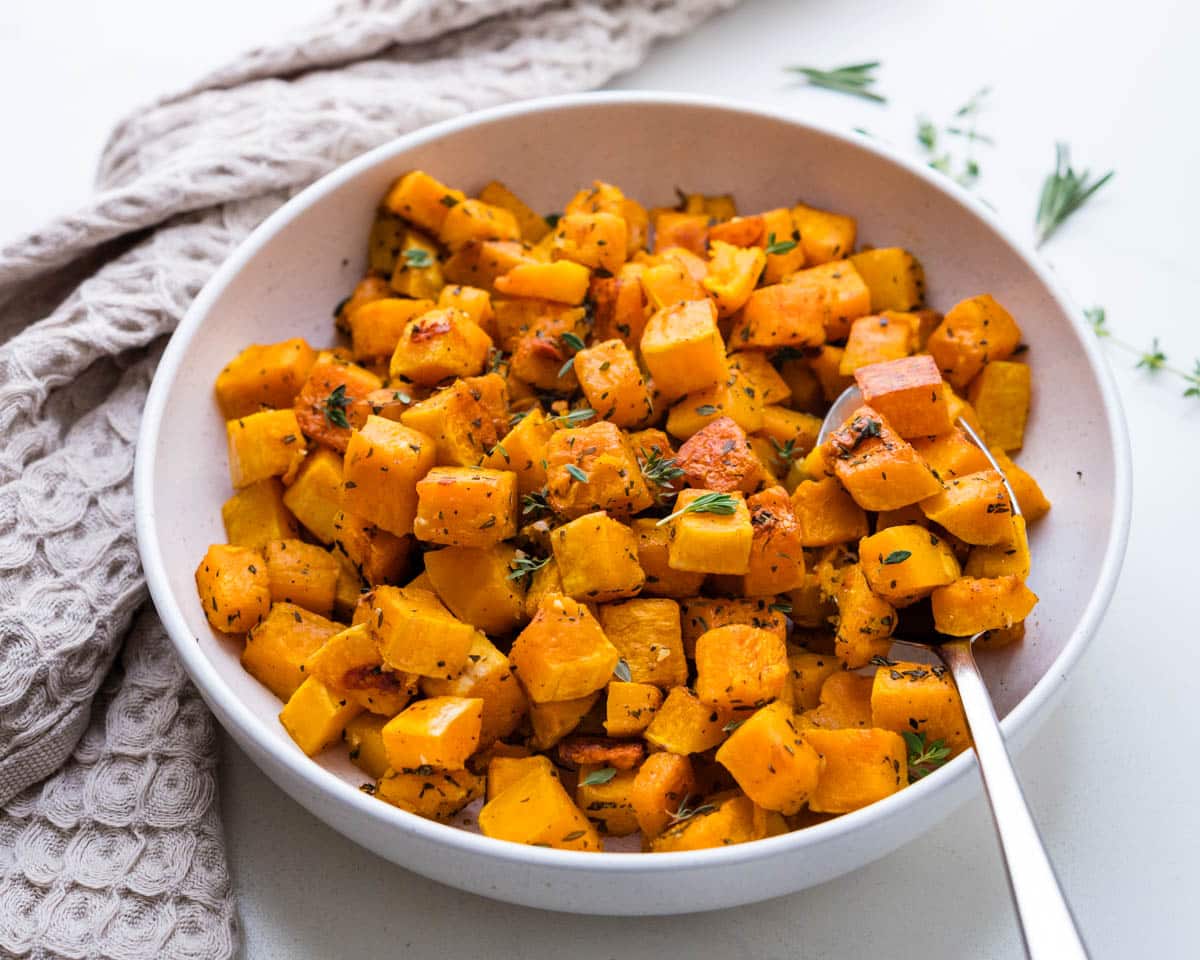
This is the roasted butternut squash recipe we eat on repeat from October through the holidays. We like it because it leans more savory than sweet, and I love it because it only takes 15 minutes of prep; it goes with everything from Rotisserie Chicken to juicy Pork Chops with Pan Gravy or an Eye of Round Roast.
IMO, butternut squash is sweet enough on its own. It doesn’t need more sugar. It needs contrast. That’s where this baked butternut squash recipe excels. The natural sweet flavor is balanced by a few savory notes. All everyday ingredients with nothing fancy, just good.
Why this recipe works:
- Roasting in a hot 425°F oven for 30 minutes lets the edges caramelize while the centers turn tender.
- The garlic goes in for the last 10 minutes, long enough to be fragrant without burning or turning bitter.
- Lemon adds a brightness that keeps this butternut squash side dish from tasting one-note.
- A weeknight recipe you can put on the table every week without complaints.
Ingredients:
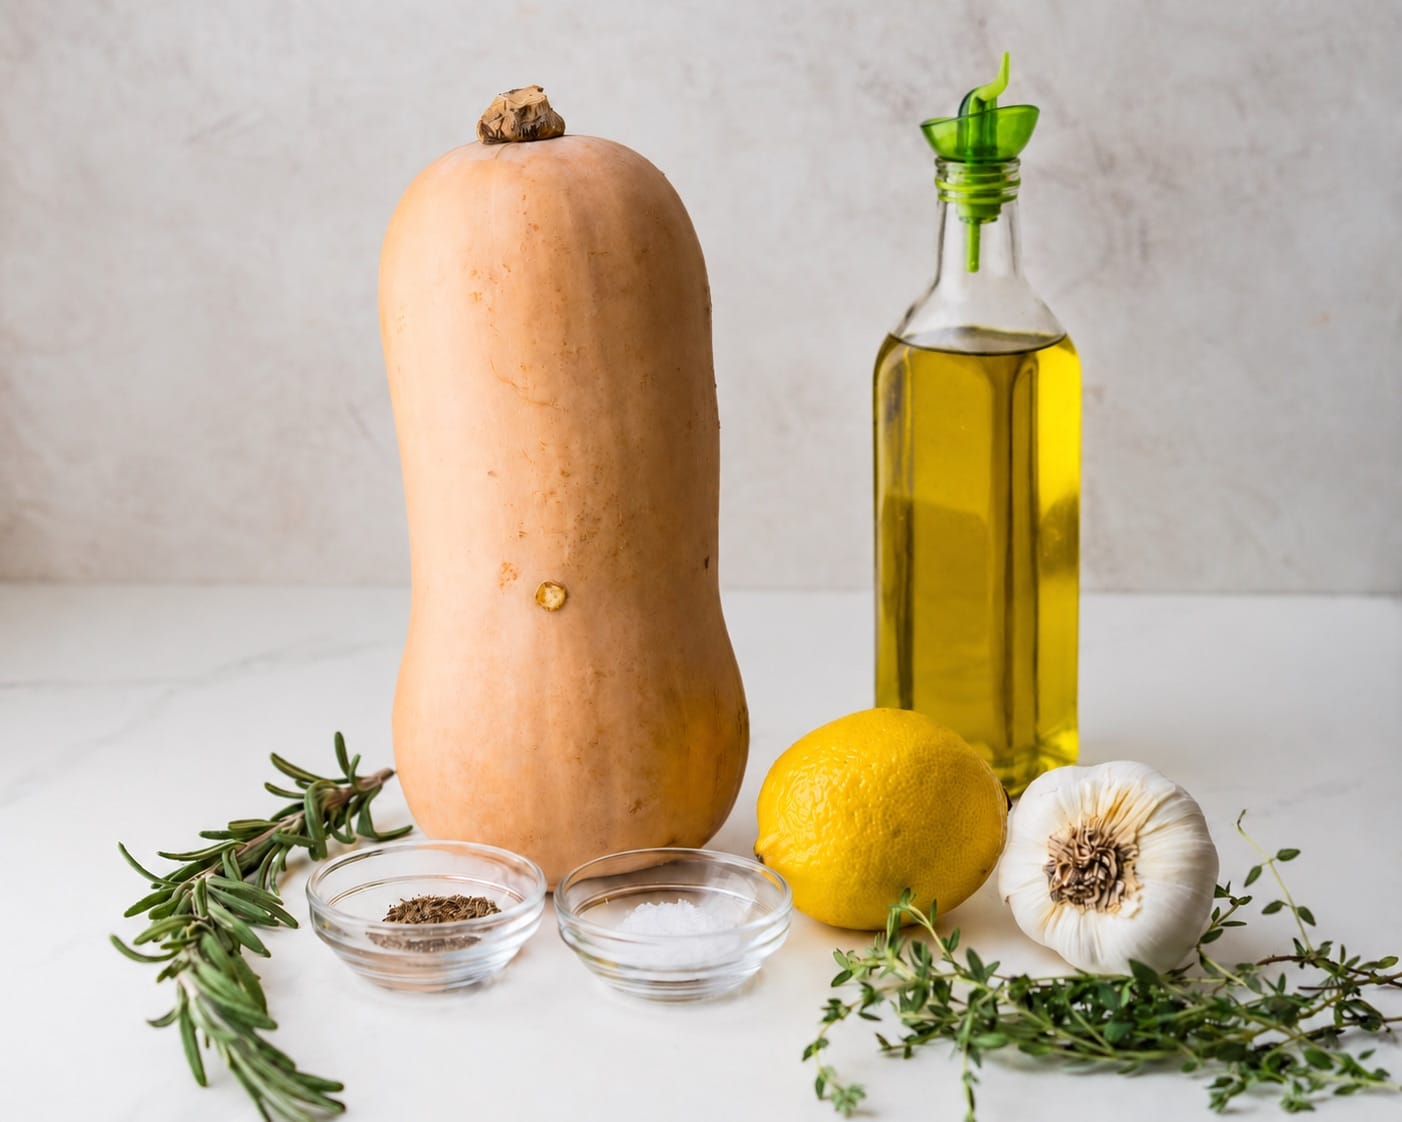
- Butternut Squash: A 2-pound squash feeds about four people as a side. Pick one that feels heavy for its size, with matte, tan skin and a long neck. The neck is solid flesh, and the seeds are all in the bulb.
- Fresh Rosemary: Piney and bold, it holds up to high heat and gives the squash its savory backbone. Chop it fine so it clings to every cube.
- Fresh Thyme: Earthier, more lemony and softer than rosemary. Strip the leaves from the stems before chopping.
- Extra Virgin Olive Oil: Use your everyday olive oil, nothing fancy. 2 tablespoons will coat 2 pounds of squash without making it greasy and promotes browning and caramelization.
- Kosher Salt: Don’t skip it. Salt is what makes the squash taste savory instead of like candy. I use Diamond Crystal kosher salt, which is flakier and less salty by volume than Morton’s. If you have Morton’s, you may want to use a bit less.
- Black Pepper: Freshly ground for the best flavor.
- Garlic: Add it for the last 10 minutes so it turns fragrant and mellow, not sharp or bitter.
- Lemon Juice: A tablespoon of fresh-squeezed juice wakes up the whole pan. Don’t use bottled juice.
Step-by-step directions:
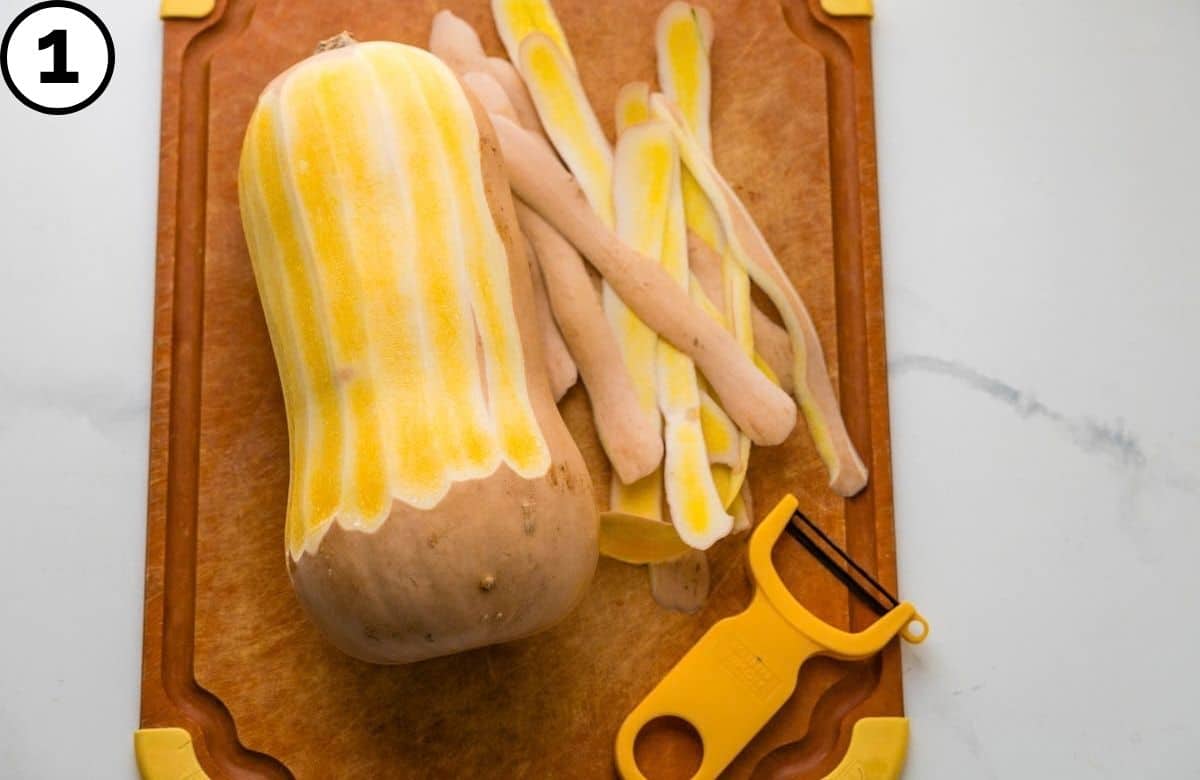
1. Use a vegetable peeler to remove the skin from the squash. I recommend the Kuhn Rikon original Swiss Y-Peeler {affiliate link}. The carbon blade makes peeling the skin easy without a lot of pressure or force, and it comes with 3 of these handy gadgets, which I use daily.
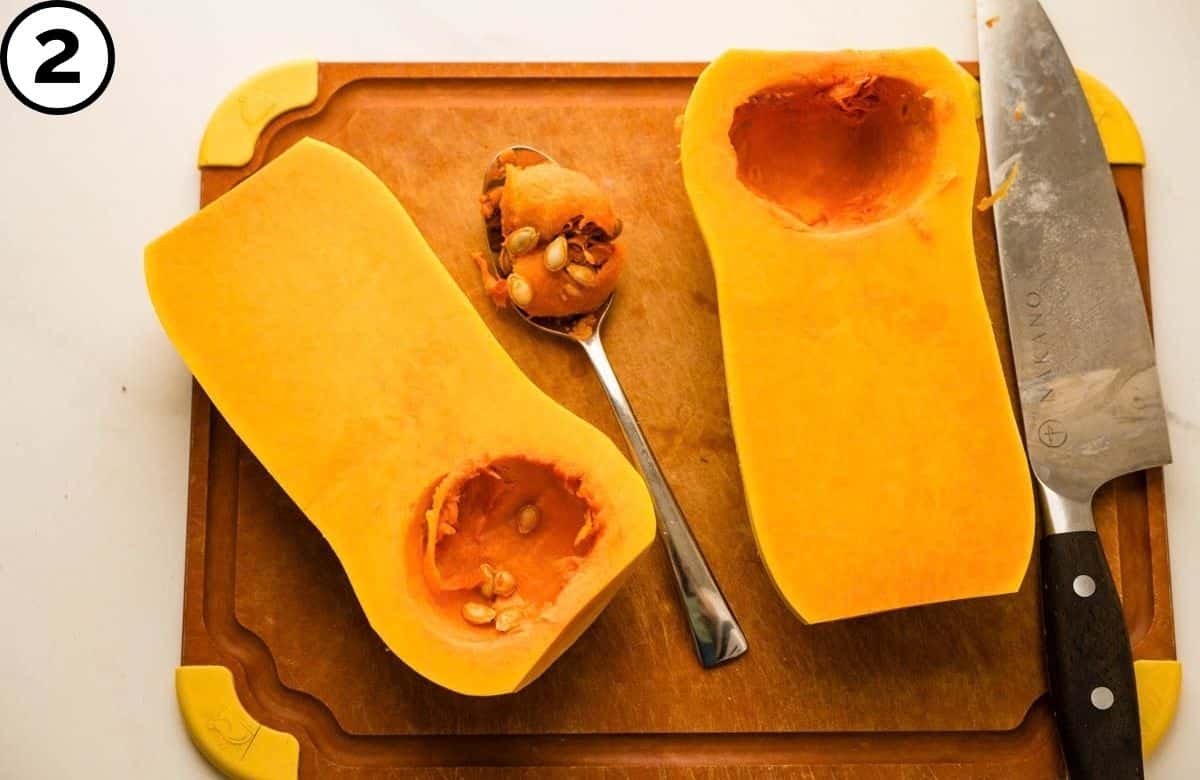
2. Cut the squash in half lengthwise and use a spoon to scoop out and remove the seeds.
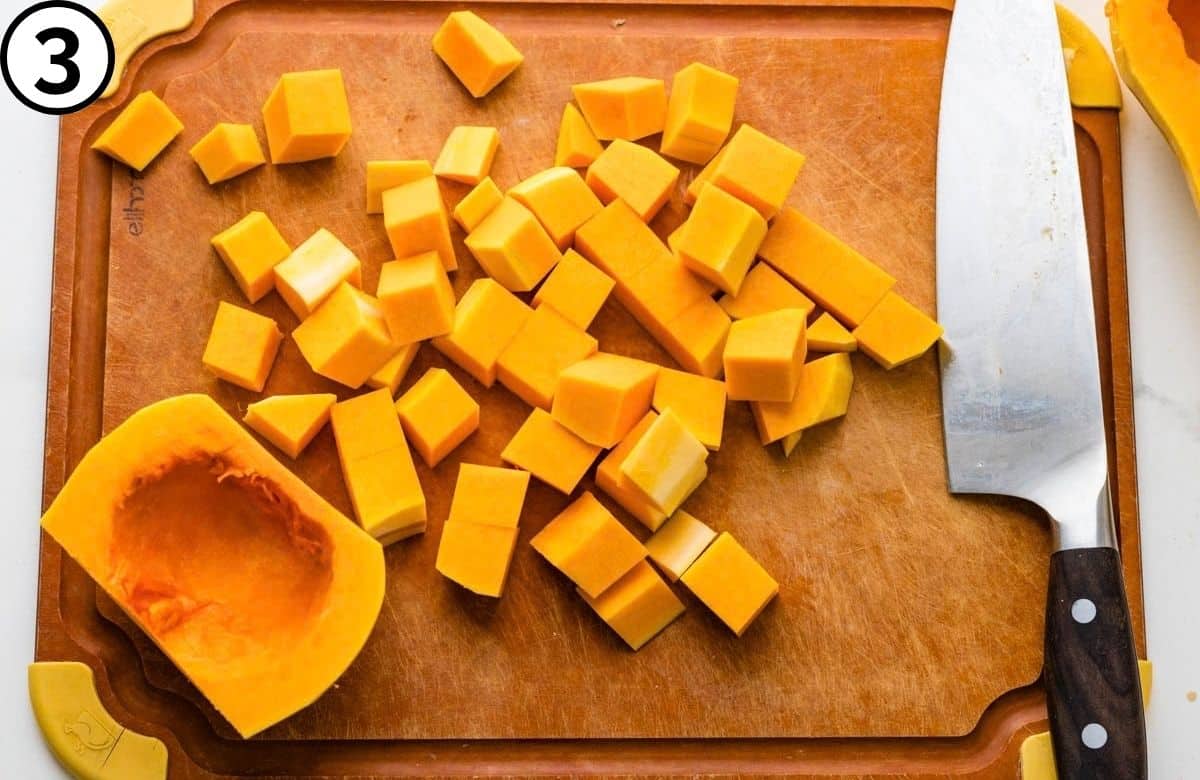
3. Cut the bulb section away and slice the squash half in half again, so you have two 1-inch planks. Cut the planks into 1-inch-wide vertical batons and then cut those horizontally into 1-inch cubes. Cut the bulb section into 1-inch cubes. Repeat with the other squash half.
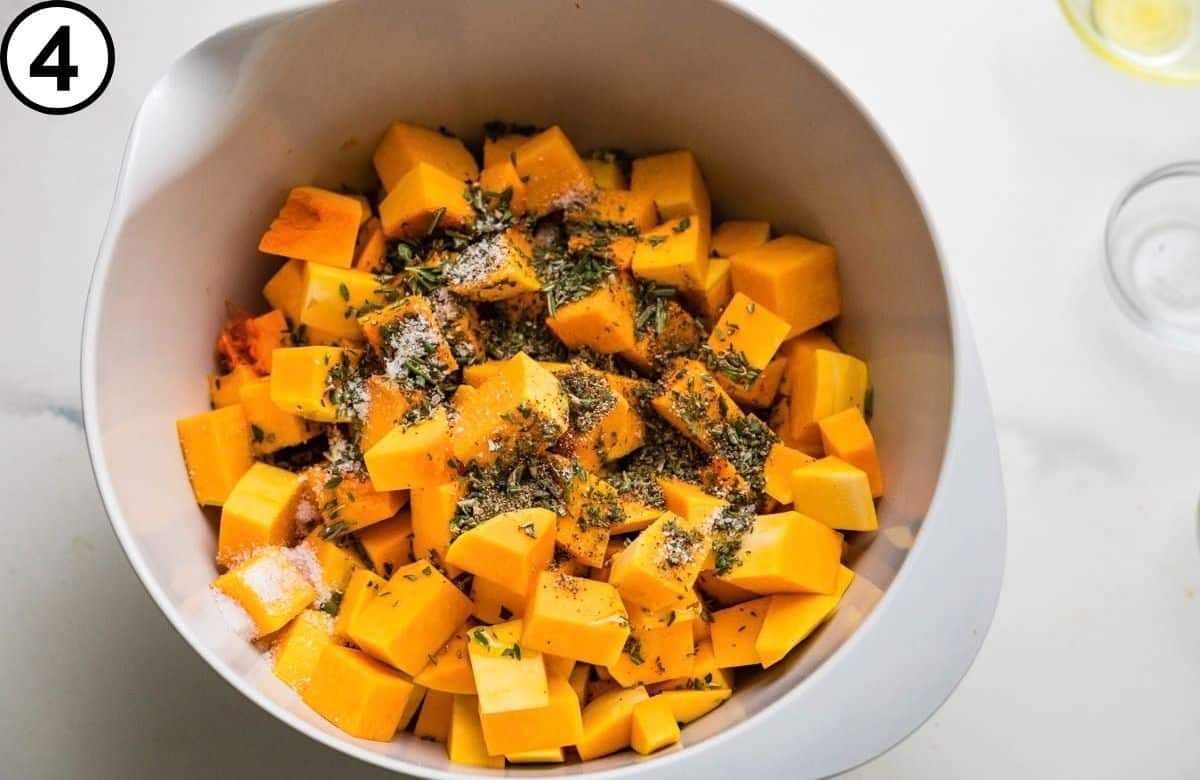
4. Transfer the squash cubes to a large bowl and season with the olive oil, rosemary, thyme, kosher salt and black pepper. Use a rubber spatula to toss until the squash is evenly coated.
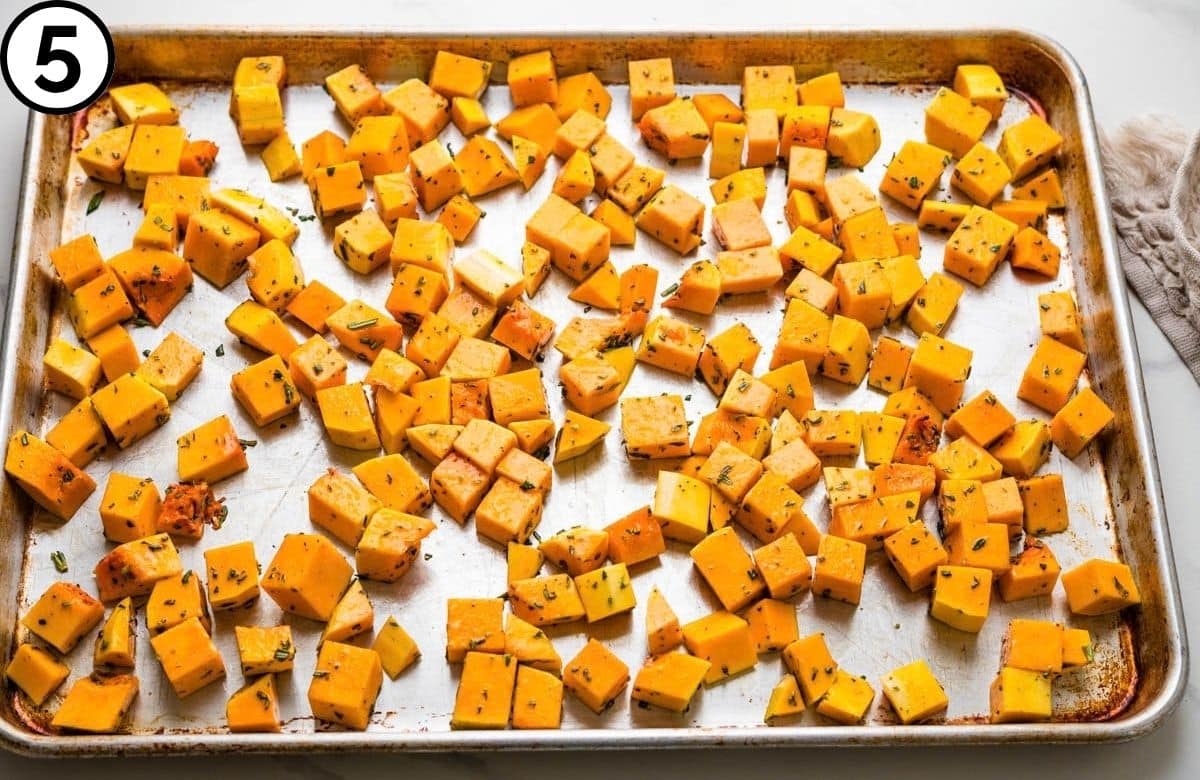
5. Spread the butternut squash cubes into a single even layer on a prepared half sheet pan (sprayed with vegetable spray to prevent sticking). Roast for 20 minutes.
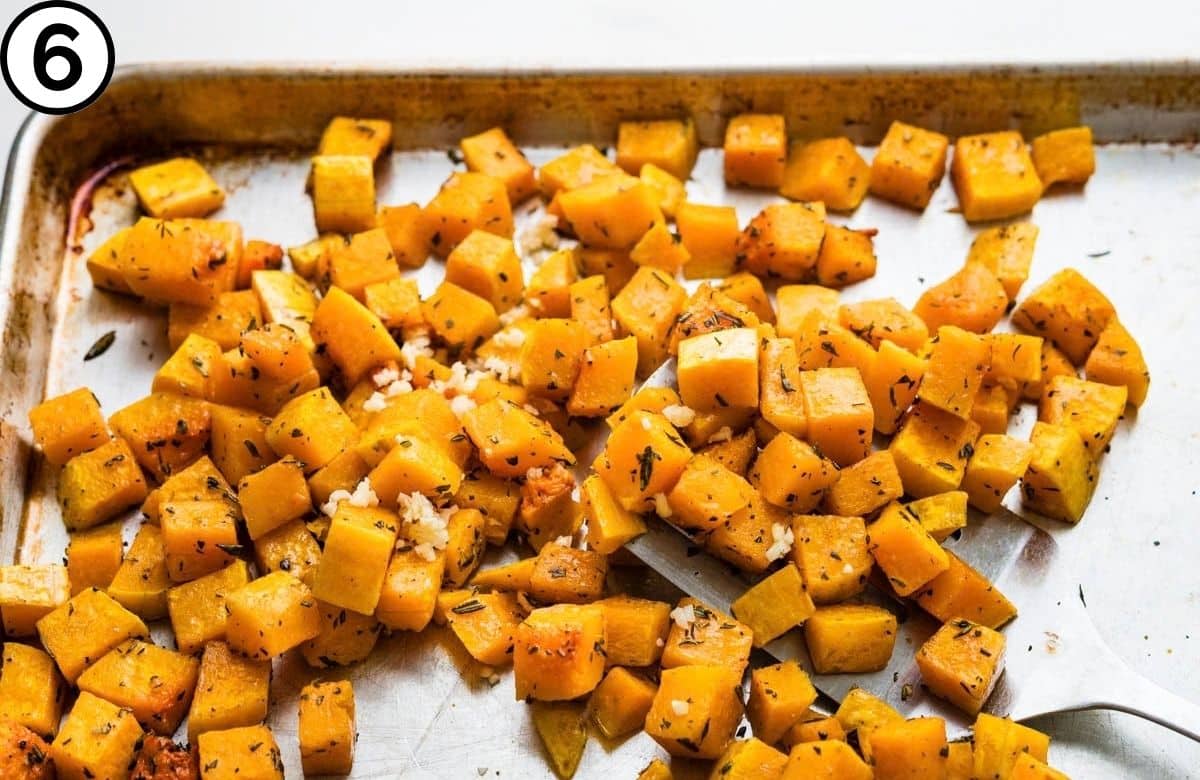
6. Add chopped garlic to the baked butternut squash and toss to combine; arrange the squash back into a single layer on the sheet pan and continue baking for 10 minutes more.
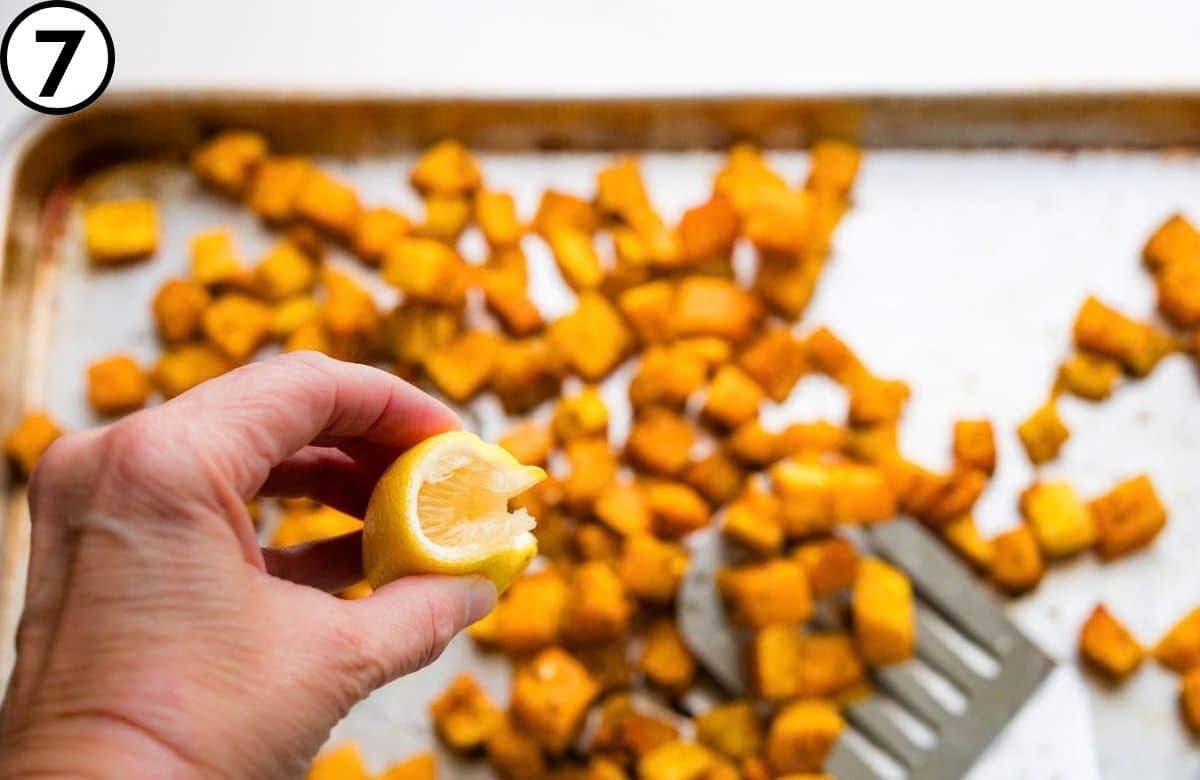
7. Once it’s tender, golden and caramelized, remove the pan and squeeze fresh lemon juice over the oven-roasted squash. Use a spatula to toss the cubes until they’re evenly coated.
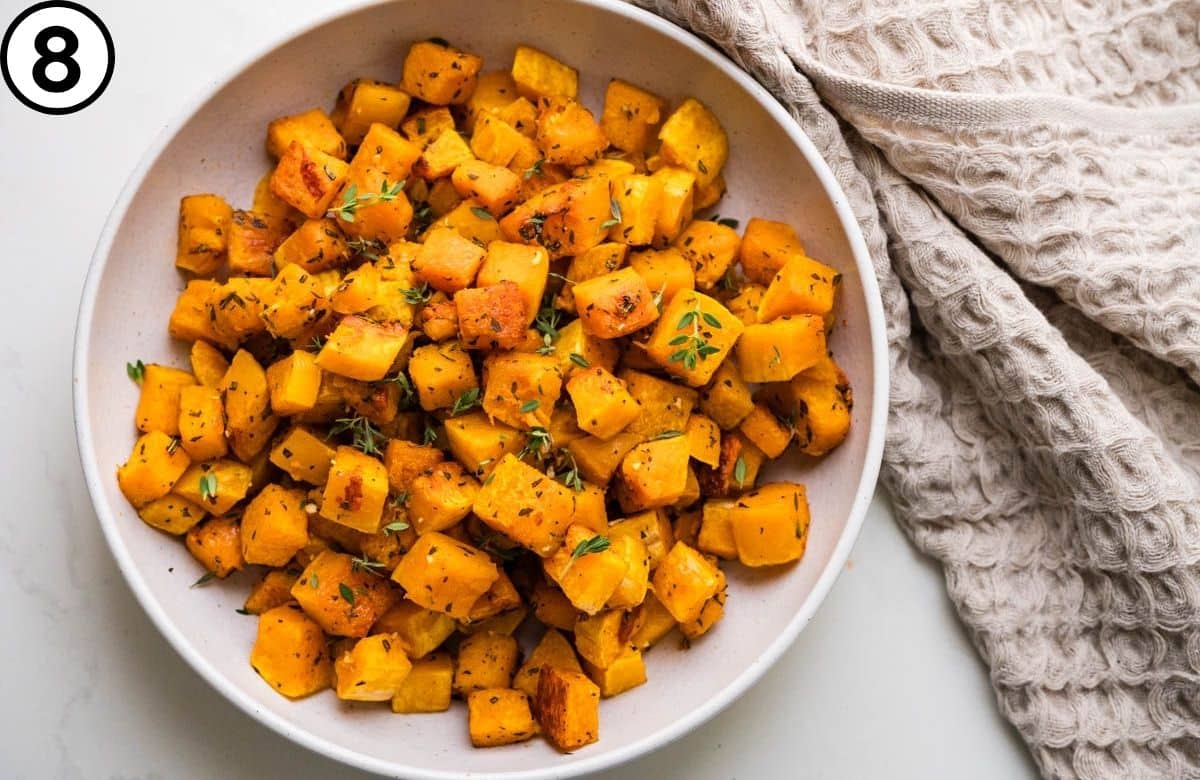
8. Transfer to a serving dish and garnish with additional fresh herbs, if desired.
Pro-Tips:
- Skip the parchment. I used to line the pan with parchment. Switching to a bare sheet pan with a light coat of vegetable spray gave me noticeably better caramelization, because the squash browns where it touches hot metal.
- Crank the heat. 425°F is the sweet spot. It’s hot enough to brown the edges before the centers turn mushy, and it gets dinner on the table faster.
- Give the cubes room. Crowded squash steams instead of browning. If your oven or pan runs small, split the batch between two quarter sheet pans.
- Toss with a rubber spatula. It scrapes the herbs and oil off the sides of the bowl and onto the squash, so every cube is seasoned, not just the bowl.
- Flip once, and use that moment for the garlic. One flip at 20 minutes is all it needs. Every extra peek lets heat out of the oven and slows the browning.
- Taste after the lemon. Acid changes how salty food tastes. Give it one more bite once the lemon’s in, and add a pinch of salt if it needs it.
Mistakes to avoid:
- Adding the garlic at the start. At 425°F, minced garlic burns long before the squash is done, and burnt garlic turns the whole pan bitter.
- Uneven cubes. Small pieces scorch while big ones stay firm. Aim for even, 1-inch cubes.
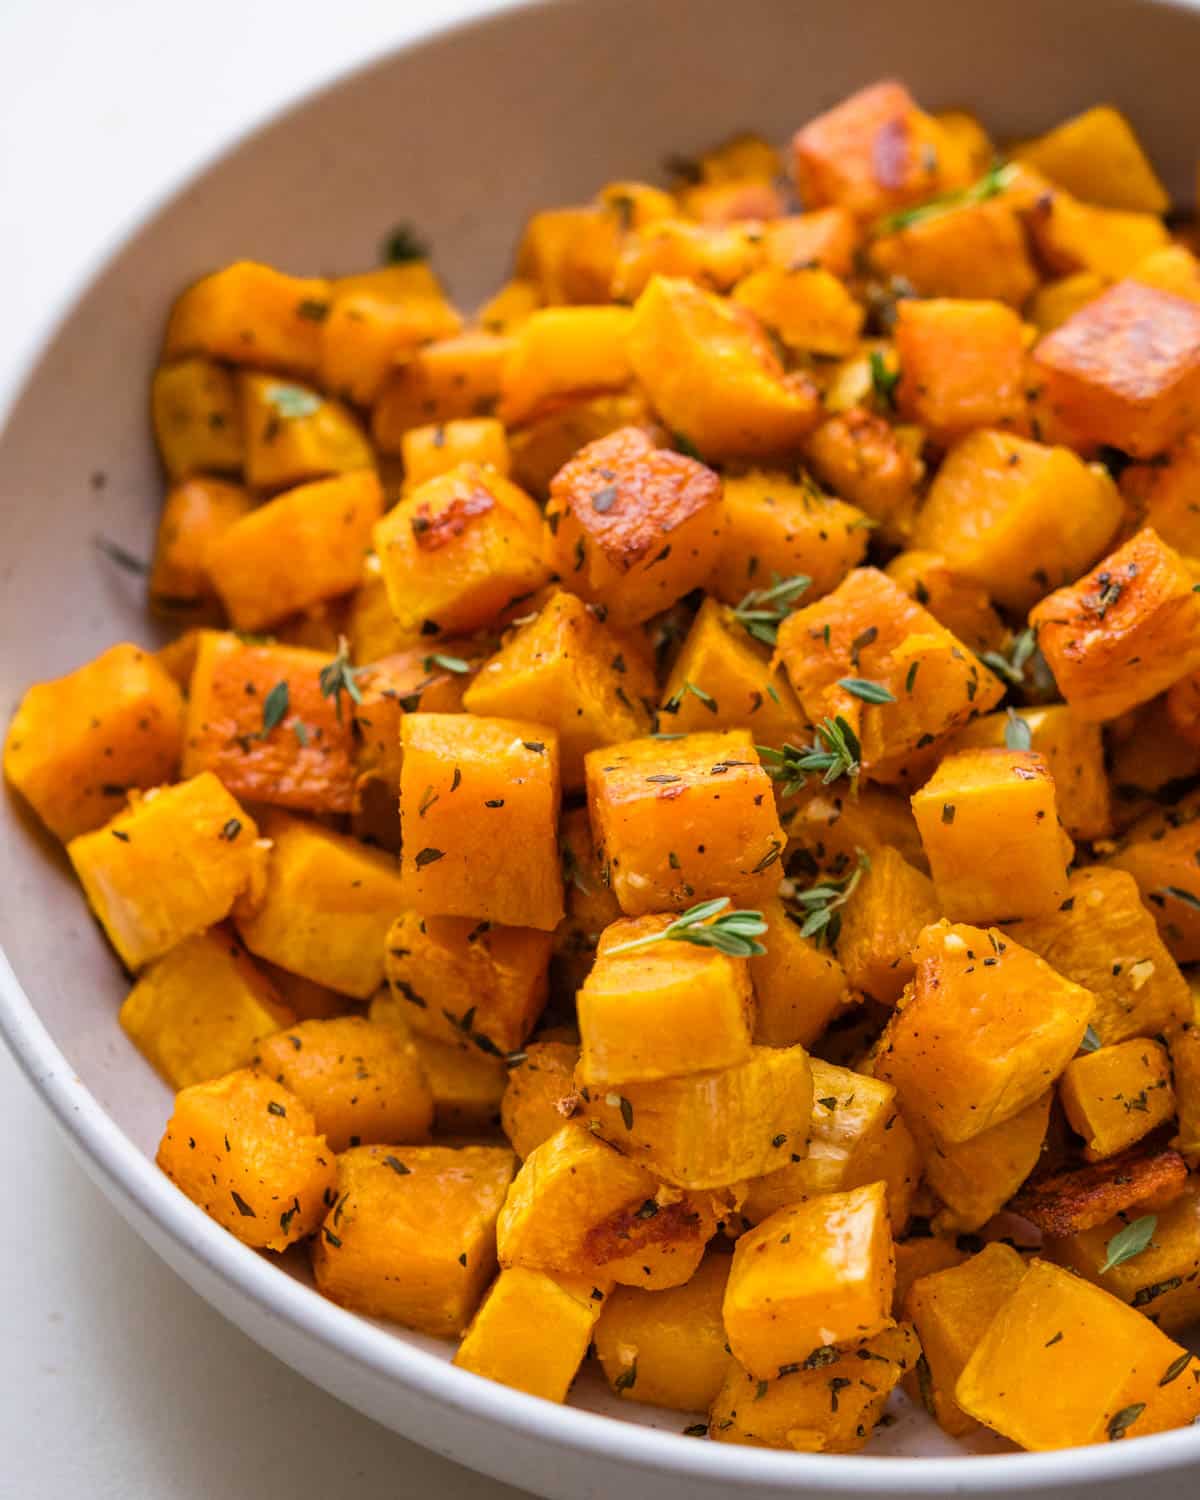
- Expecting crispy. Butternut squash doesn’t crisp like potatoes. It gets tender inside with caramelized, golden-brown edges; that’s the goal.
- Pulling it too early. Pale squash tastes flat. Wait for real color on the edges.
- Forgetting the lemon. It’s a small step that changes the whole dish.
Swaps and Variations:
- Sage: for more of a holiday flavor, swap the rosemary for chopped fresh sage.
- Smoky: replace the herbs with ½ teaspoon smoked paprika and ¼ teaspoon cumin.
- Parmesan: sprinkle a handful of grated Parmesan over the squash with the garlic at the flip.
- Cajun or Creole: instead of the herbs and salt and pepper, toss the squash with your favorite Cajun or Creole seasoning for a spicy, flavorful kick that’s unexpected.
- Pappadeaux-style: Skip the garlic and lemon and instead add 2-3 tablespoons of honey-butter to the squash
- Try honeynut squash. Butternut’s smaller, sweeter cousin roasts in about 30 minutes as halves. Here’s how to roast honeynut squash.
FAQs
425°F. I roasted mine at 400°F for years, and bumping the heat to 425°F gets more caramelization on the edges in less time.
About 40 minutes for 1-inch cubes, stirring once around the 20-minute mark. That’s how my original version of this recipe worked. It’s still good, but you’ll get less browning than at 425°F.
Pretty much. Both mean cooking it in a dry oven. “Roasting” usually means higher heat and a sheet pan, which is what gives you browned, caramelized edges instead of soft, pale squash.
Though many recipes call for brown sugar and maple syrup, I think savory additions balance its natural sweetness better: salt, pepper, fresh rosemary, thyme, garlic and a squeeze of lemon. Sage, smoked paprika and Parmesan also work (see the variations above).
During the last 10 minutes. Minced garlic burns fast at 425°F. Adding it when you flip the squash gives it enough time to turn fragrant without turning bitter.
Make ahead:
- Peel and cube the raw squash up to 2 days ahead. Keep it in an airtight container in the fridge, then season and roast when you’re ready.
Storage:
- Store leftovers in an airtight container in the fridge for up to 3 to 4 days.
Reheating:
- Spread on a sheet pan in a single layer and warm at 425°F for about 5 to 8 minutes, or warm in a skillet over medium to medium-high heat.
- The microwave works, but the squash will be softer.
Freezing:
- I don’t recommend freezing roasted butternut squash. The texture will be compromised.
What to do with leftover roasted butternut squash:
- Salads: Add warm baked butternut squash to kale or green leaf salads with dried cranberries and Lemon Vinaigrette.
- Hash: crisp some sausage or bacon in a skillet, add the leftover squash to warm through in the drippings, and top with a fried egg.
- Breakfast tacos: toss the squash with black beans or refried pinto beans, scrambled eggs and cheese, and roll it all up in a warm tortilla.
- Soup: blend it into a creamy roasted vegetable soup. It’s built for leftover roasted vegetables.
- Flatbreads: sprinkle grated mozzarella or chunks of brie or camembert over a flatbread, sprinkle with the roasted butternut squash, crispy pancetta, more fresh herbs and a drizzle of olive oil; bake until the cheese melts and the bread and squash are hot. Slice to serve.
More butternut squash recipes:
Oven-Roasted Butternut Squash
INGREDIENTS:
- 2 lb butternut squash peeled, seeded, chopped into 1-inch cubes
- 2 teaspoons fresh rosemary chopped
- 2 teaspoons fresh thyme chopped
- 2 tablespoons olive oil
- ½ teaspoon kosher salt
- ¼ teaspoon black pepper
- 1 clove garlic minced
- 1 tablespoon lemon juice
DIRECTIONS:
- Preheat oven to 425℉. Spray a half sheet pan (or divide between two quarter sheet pans) with vegetable spray and set aside.
- Peel, seed, and chop a 2 lb butternut squash into 1" cubes and transfer to a mixing bowl.
- Add 2 teaspoons fresh rosemary, 2 teaspoons fresh thyme , ½ teaspoon kosher salt, and ¼ teaspoon black pepper. Drizzle with 2 tablespoons olive oil and use a rubber spatula to toss the squash with the seasonings to coat.
- Transfer the squash to the prepared baking sheet and spread in a single layer. Roast 20 minutes.
- Flip the squash with a spatula and add 1 clove garlic minced. Toss to coat and rearrange the vegetables into a single layer.
- Roast an additional 10 minutes. Remove the roasting pan from the oven and squeeze the lemon juice over the top. Toss well and transfer to a serving bowl.
RECIPE VIDEO:
NOTES:
- Make ahead: Peel and cube the raw squash up to 2 days in advance, then store in an airtight container. Season and roast when you’re ready.
- Store leftovers in an airtight container in the fridge for up to 3 to 4 days.
- Reheat on a sheet pan in a single layer at 425°F for about 5 to 8 minutes.
- The microwave works, but the squash will be softer with a “steamed” effect.
- Freezing isn’t recommended.
We love this recipe. Had it as a side dish with pan seared/ oven finished Pork Chops. Excellent!
Getting ready to make this soup; in roasting the squash first I’m omiting the garlic as suggested, but it seems like a lot of fresh rosemary and thyme to go with the cinnamon and nutmeg! Just making sure; did you all use 2 teaspoons each of these to herbs in the squash before you made your soup?
You can absolutely cut back on the herbs for more of a fall-harvest flavor.
You are absolutely right about that Y-peeler. I grew up with the straight ones and thoroughly disliked the Y-style UNTIL I tried this one. Really excellent tool and I’m now a convert.
Made this tonight. The flavors went so well together and it was super easy! It also helped that I bought pre-cut butternut squash cubes. This was a big hit and I am adding this to my regular vegetable rotation! Thank you!
If the Vikings make it to the Super Bowl this can be a key ingredient.
A little boring but “garlic and zest” caught my eye for obvious reasons. Us Minnesotans need spice!
Thanks for your themed suggestion..smart
omg! I LOVE this idea for Superbowl party food!!!! Themed food parties are the best, and football is boring, but I always have to go anyway. What a fantastic idea- I’m so doing this next time!
I’m glad I’ve got someone on my side about football!
My husband is from MN, but he is like you…. he could care less. Being from Nebraska I LOVE football. But I agree, this dish sounds perfect !
This sounds and looks so delicious! A perfect side for a meal!
I love roasted butternut squash – and it’s so nice wth rosemary
I am loving the addition of all those herbs! YUM!
This recipe looks delicious AND it fits the paleo autoimmune protocol (a rare thing). So, thank you! I recently started a weekly Paleo AIP Recipe Roundtable through my blog, and I would love it if you linked up this recipe.
Absolutely! This recipe also fits the protocol of South Beach Diet – phase I, for which I made it. I’ll see if any of my other recipes adhere to your criteria. Thank you!