
Ermine Frosting Recipe (Grandma’s Whipped Icing)
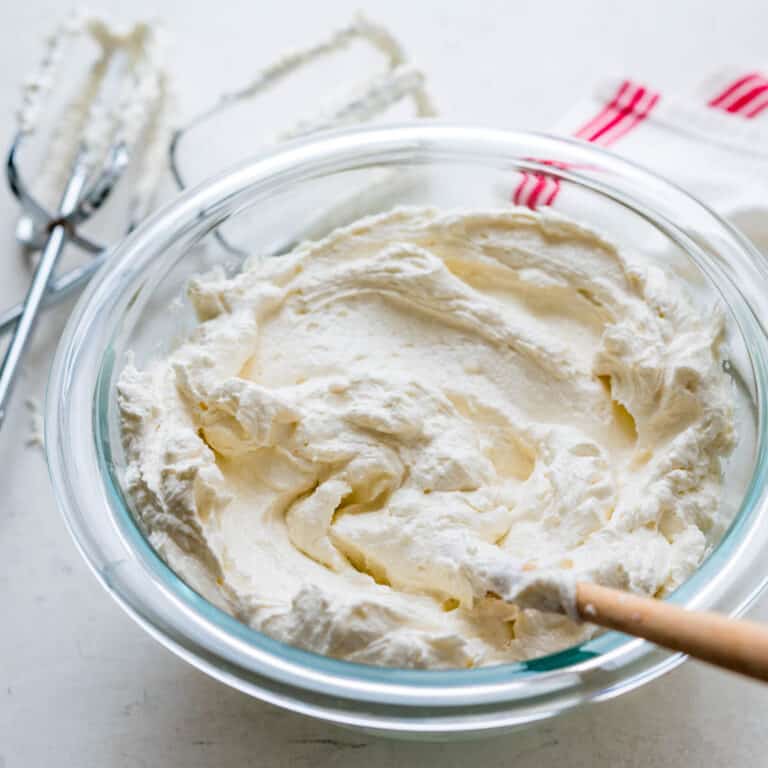
Inside: Ermine frosting is an old-fashioned recipe that makes the lightest, creamiest and most delicious, not-too-sweet whipped icing for frosting cakes and cupcakes. In this article, I’ve shared my tips for assembling flour frosting like Grandma used to make.
If you’re looking for a fluffy, creamy whipped icing, this one is, by far, the best. Truly. This whipped buttercream frosting is shockingly light, creamy and soft, but not cloyingly sweet. What “it” is – is ermine frosting, and it’s a thing. This recipe is also known as “flour frosting” or “boiled frosting,” and it’s exceptional.
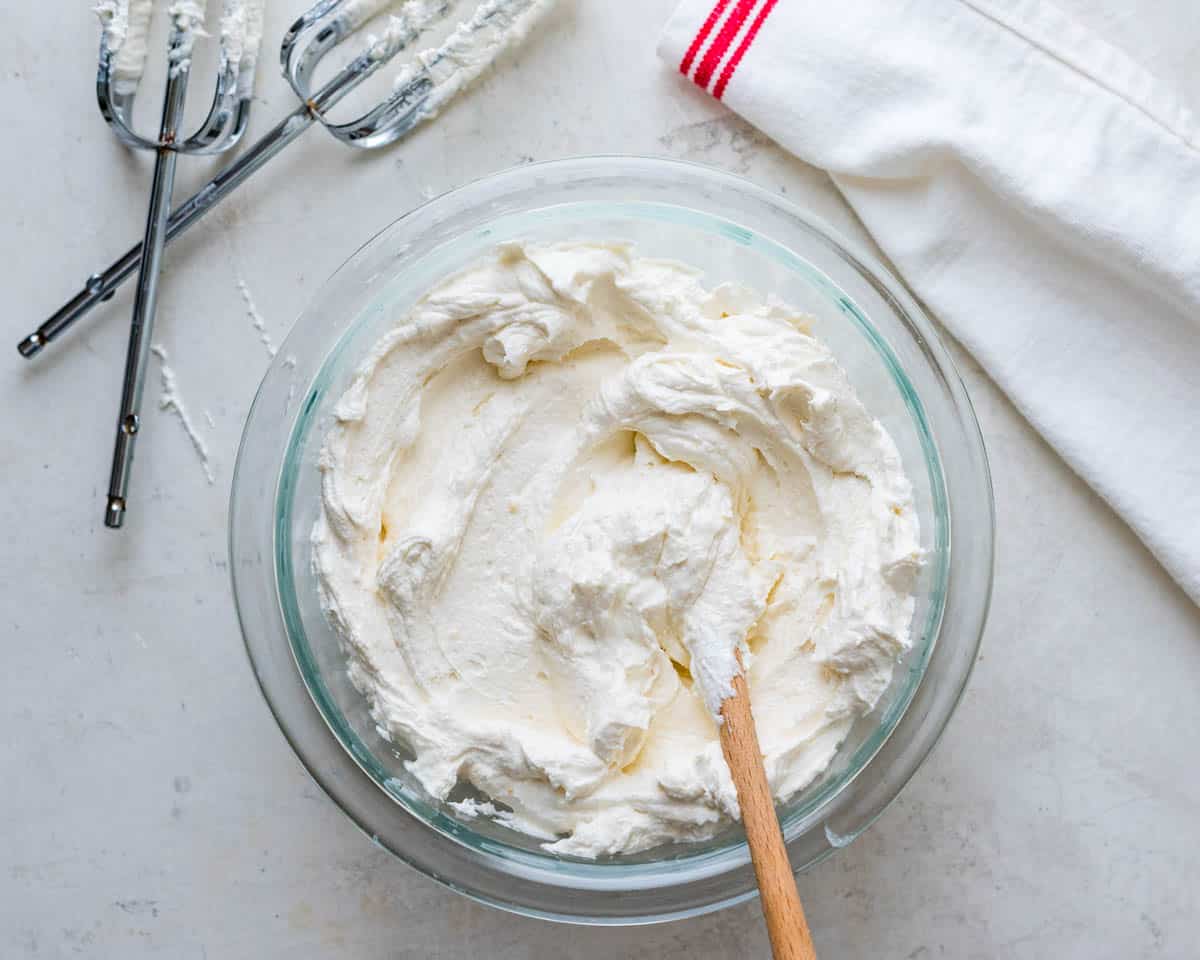
What is ermine frosting?
Ermine frosting (a.k.a. boiled milk frosting, cooked flour frosting, or poor man’s frosting) is a vintage recipe dating back to the early 1900s.
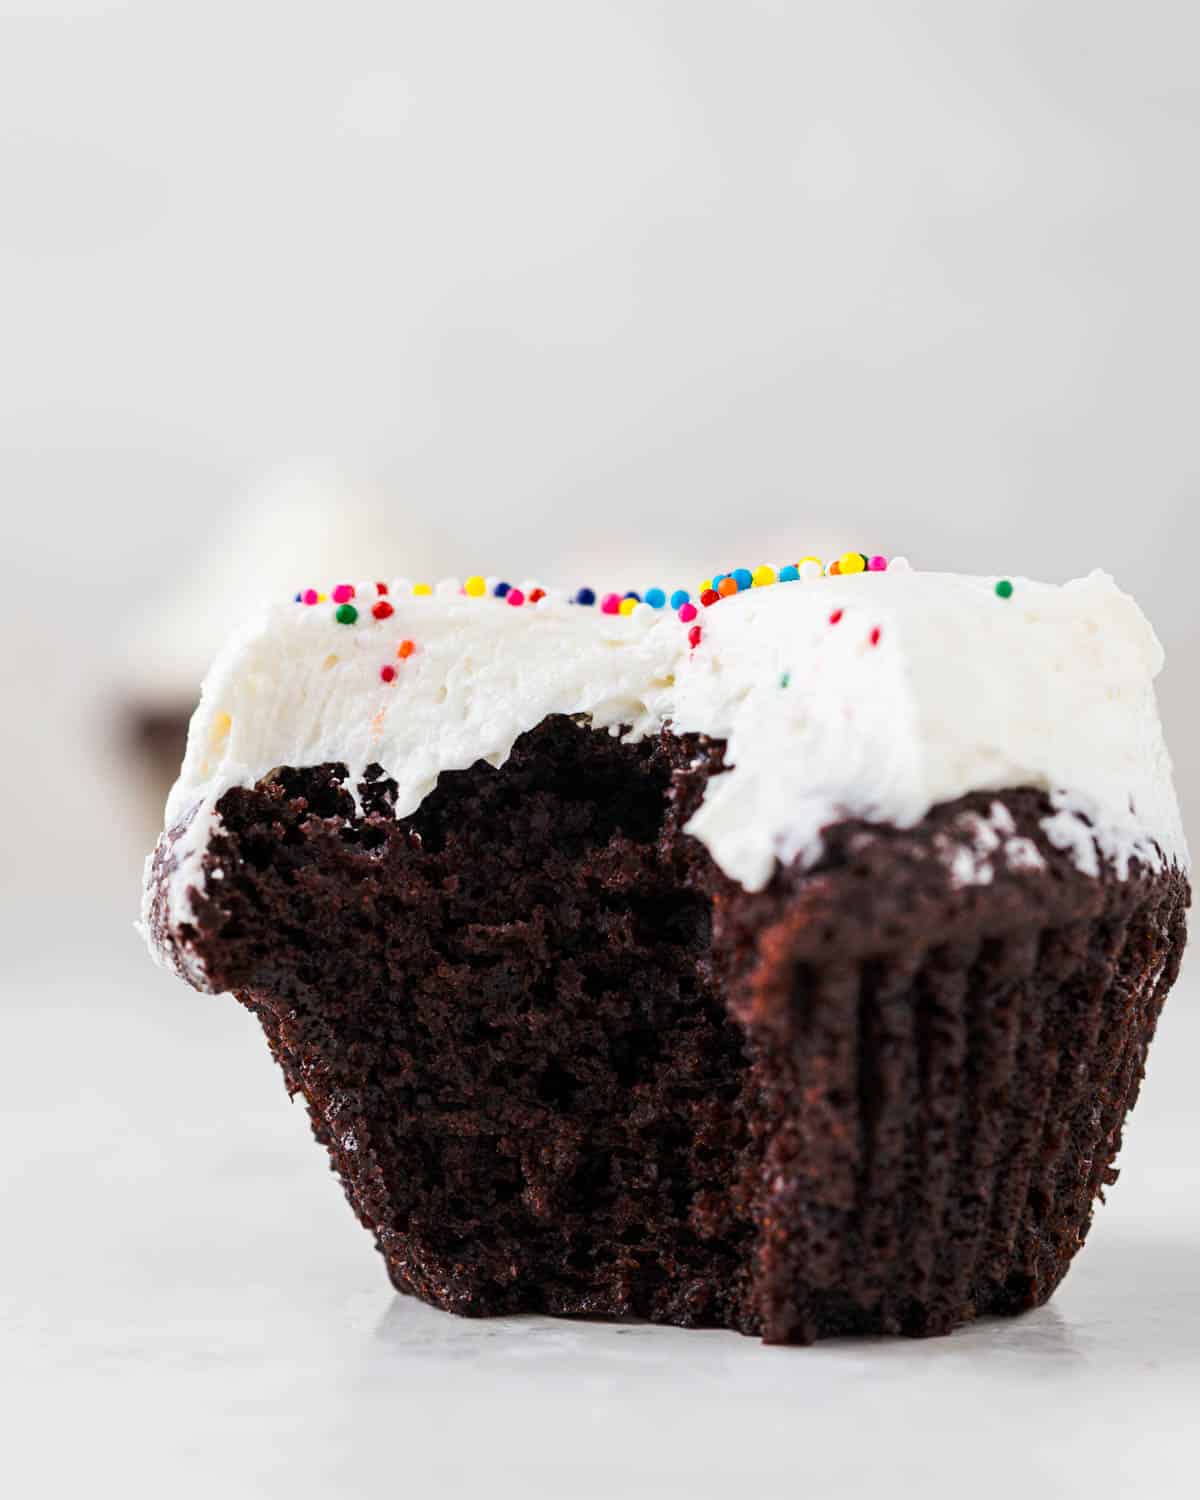
It’s the preferred frosting for Red Velvet cakes and very rich chocolate cakes because this impossibly cloud-like whipped icing isn’t as sweet as a regular buttercream and is much lighter, more balanced and extraordinarily creamy.
Whipped icing was my grandmother’s specialty
I hadn’t made my grandmother Myne’s whipped icing in a long time, but I was leafing through her handwritten cookbook, and I stopped cold when I saw this one.
Reading over the ingredients and her simple instructions, I could practically taste the lightness and creamy sweetness of her whipped icing, always paired with her rich chocolate crockpot cake.
That cake (and especially the frosting) was legendary with our crew.
We’ve always referred to it as “Myne’s whipped icing” and, up until very recently, thought it was our secret family recipe.
Then, while doing a bit of research, I discovered that my grandmother’s whipped icing was actually an established, popular recipe known as ermine frosting. Who knew?
Why this whipped icing recipe works
- Perfect for people who hate frosting because it’s too sweet. Count me in that group–cloyingly sweet buttercream usually gets left behind on my plate. But this is lightly sweet, shockingly creamy and structurally sound. It has heft, but doesn’t feel heavy. I’m telling you, this ermine frosting recipe is like a magic trick.
- It uses real butter instead of shortening, so this boiled frosting has the naturally decadent mouthfeel of a good buttercream.
- The pudgy milk and flour pudding lends volume and structure to the ermine frosting.
- Unlike most buttercream frosting recipes that use powdered sugar, this whipped icing uses granulated sugar, which you’d think would be gritty, but it’s not. Whipping the icing with a hand mixer for a full five minutes helps dissolve the sugar into this plush whipped buttercream and makes it impossibly light.
- A pinch of salt balances the flavors.
Ingredients for whipped icing
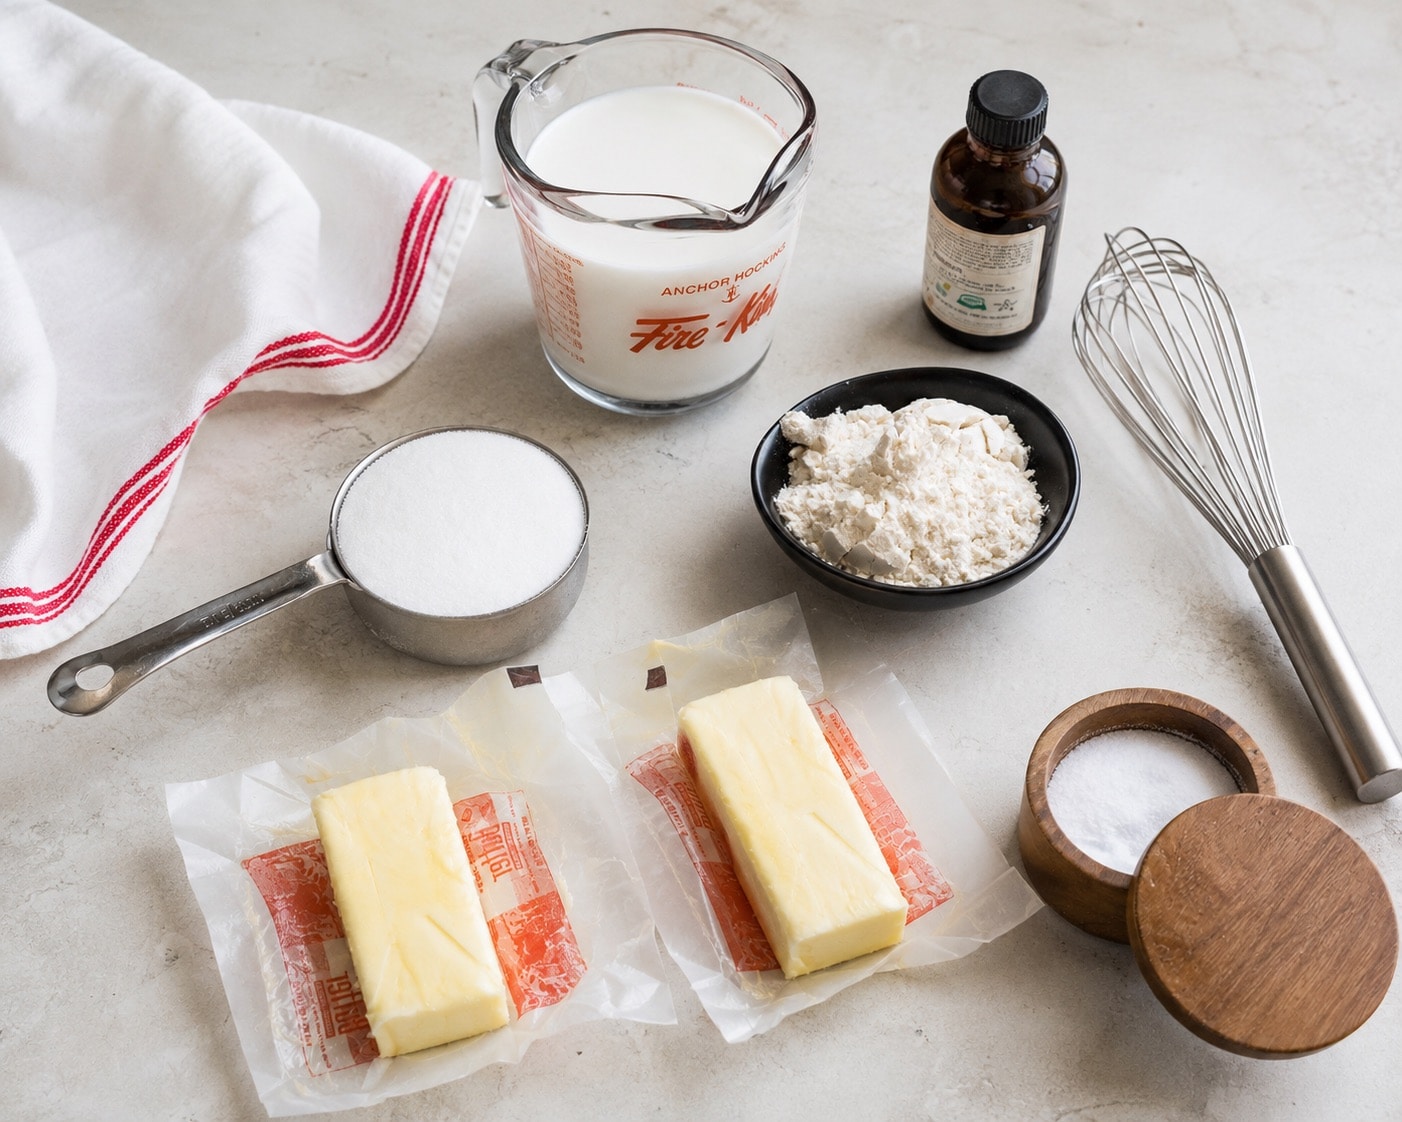
- Whole Milk–don’t substitute low-fat.
- Flour–I use King Arthur’s Unbleached All-Purpose Flour
- Butter–I recommend unsalted butter
- Granulated Sugar–do not substitute powdered sugar or brown sugar.
- Vanilla Extract–or other flavored extract
- Pinch of Salt (preferably fine sea salt)
Looking at this list of ingredients, you’re probably scrunching your nose, thinking whaaatttt???? But trust me, this ermine frosting recipe produces the most ethereal, light, and, I daresay, ADDICTIVE whipped icing you’ve ever had.
How to make ermine frosting (a.k.a. Myne’s whipped icing)
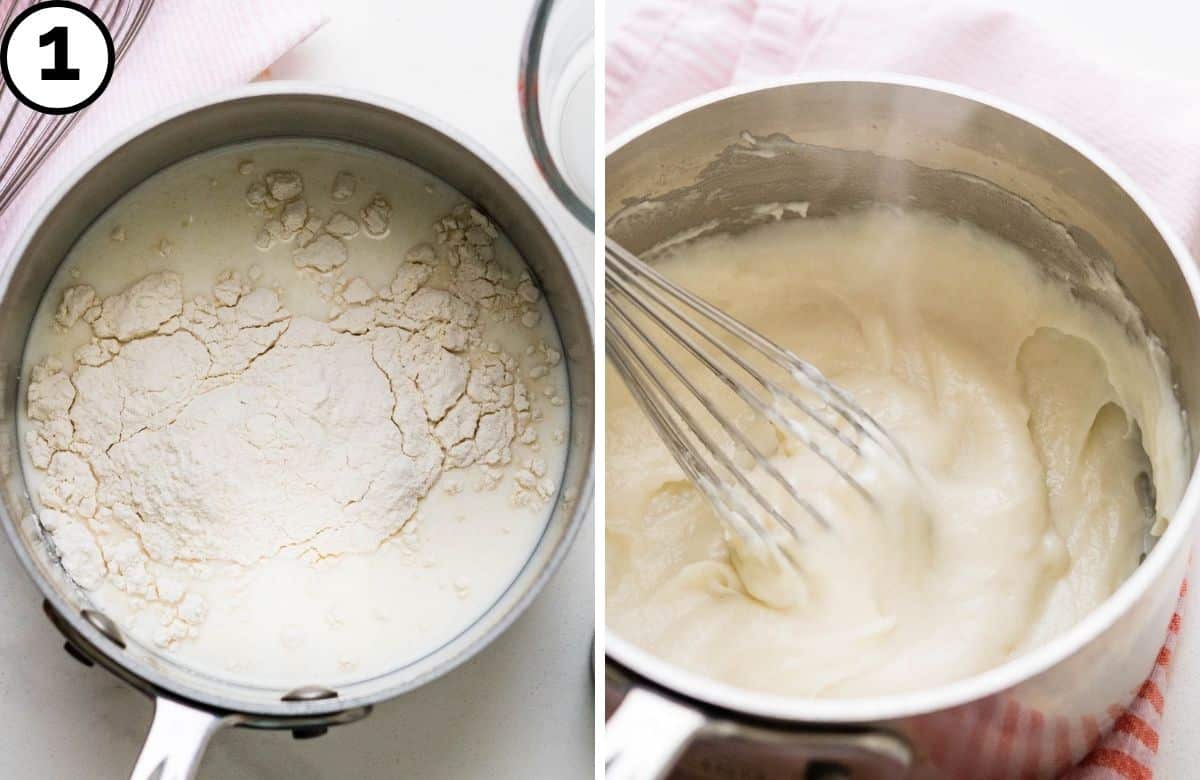
1. Mix flour and milk in a saucepan over medium-high heat, boiling and whisking constantly (I guess that’s why it was also called boiled frosting or flour frosting) until the mixture becomes the consistency of a very thick pudding. Set aside to cool completely.
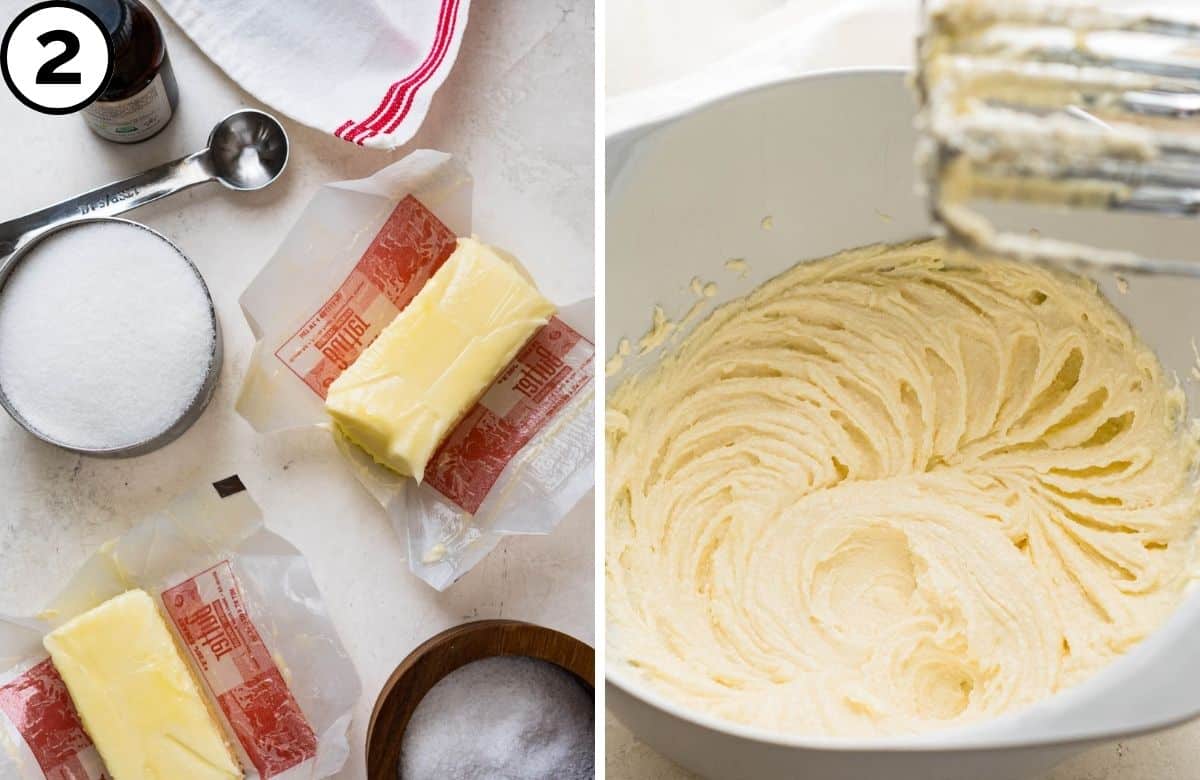
2. Use a handheld mixer to whip the butter, sugar, salt and vanilla together until light and fluffy.
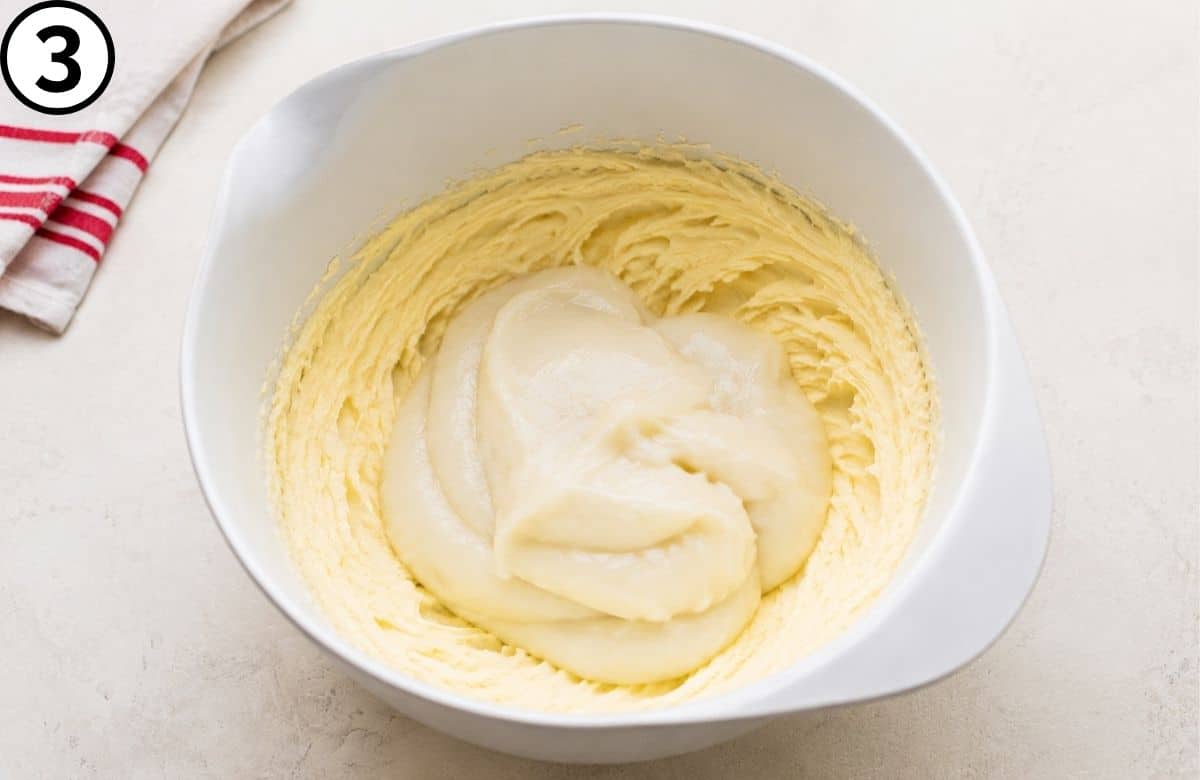
3. Add the room-temperature flour mixture to the butter mixture.
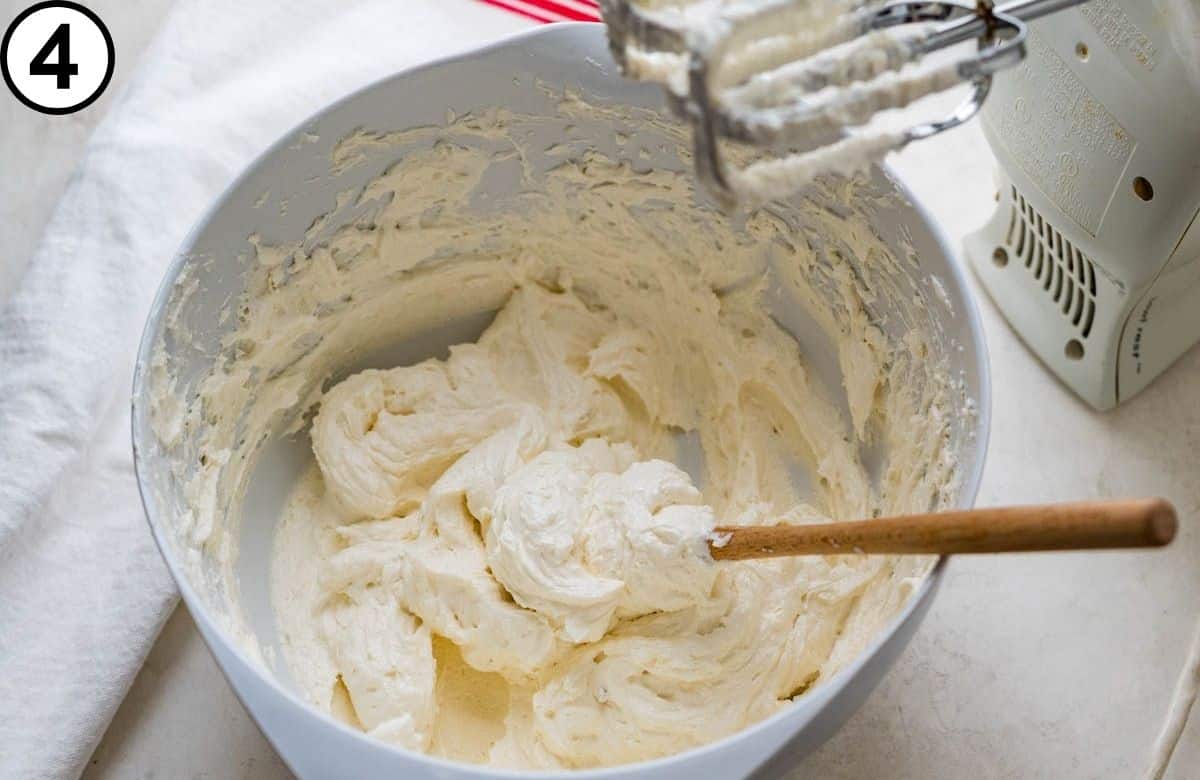
4. Beat on high speed for 5 minutes, scraping down the sides of the bowl with a spatula as needed. Transfer the flour frosting to the refrigerator for 5 minutes.
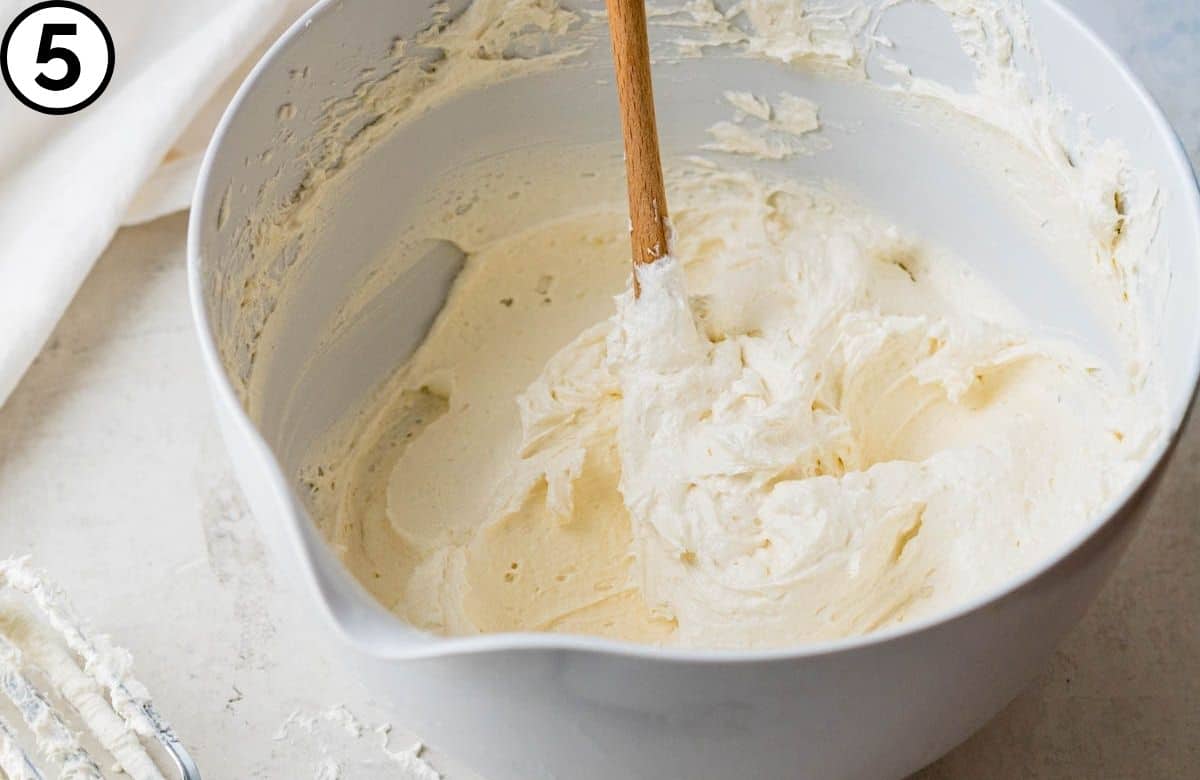
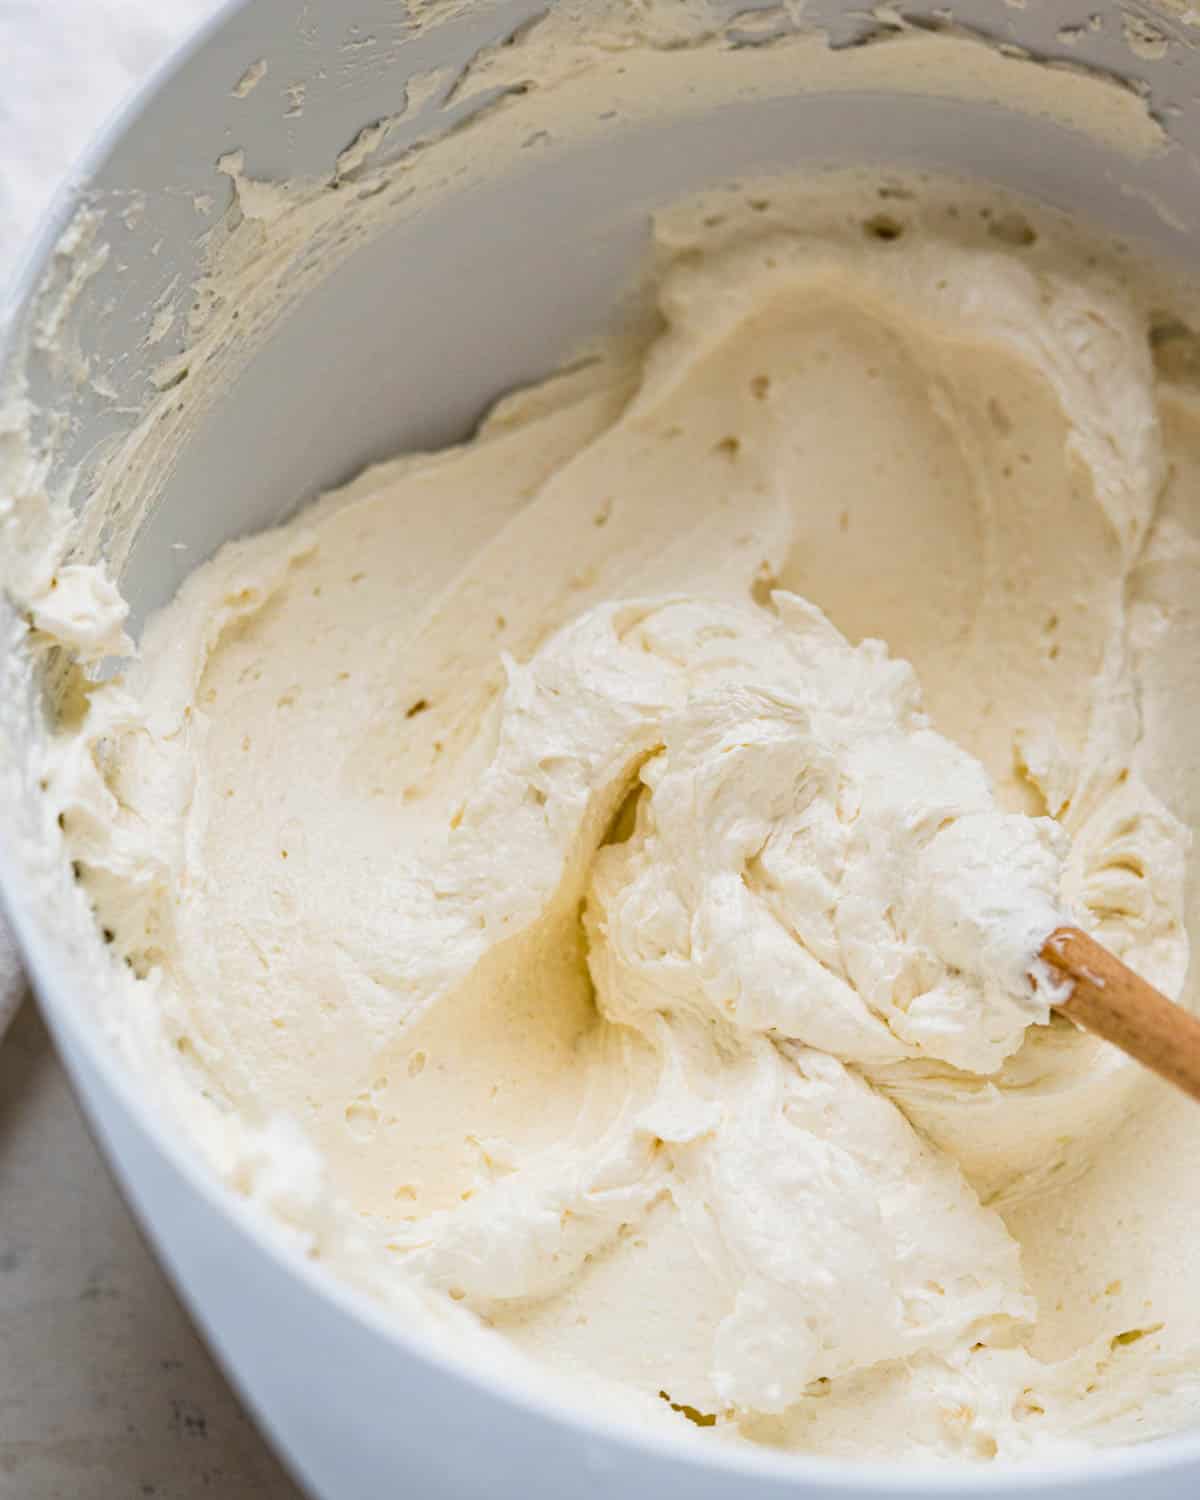
5. Remove the whipped icing from the fridge and beat again with the hand mixer for 1-2 minutes more until it’s very smooth, creamy and light. Spread the ermine frosting onto room-temperature (never warm) cakes or cupcakes for decorating.
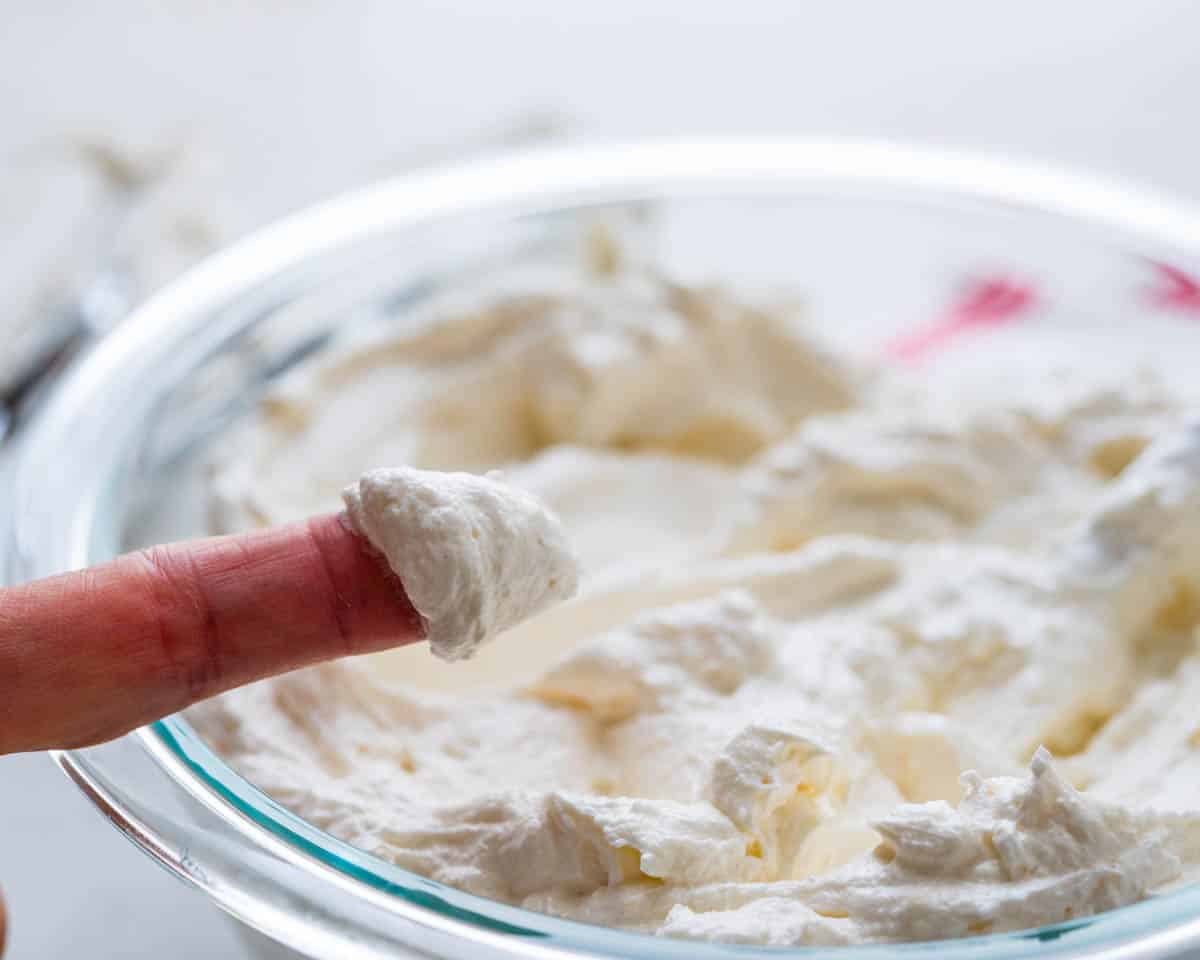
Pro-Tips for ermine frosting:
- Constantly whisk and stir the milk and flour mixture as it cooks, watching for hot spots or browning on the bottom of the skillet. If the milk paste starts to get brown, don’t scrape the bottom of the pan, as those bits can get into the whipped icing.
- Use room-temperature butter before whipping with the sugar; otherwise, it won’t blend smoothly.
- Cool the milk and flour mixture completely before adding to the butter and sugar mixture. If it’s slightly warm, it will melt the butter instead of whipping it.
- Ensure cakes or cupcakes are completely cool to room temperature before frosting, or the boiled icing will melt and slide right off.
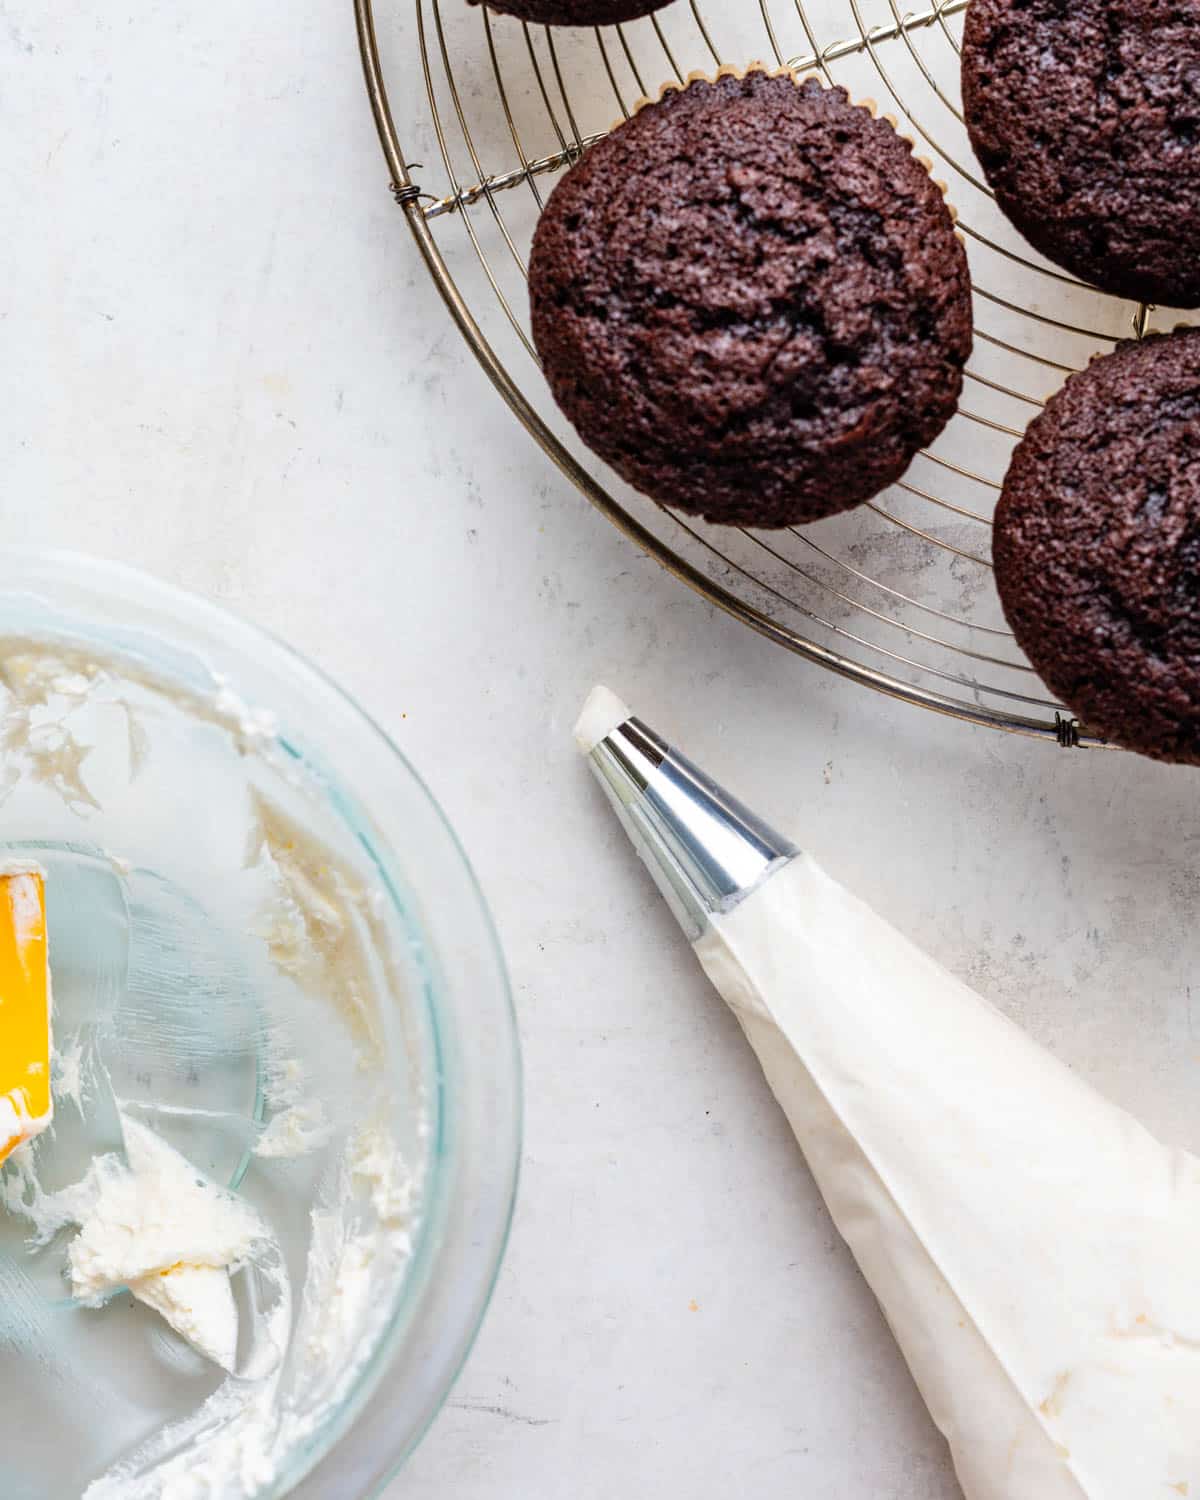
Variations and Swaps
- Use other types of extracts to flavor the whipped icing. Try it with almond extract or mint.
- Equal parts vanilla, lemon and almond extract make “wedding cake” flavor, which would be delicious for this ermine frosting.
- Add 2 ounces of unsweet or bittersweet chocolate (melted and cooled) to the whipped icing for a light, creamy dark chocolate version of ermine frosting.
- Or make chocolate ermine frosting using cocoa powder.
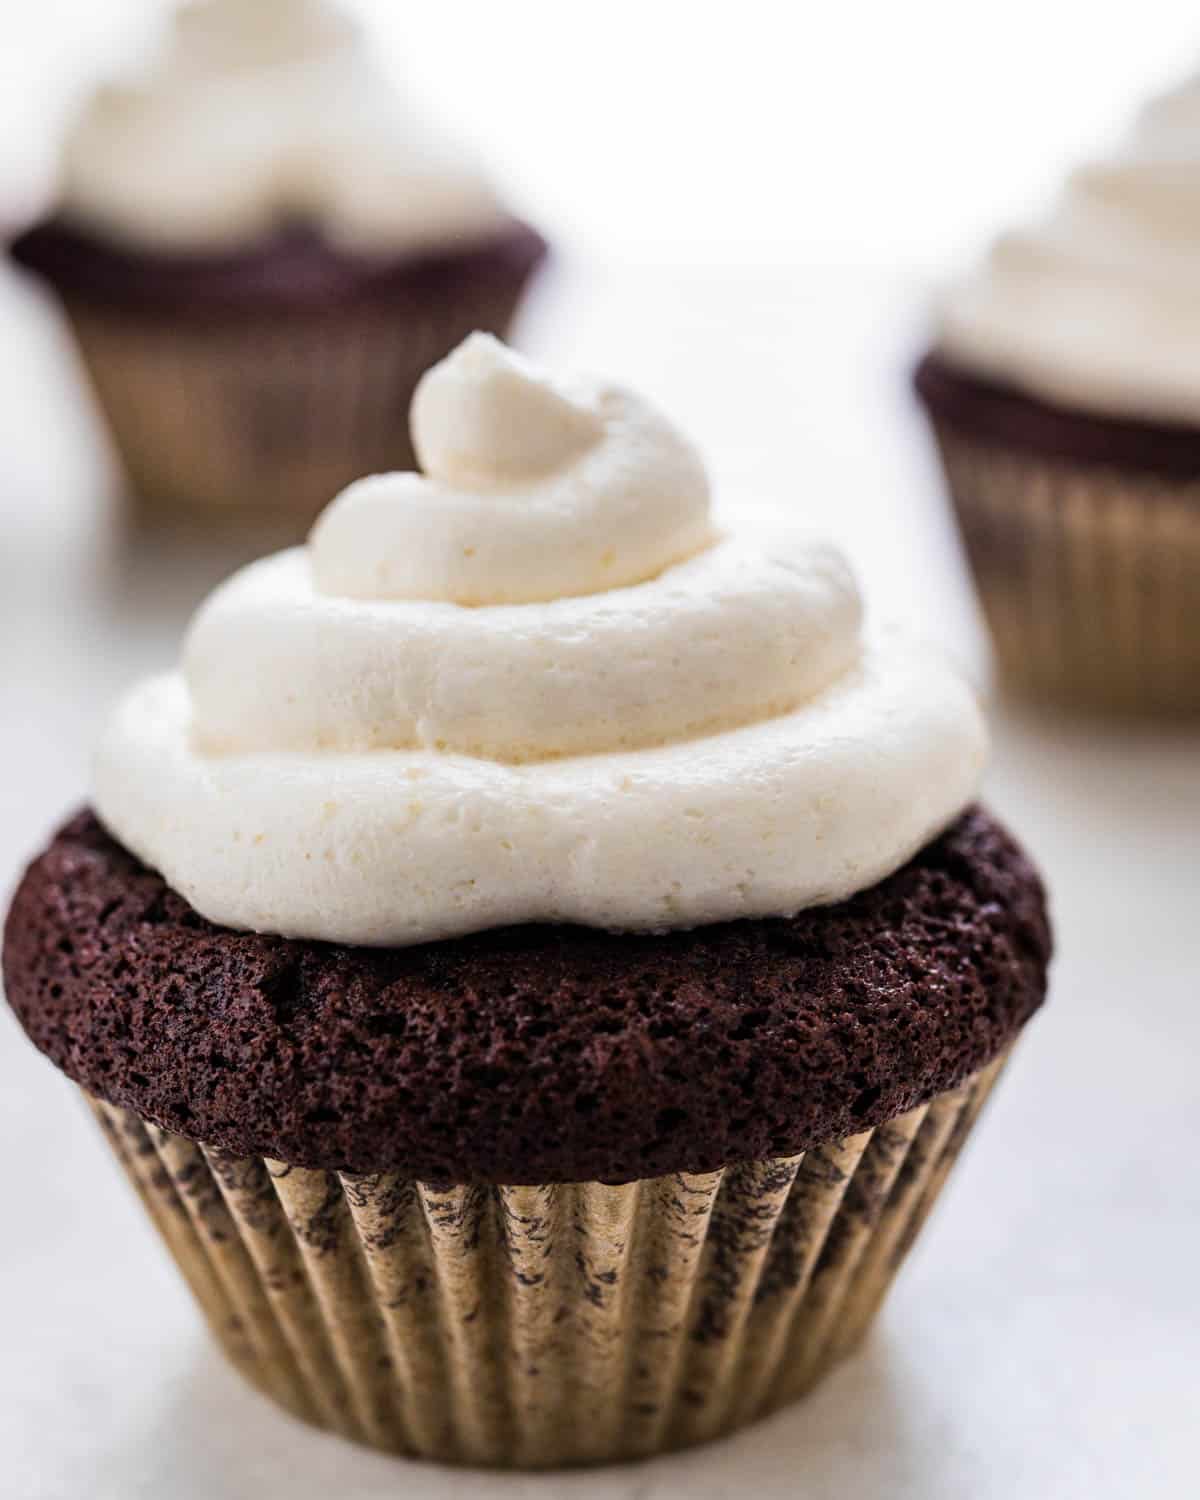
Boiled ermine frosting FAQ’s
Yes. You can make this several hours in advance, and you can keep the whipped icing at room temperature until you’re ready to use it.
Yes. Cover and refrigerate the frosting. Remove from the refrigerator and let the frosting come to room temperature before icing cakes or cupcakes. It won’t spread easily unless it’s at room temperature.
Technically, the frosting can be left at room temperature for 24-48 hours (the milk has been cooked, which destroys bacteria, and the sugars bind with the water and prevent bacteria from growing). The best way to enjoy it is at room temperature; when chilled, the frosting solidifies because of its butter content.
That said, I prefer to refrigerate the frosting and let it come to room temperature before frosting a cake, or to let a frosted cake come to room temperature before serving for the best flavor and texture. (It’s less of a temptation to kids and pets when tucked away in the back of a fridge).
Not right away. A cake or cupcakes frosted with ermine frosting can sit at room temperature for 1-2 days. However, if you’re covering the cake in plastic wrap or foil, I recommend refrigerating the cake first; then, when the butter in the frosting solidifies, cover with plastic wrap and keep refrigerated. Let it come back to room temperature before slicing — cold frosting will be solid, but at room temperature it turns plush, creamy and practically melts on the tongue.
Absolutely. This icing recipe’s structure is perfect for piping. It holds its shape beautifully, but it’s also equally easy to work with when using an offset spatula or a kitchen knife.
This recipe makes enough icing to frost one 2-layer 9″ cake or one 13″ x 9″ cake with an ample layer of frosting.
No, ermine frosting uses flour to thicken the base, so it is not gluten-free. Though I’m told a 1:1 flour substitute will work, I don’t think you’d get the same texture or mouthfeel.
No. This recipe contains milk and butter, so it’s neither.
More icing and frosting recipes you’ll love:
Ermine Frosting (a.k.a. Myne’s Whipped Icing)
SPECIAL EQUIPMENT:
- electric mixer
INGREDIENTS:
- 1 cup whole milk
- 3 tablespoons flour
- 1 cup butter softened to room temperature
- 1 cup granulated sugar
- 1 teaspoon vanilla extract
- pinch sea salt
DIRECTIONS:
- Add 1 cup whole milk and 3 tablespoons flour to a small saucepan and whisk to combine. Heat over medium to medium-high heat, whisking constantly until the mixture thickens to an almost gluey (pudding-like) consistency.
- Remove from heat and cool to room temperature. As the flour and milk mixture cools is will become pudgy and very thick to the point that it's almost difficult to stir.
- In a large bowl, combine 1 cup butter , 1 cup granulated sugar, 1 teaspoon vanilla extract and pinch sea salt. Beat with an electric mixer until very light and fluffy, about 2-3 minutes. Add the room-temperature, cooled milk mixture to the butter and beat on high speed for 5 full minutes, scraping down the sides of the bowl occasionally.
- Transfer the icing to the refrigerator for 5 minutes.
- Remove the icing from the refrigerator and beat again until thick and creamy, about 1-2 more minutes.
- Before frosting cakes or cupcakes, ensure that they have cooled to room temperature.
RECIPE VIDEO:
NOTES:
NUTRITION:
Nutritional Disclaimer
Nutritional information is an estimate only and is provided as a courtesy. Values are calculated automatically based on the ingredients and quantities in each recipe and may vary depending on specific brands, exact measurements, and substitutions made. For precise nutritional guidance, especially if you have a medical condition or dietary restriction, please consult a registered dietitian or run the ingredients through your own nutrition calculator.Pin it for later!
How would you recommend adding food colouring to the icing without seeing the sugar granules? I’ve tried so many times but I always see the sugar.
The granulated sugar should dissolve with all of the mixing – the icing should be smooth with no noticeable sugar granules. If that’s a problem you’re seeing, I would put the granulated sugar through a food processor for 30-40 seconds to create a super-fine sugar that will dissolve more readily. I have used food coloring (the paste variety and added it after the icing is finished. It’s always worked for me.)
Tasted like straight up milk
Hey Ellery! It sounds like you didn’t add the sugar.
I was curious about this recipe as it bears similiarity to german buttercream(which uses vanilla pudding and more of a 2:1 ratio of pudding to butter) and would say it’s still relatively “heavy”.
I only added 130g of sugar because I am used to American recipes being way too sweet but it’s was still a bit too much so maybe 100 g would suffice (If one prefers less sweet) and it took ages to dissolve the sugar.
Overall it’s still fine but it lacks the fluffiness i expected from the description despite whipping it up several times. If I were to make it again i would probably only use 100g of powdered sugar and double the amount of the milk-flour mass.
I agree with you that most American buttercreams are too sweet; that’s why I enjoy this one, the sugar doesn’t dominate. If you are looking for something less sweet and even lighter, I would recommend a stabilized whipped cream. You can adjust the sugar to your tastes, and gelatin will keep the cream from falling or weeping.
Can this be made and refrigerated day before icing ?
Yes, it can be made the day before, however it needs to set out until it’s room temperature in order to ice the cake. It will be stiff straight from the fridge.
Can I make the milk part the night before & whip it up the next day with the butter?
Yes! Just make sure that both are room temperature, you’ll get lumps otherwise.
Love Ermine Frosting! Would this amount cover two half sheet cakes? They are each 13×18 and I will also be frosting a 6” and 8” heart cake with piping. Could this recipe be 2x’s or even tripled?
It’s for a wedding.
I would make several batches. Yes, you can double the recipe, but you’ll need a large bowl and beaters or maybe a stand mixer.
Is this strong enough for a layered cake. Or will it fall apart ?
I use it on 2 layer cakes.
I always thought this was My Grandmas secret! …But if you want an amazing lemon frosting add 1 package of (unsweetened) Kool-Aid with the sugar!
This recipe makes the best icing I’ve ever tasted. It’s super creamy, ultra-light and not overly sweet like so many buttercream frostings can be. It’s also easy to work with. I made mine a day ahead of time and refrigerated it overnight. I did have to let it sit out on the counter so the butter in the icing could become soft again… once it got to room temperature I re-whipped it with a hand mixer for 30 seconds. Easy peasy and super delicious!
Does the cake need to be refrigerated? Or can it be left out room temp after decorating
If you’re serving the cake the same day, you can leave it out at room temperature, but if it will be served over several days, I store it in the fridge for overnight – and take it out an hour or so before slicing for the best flavor.
I have made alot of different frosting/icing from scratch and hands down this is the best tasting frosting I ever tried and it’s just thick enough to spread and stays where you want it to stay. Perfect recipe, taste and light n fluffy I’ll never have to try another recipe this is a keeper. Great job and thank you for sharing this.
This is great!! I thought that it was a little sweet so I cut the sugar in half. Our family is picky with icing but everyone liked this!
Can I use dairy free milk and gluten free flour? Has anyone tried that?
I remember my mother making this type of frosting when I was young. I made it and it came out perfectly! Sooo good on chocolate cake. Brought back great memories
Fabulous icing! Smooth, creamy and not too sweet.
I’m very excited to try this frosting. However, how could I make it gluten free? I typically replace flours, as thickeners, with corn starch. Should I replace with corn starch or gluten free flour? Suggestions please. Thank you!!
Love this frosting. Can it be piped?
Yes. It pipes beautifully.
Can you leave it in the fridge over night until ready to use? Then just whip it again before?
Yes, and it may not even need a second whip.
This is the only frosting recipe I use! My grandmother gave it to me & it was from her mother, who grew up in the 1800’s & used lard in the recipe. My grandmother converted the recipe to butter when she immigrated to the US from Sweden. So delicious!!
this is AMAZING! THANK YOU for sharing!
I have always wanted to try this frosting! So intrigued!
It’s honestly my all time favorite!
This is my favorite icing ever!
OMG! This is my mother’s frosting! Hers was called “Fluffy White Frosting”. I have her recipe written in her own hand.She was born in 1913. I have not made it in over 30 years. This ethereal connection has inspired me to bake a cake and use this frosting once again! One slight difference is that hers did not have sea salt in it and had a bit of a different process.Thank you for what you do. I have tried and loved many of your recipes.