
How to Blanch Green Beans Ahead of Time (Fridge or Freezer)
Inside: How to blanch and shock green beans up to 3 days ahead, the paper towel trick that keeps them crisp in the fridge, how to freeze them for later, and the five-minute garlic butter finish.
Blanching green beans ahead of time is one of my favorite kitchen head starts. A day or two before a dinner party, or any night I know will be hectic, I boil them, plunge them into ice water, roll them up in paper towels, and put them in the fridge. When it’s time to eat, they go into a skillet with garlic butter, and they’re on the table in five minutes, as bright and snappy as if I’d just made them.
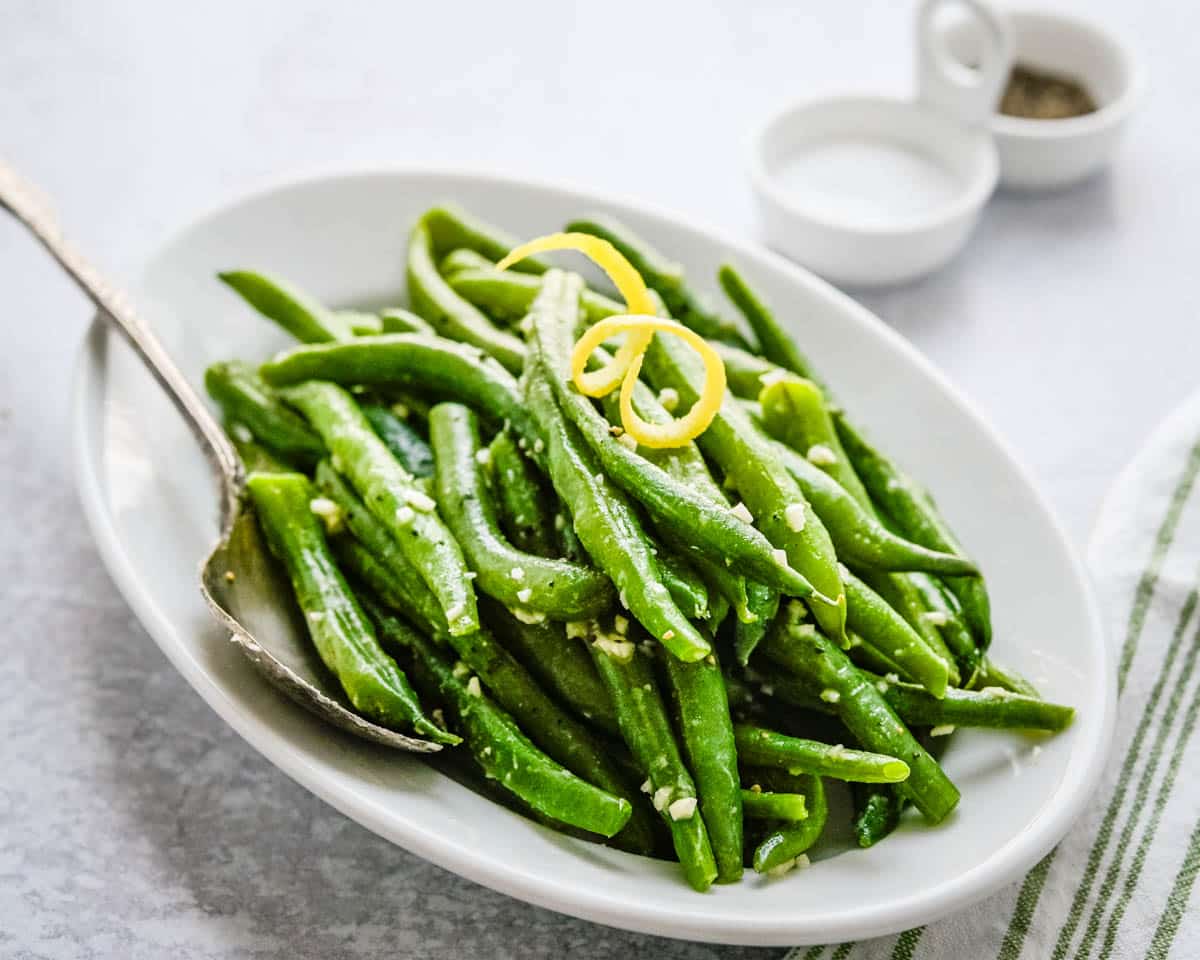
That two-step move is called blanching and shocking. The boil cooks the beans to crisp-tender and sets that vivid green. The ice bath stops the cooking so they stay that way. Lemon, butter and garlic are my go-to finish, and it’s the one in the recipe below, but once your beans are blanched, you can take them anywhere.
Anything you can do to get a head start on dinner is a gift to future you, and this is a small but meaningful one. It works at any scale, too. I make it often for Scott and me with half a pound of beans, and the same method handles 3 pounds for a table of 12. It’s also how I handle green beans at Thanksgiving: blanch them a day or two ahead, then warm and season them while the turkey is being carved. (We prefer them like this over a heavy green bean casserole.)
If you have a smaller household, blanching, shocking and freezing green beans is a boon, because you can reach into the bag and take just what you need; they’re ready for whatever you need them for: as a side dish, or to finish a soup or stew.
Why Blanch Green Beans Ahead of Time
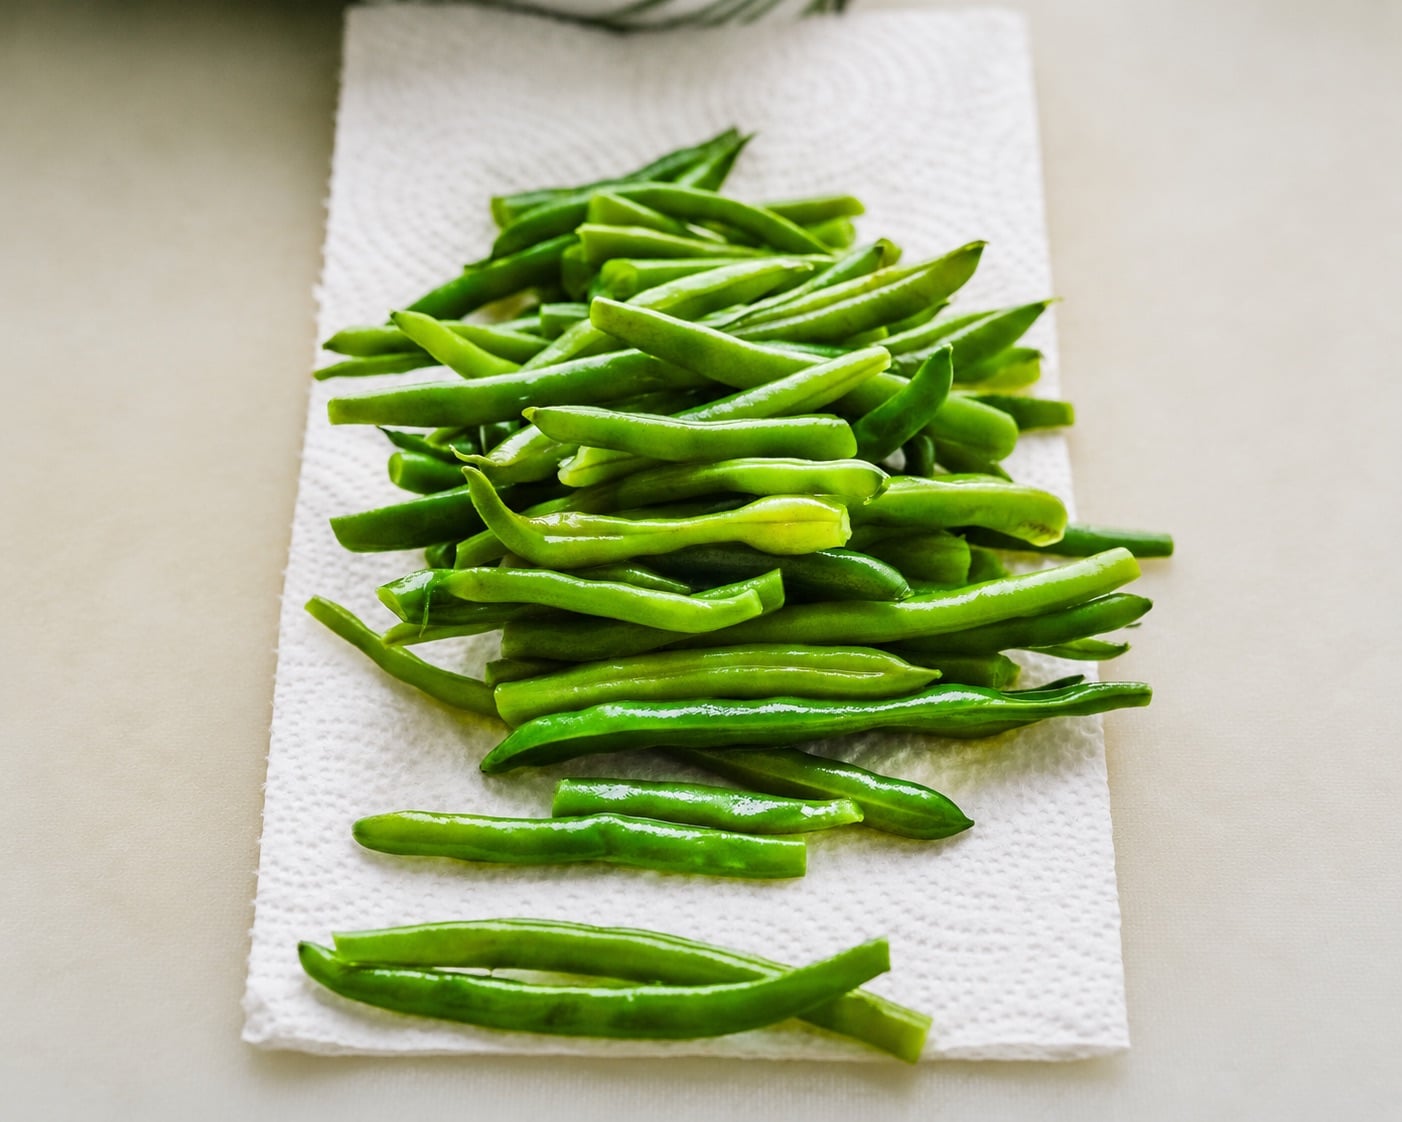
- You get a burner back. The boiling, the ice bath, and cleanup happen days before the party.
- The color holds. Beans that get shocked stay bright green instead of drifting toward khaki (like canned green beans).
- The texture holds. Ice water stops the cooking, so the beans stay crisp-tender through a second trip to the stove.
- The seasoning is flexible. The beans are a blank slate until the last five minutes, so you can decide on the finish that day. Garlic butter and lemon is my default, and black garlic butter is the dressed-up version.
What you’ll need:
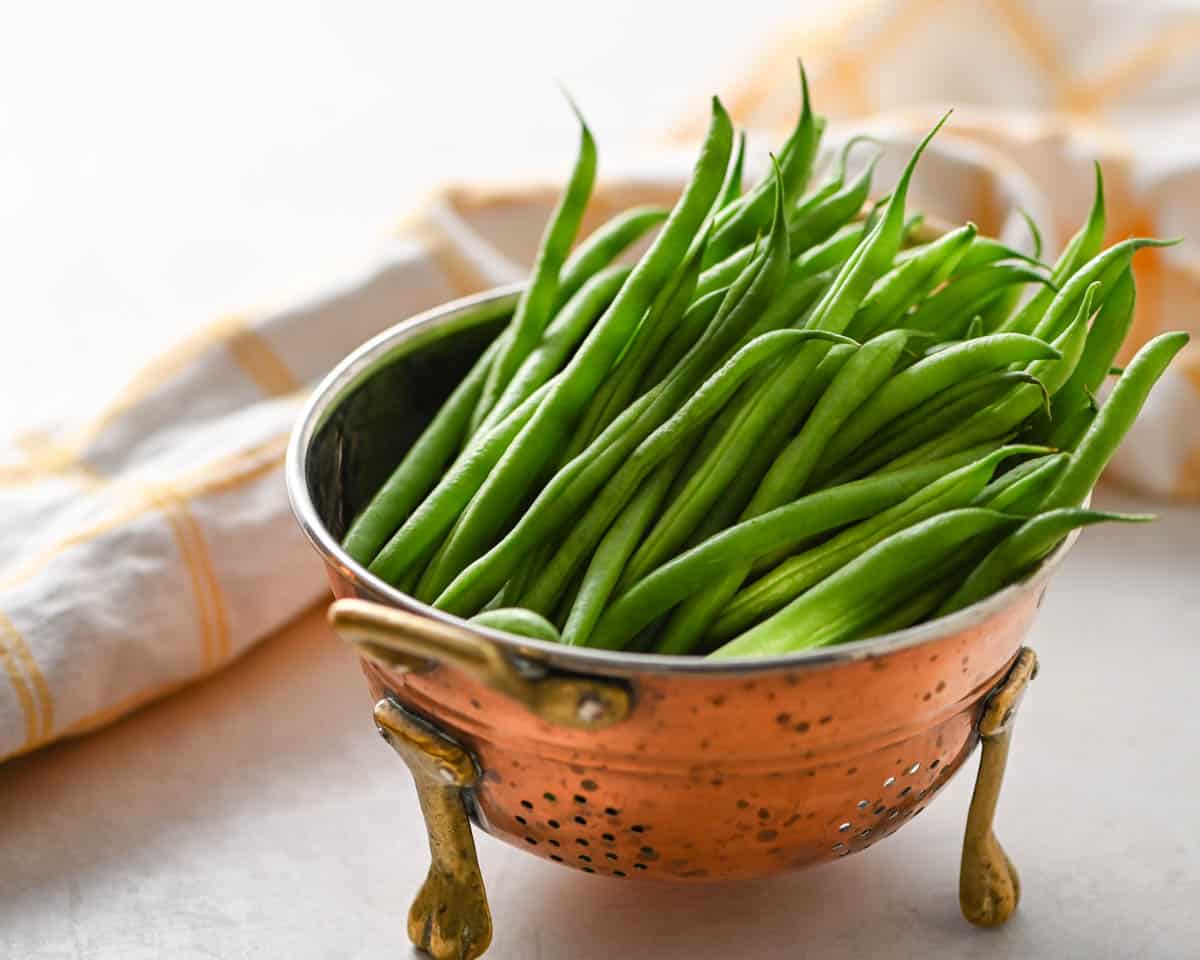
- Green beans: look for firm, sturdy beans that snap when you bend them, with no spots or blemishes. If your market lets you pick your own, do it. One pound feeds four.
- Kosher salt: a teaspoon goes in the water to season the beans as they cook.
- Ice: more than you think. The water has to stay icy cold once the boiling-hot beans go in.
- Tongs and paper towels: tongs to move the beans, paper towels to dry and store them.
- Zip-top bag or airtight container: for the fridge.
- For the finish: butter, a large clove of garlic, fresh lemon juice, salt and pepper.
Blanching Green Beans, Step by Step:
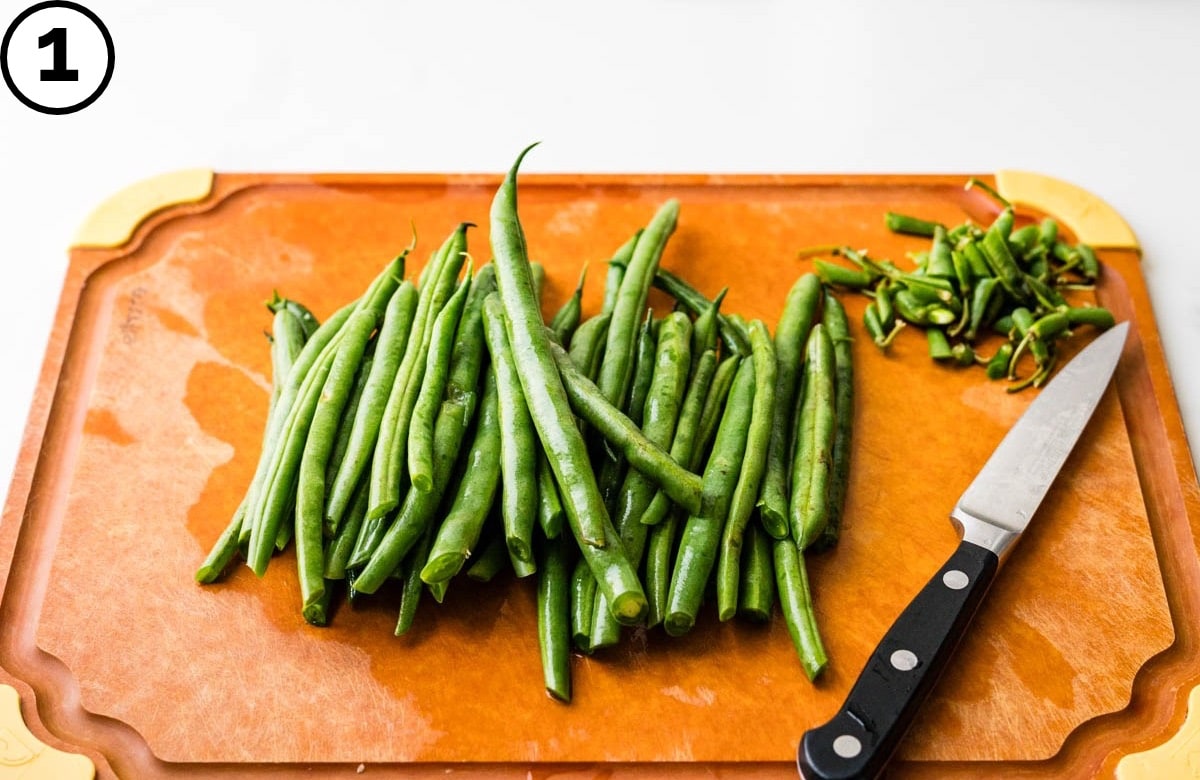
1. Trim the beans. Use a sharp paring knife to cut the tough stem from one end of each bean and check the other end for dry or brown spots. Remove them too.
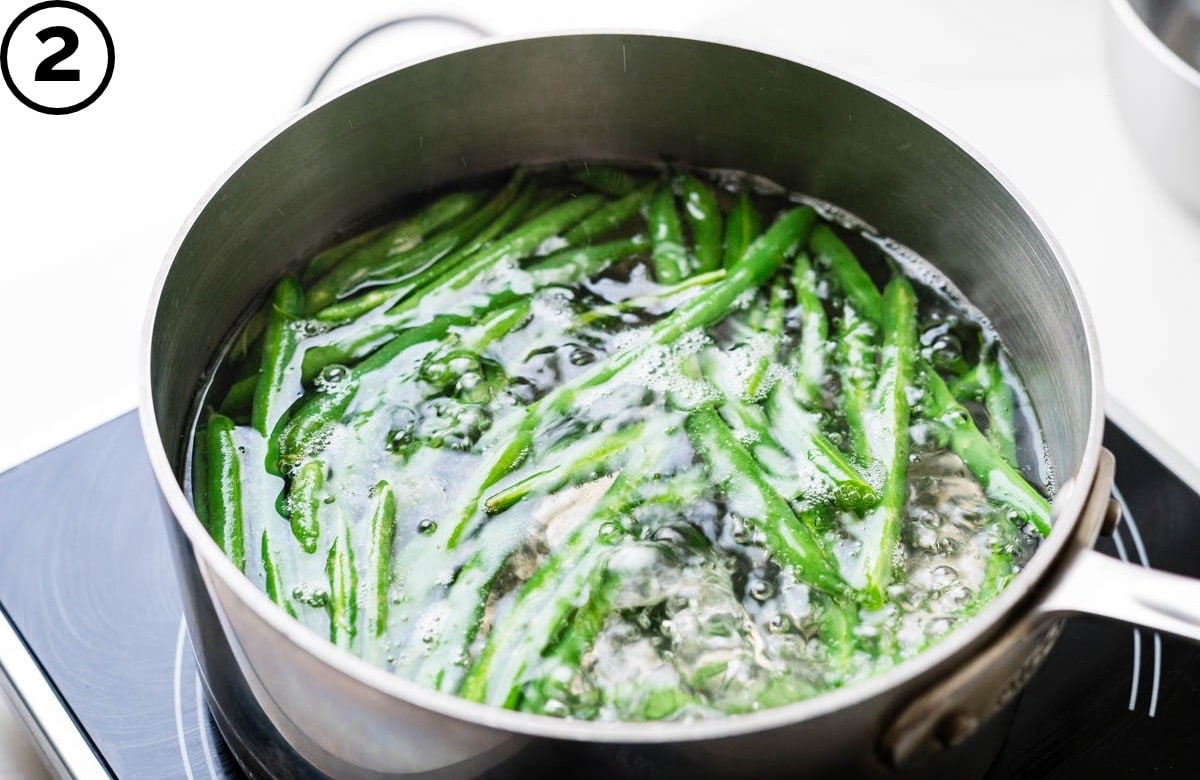
2. Boil salted water. Fill a large pot about ⅔ full, bring it to a boil and add a teaspoon of salt. Once the water boils, add the trimmed beans. Cold beans may knock the water off the boil, so let it come back up and start your timer then. Cook for 3 minutes, whether the beans are headed for the fridge or the freezer. A finished bean is firm but not hard, and it shouldn’t squeak when you chew it. Use a pair of tongs to fish one out and bite into it as a tester.
While the water comes to a boil, set up the ice bath by filling a bowl with lots of ice and cool water. Set aside.
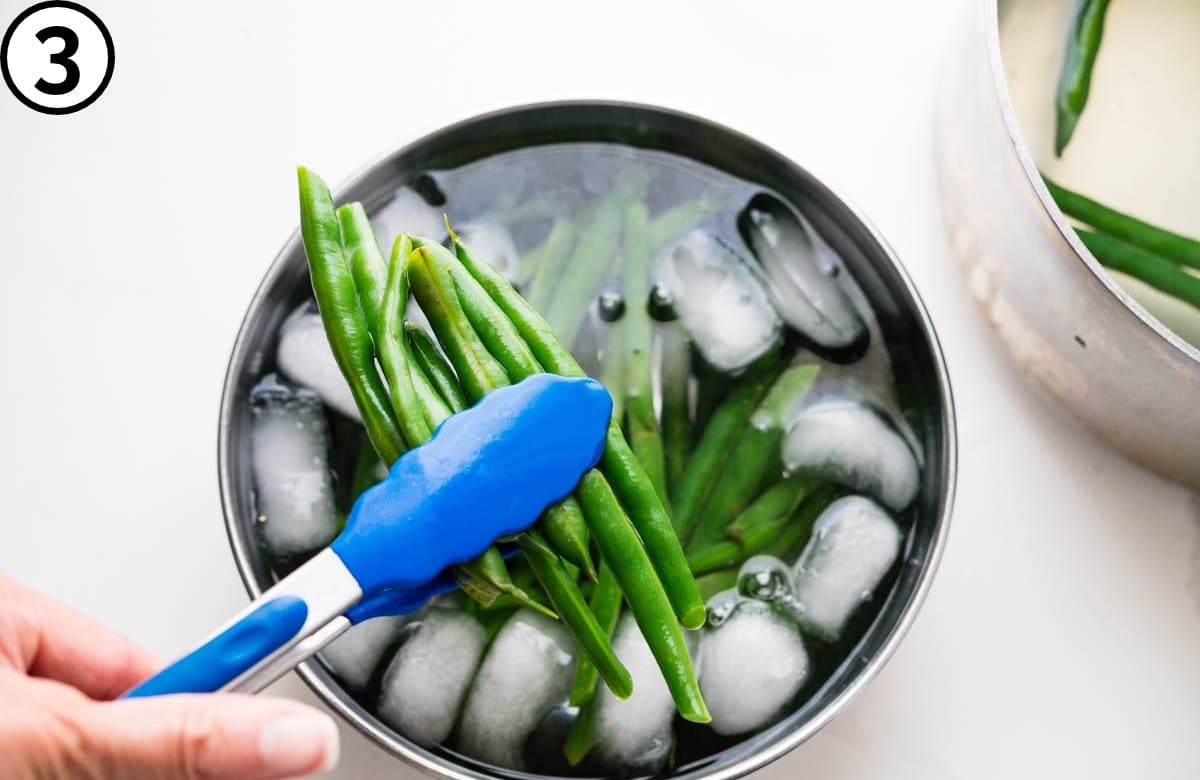
3. Shock them. Use tongs to move the beans straight into the ice water. Submerge them and swish them around so they cool fast and hold their color. Leave them in for at least 5 minutes. They should be cold to the core when they come out, because that’s how you know the cooking has stopped. Fully chilling the beans will also set the bright green color instead of turning a muddy gray-green.
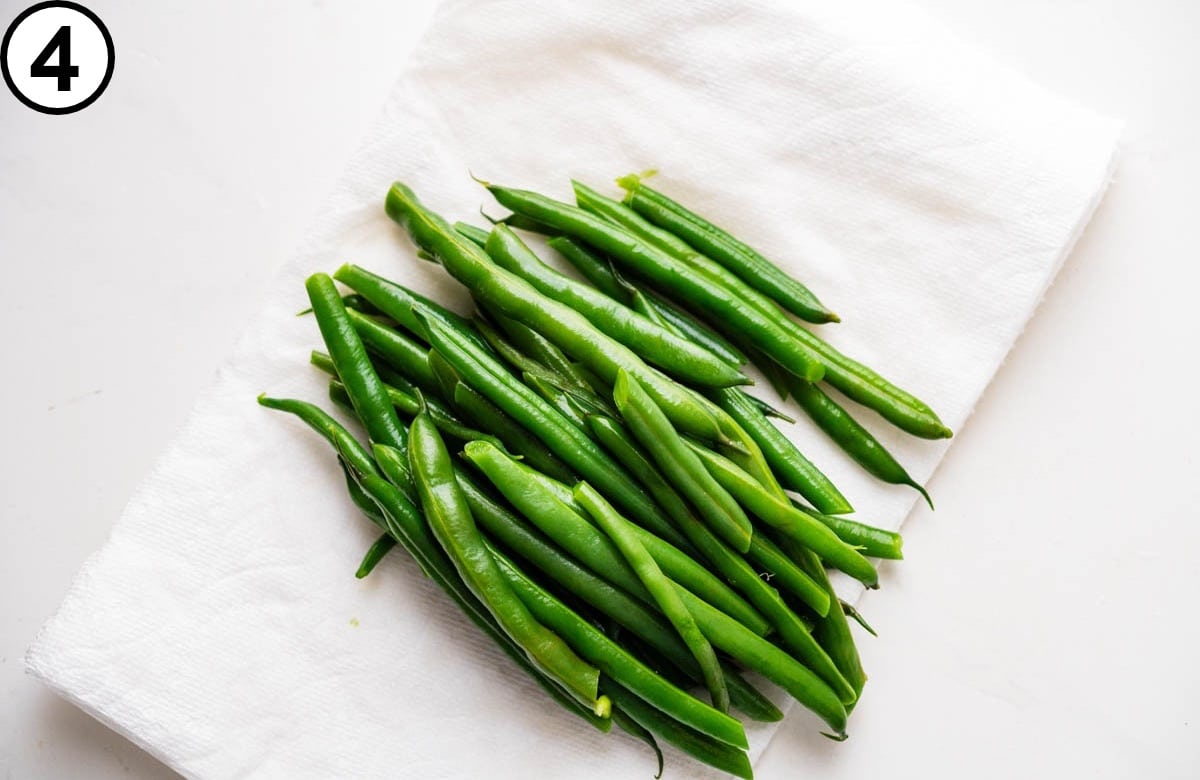
4. Dry them. Stack several paper towels on the counter, lift the beans out of the ice water and transfer to the bed of paper towels. Blot them dry with an extra paper towel.
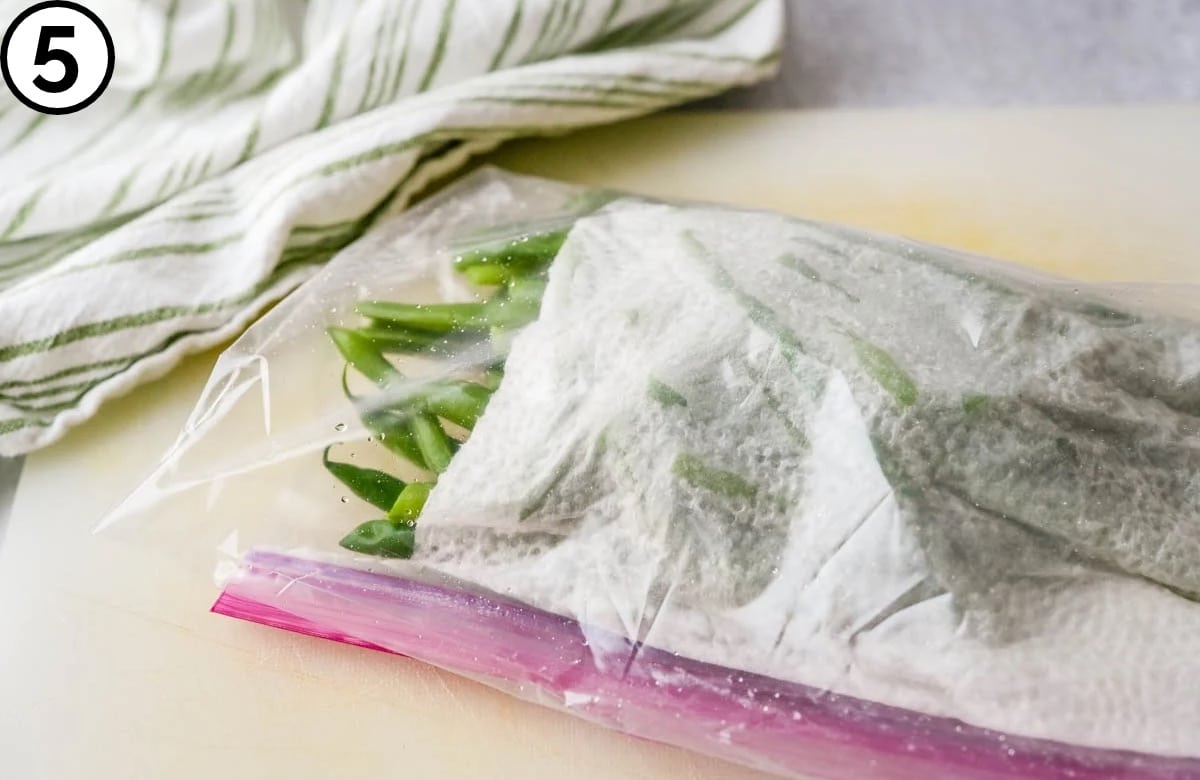
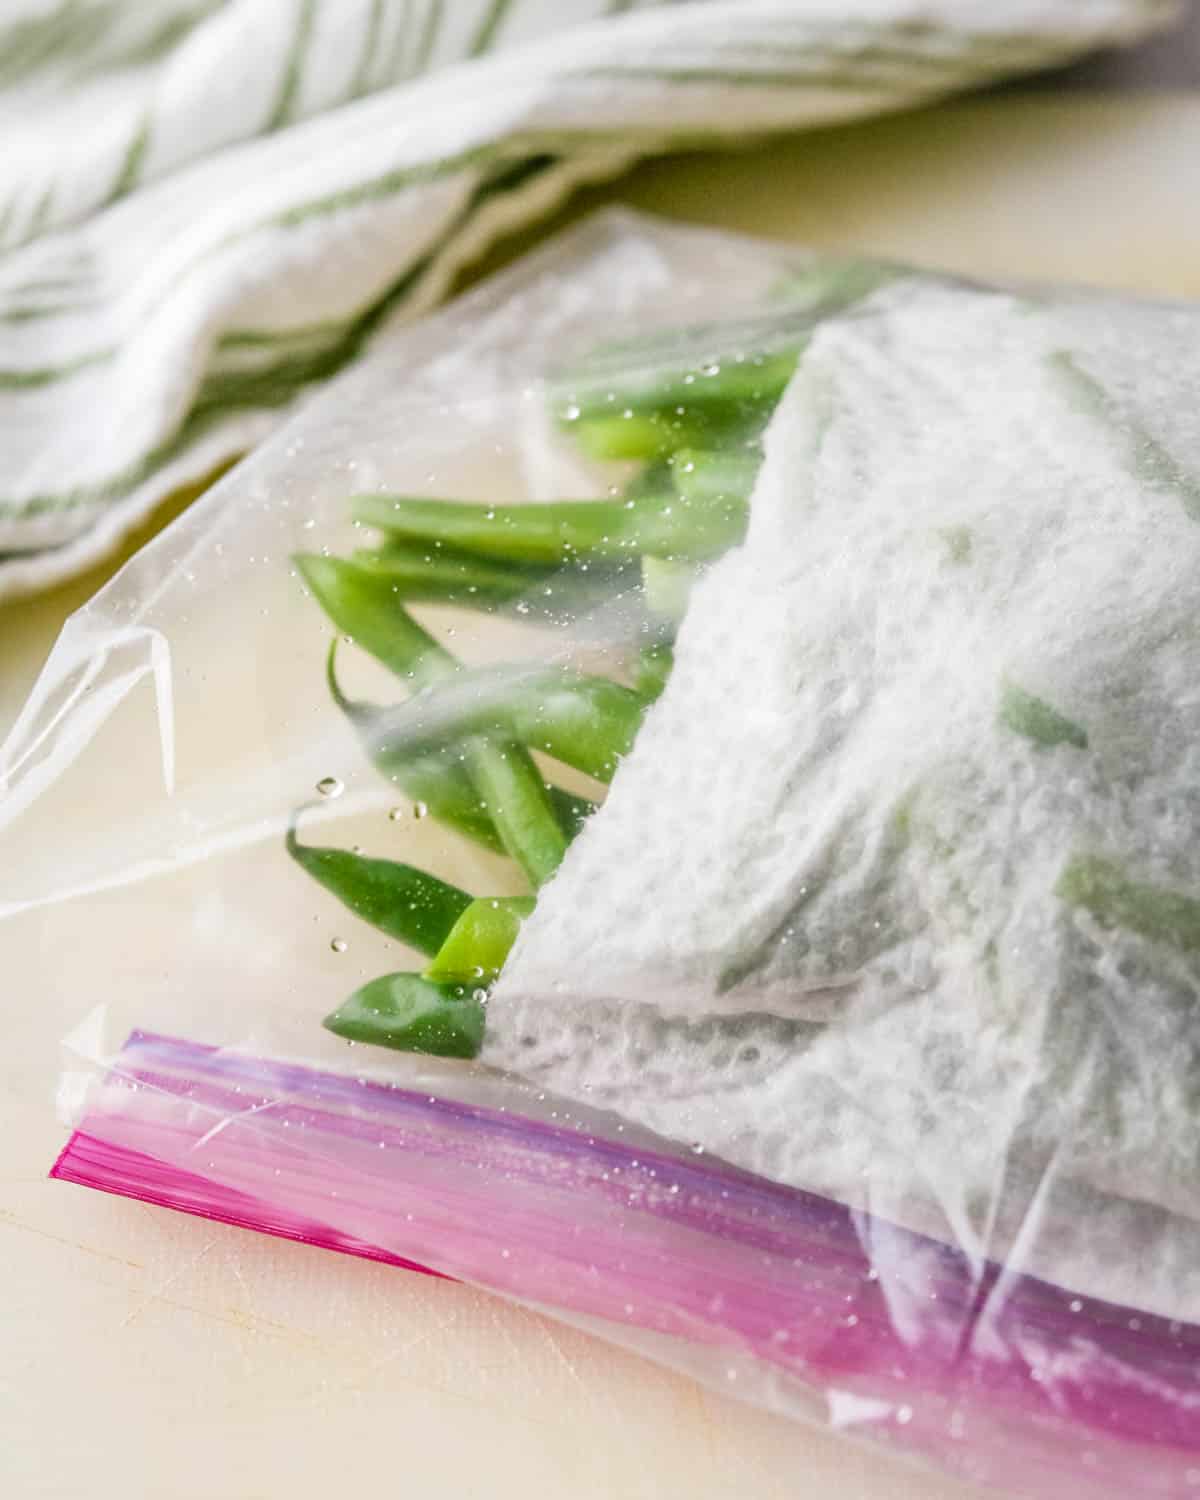
5. Wrap and chill. Wrap the beans in a fresh paper towel and transfer to a zip-top storage bag. Refrigerate until you’re ready to heat through and season.
How to Freeze Fresh Green Beans After Blanching
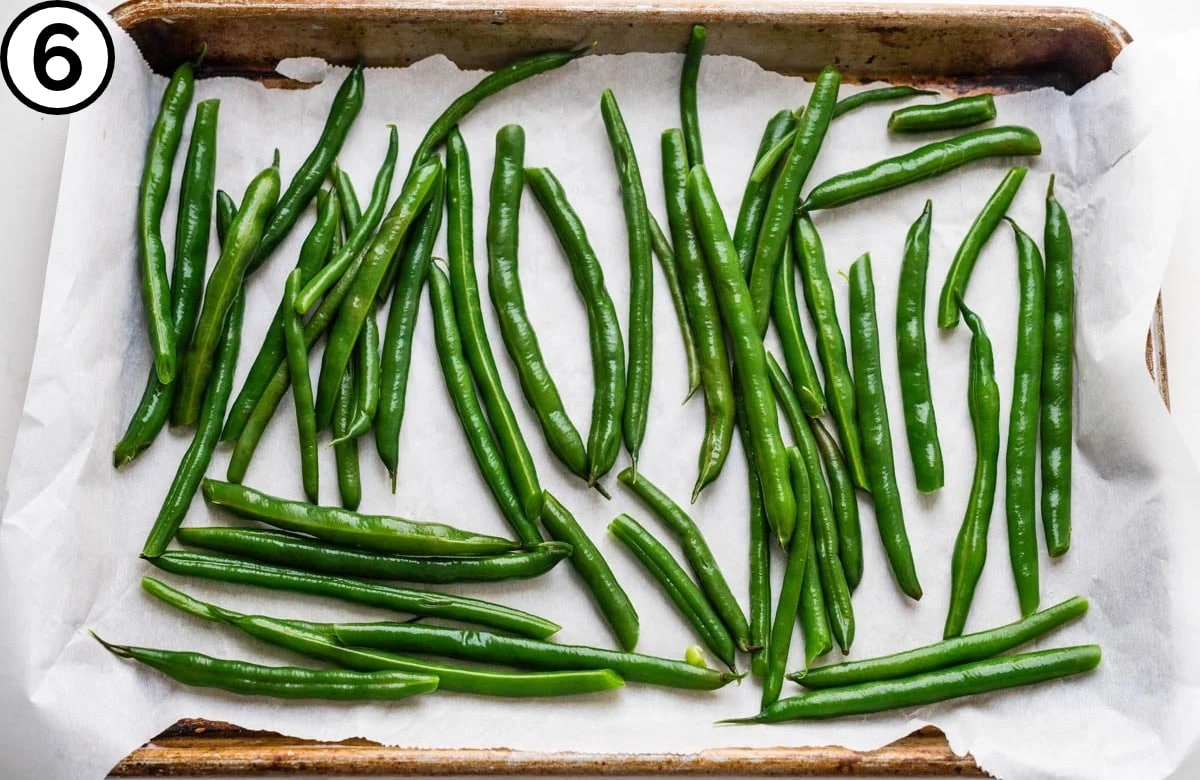
6. Freeze in a single layer. Blanching green beans for freezing starts the same way. Arrange the blanched, shocked beans on a rimmed baking pan lined with parchment paper. Arrange the beans so they’re more separate on the pan and not clumped together. Freeze for at least one hour and up to two. Give them the full hour, or they can stick together, and you can’t grab what you need from the bag.
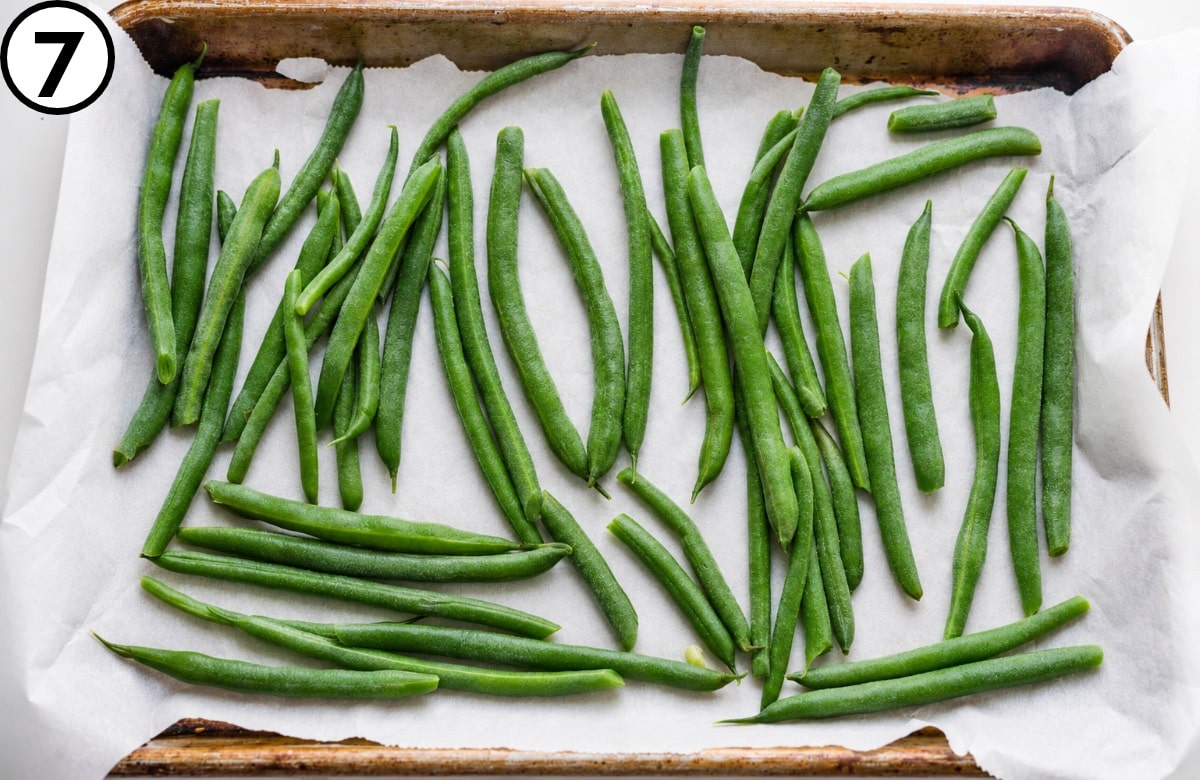
7. Bag them. After the beans have frozen solid, transfer them directly to a zip-top freezer bag or freezer-safe storage container (no paper towels needed) and freeze for up to two months.
How to Store Blanched Green Beans:
- Pat dry any excess water on the beans. Water left clinging to them makes them slick or tacky in the fridge.
- Roll the blanched beans in fresh, dry paper towels and tuck the bundle into a zip-top bag or airtight container. Refrigerate up to 3 days.
- If they’re only staying in the fridge for a day, there’s no need to swap out paper towels. For 2 or 3 days, you may need to swap it out.
Using frozen blanched green beans
- In soups and stews: add them straight from the freezer.
- In the microwave: put them in a microwave-safe container with plastic wrap or a paper towel resting on top. Heat in 1-minute bursts for 2 to 3 minutes.
- On the stove: reheat them in a saucepan with a bit of butter or olive oil, then season with salt and pepper. Lemon juice and garlic are optional.
- With bacon: crisp 2 or 3 strips of bacon in a skillet, then remove them to drain. Pour off all but 1 tablespoon of the fat. Add 2 teaspoons of butter and sauté the frozen beans until they’re heated through. Season with more salt and pepper if you like, then crumble the bacon back over the beans. Pancetta works the same way.
- With bacon and mushrooms: keep all the bacon fat in the pan and sauté sliced mushrooms until browned. Add the beans, cook them through and crumble the bacon on top.
- For a holiday table: I go with pancetta, shallots and mushrooms, like my holiday green beans, or my orange Dijon green beans with pearl onions.
How to Cook Blanched Green Beans in a Pan
- Mince the garlic. Finely, because no one wants to bite into a big hunk of garlic.
- Melt the butter. Use a large skillet over medium heat. Add the garlic and stir until it’s soft and fragrant but not browned, since browned garlic turns bitter.
- Add the beans. Toss them in the garlic butter with tongs until coated.
- Heat them through. Put the lid on and heat for 2 to 3 minutes, tossing once or twice. The steam speeds things up and heats them evenly.
- Season at the end. Remove the lid, add the lemon juice, salt and pepper, toss and serve.
Pro-Tips:
- Time from the return to the boil. A pile of cold beans can stop the water from boiling. Your timer starts when it’s bubbling again.
- Taste, don’t trust the clock. Skinny haricots verts cook faster than thick supermarket beans. Fish one out and bite into it. They should be crisp-tender with no squeaky sound as you chew.
- Skip the colander. Tongs get the beans into the ice bath immediately. Stopping to drain gives them time to keep cooking.
- Add the lemon last. Acid dulls green vegetables, so add it right before serving, after all the work you did to keep them bright.
- Size up for a crowd. More beans need a larger pot of water and a lot more ice in the ice bath. Use a larger bowl for the ice bath, and I can’t stress this enough: the bath has to stay icy cold, with enough ice to handle the amount of hot beans you’ve got.
- Check the core. After 5 minutes in the ice bath, break a bean in half. If it’s still warm in the middle, it’s still cooking. Give them more time.
How Many Green Beans for a Crowd
Figure ¼ pound per person.
| Guests | Green beans |
|---|---|
| 2 | ½ pound |
| 4 | 1 pound |
| 8 | 2 pounds |
| 12 | 3 pounds |
| 20 | 5 pounds |
Going big? Use a larger pot of water and more ice for shocking. For the finish, use your widest skillet, or heat the beans in two batches so they toss evenly.
Ways to Season Blanched Green Beans
The garlic butter in the card is my standard, but blanched beans are ready for anything.

Double down on umami: These are my Holiday Green Beans with pan-fried pancetta, shallots and mushrooms. A simple, satisfying side dish.
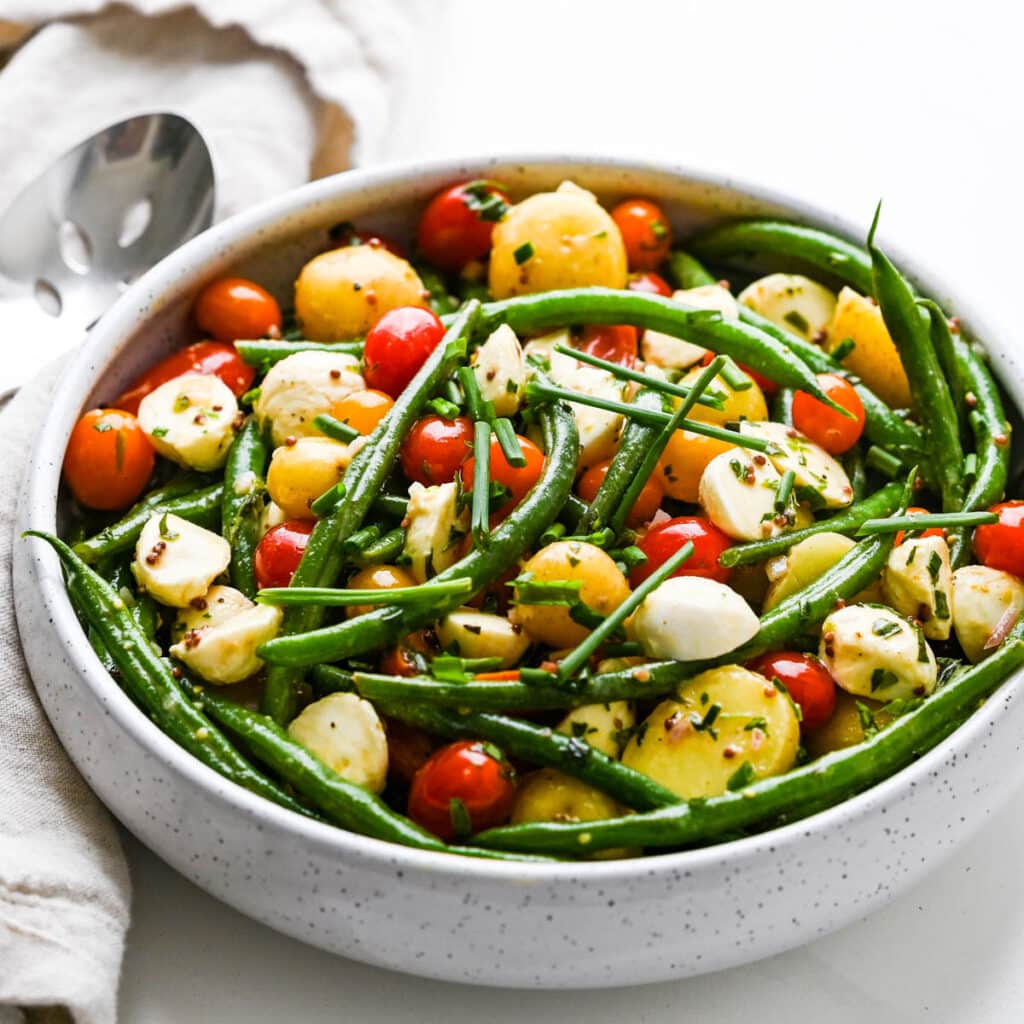
In a salad: With steamed potatoes, grape tomatoes, mozzarella cheese and a light vinaigrette. Green Bean, Potato & Tomato Salad: the side dish no one expects and can’t resist.
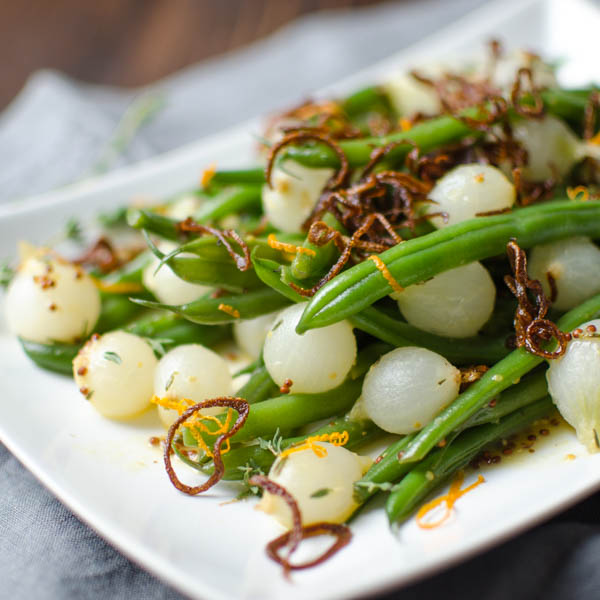
Elegant and festive: with citrus, Dijon and crispy shallots in these orange Dijon haricots verts. Delicious with a holiday roast.

A spring twist on almondine: Tossed in a herby pesto and finished with shaved Parmesan cheese and toasted almonds. Italian Green Beans.

Frenchify lunch: Nicoise Farro Salad includes blanched green beans, artichokes, sun-dried tomatoes and olives, with canned tuna and hard-boiled eggs. This is a brown-bag version of the classic.
FAQs
Three minutes, timed from when the water returns to a boil, whether they’re going in the fridge or the freezer.
When it boils again. Cold beans will bring down the water temperature; start the timer once it’s back to a boil.
Yes, up to 3 days. Blot them dry, wrap them in fresh paper towels and refrigerate them in a zip-top bag or airtight container. Season and heat them right before serving.
You should. It seasons the beans from the inside, and you won’t get another chance.
At least 5 minutes. They should be cold to the core when you take them out, which is how you know the cooking has stopped.
Yes. Blanching stops the enzymes that cause frozen beans to lose flavor, color and texture over time.
I keep them up to 2 months in a freezer-safe zip-top bag.
Yes, they’re the same vegetable. The name comes from the tough, stringy older varieties that had a seam along them, which breeders have mostly bred out. Haricots verts are a thinner French variety.
Usually, they were cooked too long or sat too long before hitting the ice. Adding lemon juice too early can also dull the color, so save it for the end.
Thanksgiving make-ahead and storage:
| When | What |
|---|---|
| A day or two before (3 at most) | Trim, blanch, shock, dry, wrap and refrigerate. |
| The morning of | Mince the garlic, squeeze the lemon and refrigerate both. |
| While the turkey is being carved | Melt the butter, cook the garlic, heat the beans and season. |
Storage:
- Fridge (blanched, not seasoned): up to 3 days, wrapped in paper towels in a sealed bag or container.
- Leftovers (seasoned): 3 to 5 days in an airtight container. They’ll lose some of their color, but the flavor holds.
Reheating:
- Heat in a skillet with a little butter or oil until heated through.
- Microwave covered with plastic wrap or a paper towel in 30-second to 1-minute bursts, stirring after each, until hot.
Freezing:
- Freezer (blanched, not seasoned): up to 2 months in a freezer-safe zip-top bag. Directions are in the freezing section above.
More holiday side dishes
- Vegetable Side Dishes for Thanksgiving
- Twice-Baked Sweet Potato Gratin
- Horseradish Mashed Potatoes
- Ultimate Thanksgiving Stuffing Recipes

Blanched Green Beans with Garlic Butter (Make-Ahead)
INGREDIENTS:
Blanching
- 1 pound green beans trimmed
- 1 teaspoon kosher salt for the water
- ice for the ice bath
To finish
- 2-3 teaspoons butter
- 1 large clove garlic minced (about 1 teaspoon)
- 2 teaspoons lemon juice
- ¼ teaspoon kosher salt
- pinch black pepper
DIRECTIONS:
Blanch the green beans
- Fill a large bowl with equal parts ice and water and set aside.
- Fill a large saucepan ⅔ full of water, bring to a boil and add 1 teaspoon kosher salt. Add 1 pound green beans. Return to a boil and cook for 3 minutes, until crisp-tender.
Shock the beans
- Use tongs to transfer the beans to the ice bath. Submerge them and agitate with the tongs so they cool quickly and keep their bright green color. Leave them in at least 5 minutes, until cold to the core.
- Stack several paper towels on the counter. Transfer the beans to the towels and gently blot them dry.
- Wrap the beans in dry paper towels and place in a zip-top bag. Refrigerate until ready to heat, up to 3 days.
Finish the beans
- Heat 2-3 teaspoons butter in a large skillet over medium heat. Add 1 large clove garlic and stir until fragrant, without browning.
- Add the beans and toss with tongs to coat. Cover and heat 2 to 3 minutes, tossing once or twice, until hot.
- Season with 2 teaspoons lemon juice, ¼ teaspoon kosher salt, and a pinch black pepper. Toss again, transfer to a serving dish and serve right away.