How to Rotisserie Chicken on a grill
Inside: Learn how to prep, truss and cook a rotisserie chicken on a grill. Plus, get advice on essential tools and gear for the job.
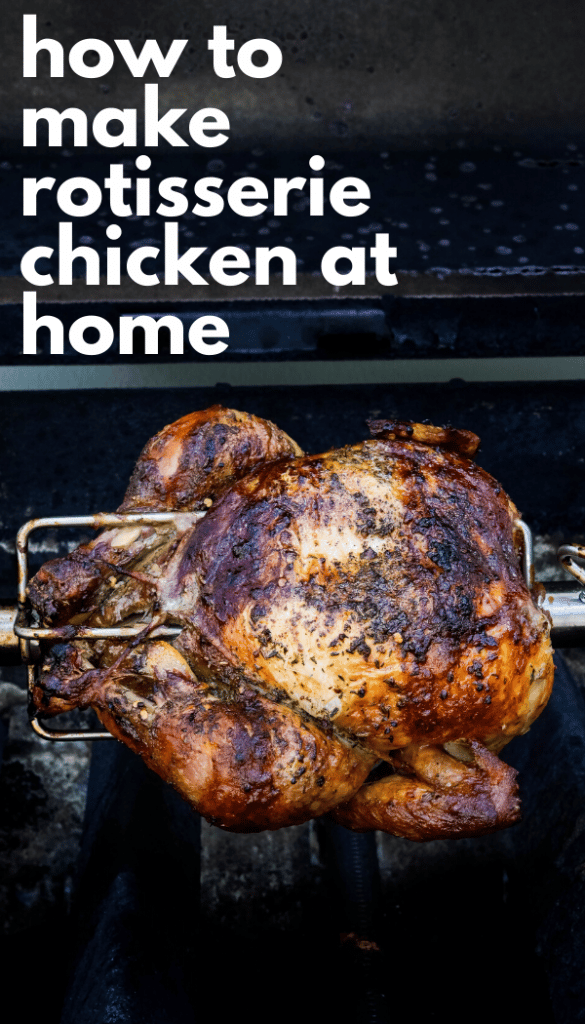
Making rotisserie chicken on a grill isn’t a magic trick. It’s very simple. I’ll show you how to season the bird, how to truss a chicken for rotisserie and how long to cook it. It’s easy and will make you a GRILLING ROCKSTAR with your family and friends.
I love a weeknight Costco rotisserie chicken as much as anyone. They’re tasty, economical and from a convenience standpoint, they really can’t be beat.
But knowing how to rotisserie chicken on your backyard grill is next-level. It’s also great for feeding a group because, depending on the size of your grill, you can probably fit 2 to 3 chickens on a spit.
And the leftovers have so much more to give. The bones and carcass can be used to make Leftover Rotisserie Chicken Stock for Chicken Barley Soup with Vegetables. Leftover breast meat is great for sandwiches, tacos, casseroles and salads. They are truly the gift that keeps on giving.
Why you’ll love this rotisserie chicken recipe:
- My rotisserie chicken seasoning has just six ingredients (2 of which are salt and pepper). You can use the chicken rotisserie rub on baked chicken, too.
- The spice blend can be doubled or tripled for cooking multiple birds.
- The recipe and cooking time are the same whether you make one bird or three.
- Making rotisserie chicken on a grill means you don’t have to heat up your kitchen.
- There’s something carnal about roasting meat on a spit. It’s very caveman-esque.
Ingredients:
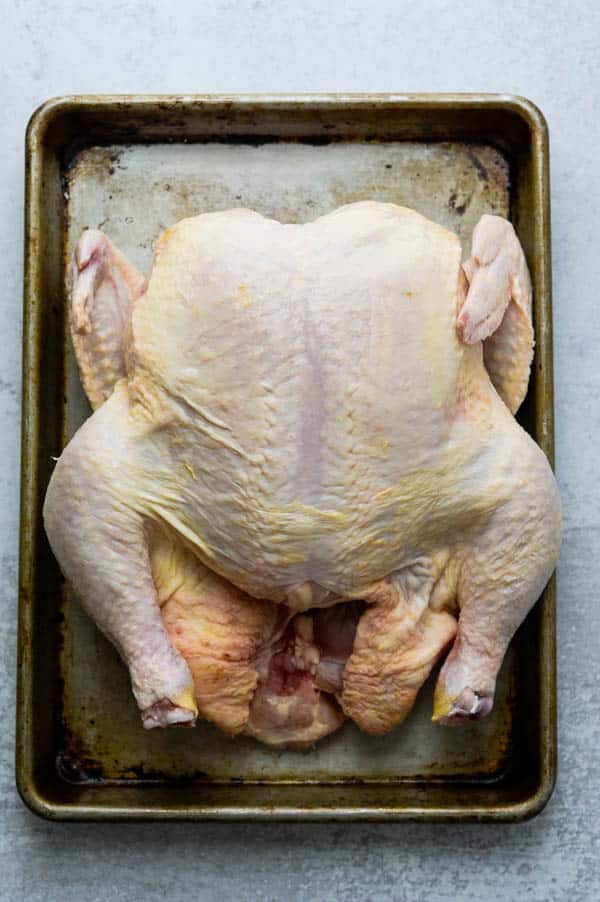
- Whole Chicken – Look for a medium-sized chicken that weighs about 4 pounds. If you’re cooking multiple birds, try to get ones that are close to the same weight so they’re done simultaneously.
- Onion – I use a small to medium yellow onion to season the chicken’s cavity.
- Whole Garlic – to add aromatics while you rotisserie the chicken.
- Fresh Thyme – I use several sprigs in the body cavity for aroma and flavor.
- Kosher Salt – I use Diamond Crystal Kosher salt, which is less salty by volume than Morton’s. If you use Morton’s, cut back to 1½ teaspoons.
- Black Pepper – Fresh ground will give the best, most potent flavor.
- Dried Thyme – for the rub mixture.
- Dried Minced Garlic – garlic powder works well too.
- Fennel Seed – adds a slight anise flavor to enhance the chicken seasoning.
- Crushed Red Pepper Flakes – for just a hint of spice.
Special Equipment:
- Grill with a Rotisserie Attachment – to make a grilled rotisserie chicken, you’ll need a rotating spit for your gas or charcoal grill (they make them for just about every brand). We have a Weber Genesis grill and purchased the spit assembly separately.
- Kitchen Twine – for trussing the chicken. You can’t put the bird on the spit without tying it up into a neat little parcel. Otherwise, the bird won’t spin with the mechanism.
- Pitt Mitts – handling a 400° hen with your bare hands would be a mistake. Insulated BBQ gloves allow you to take the spit off the grill and remove the rotisserie chicken from it.
- Instant Read Thermometer – This is the most foolproof way to gauge if your bird is done. I use the Thermoworks Thermapen One. It’s what I recommend.
How to rotisserie chicken:

- Combine the Kosher salt, black pepper, dried thyme, fennel seed, dried minced garlic and crushed red pepper flakes in a small bowl. Stir to combine.
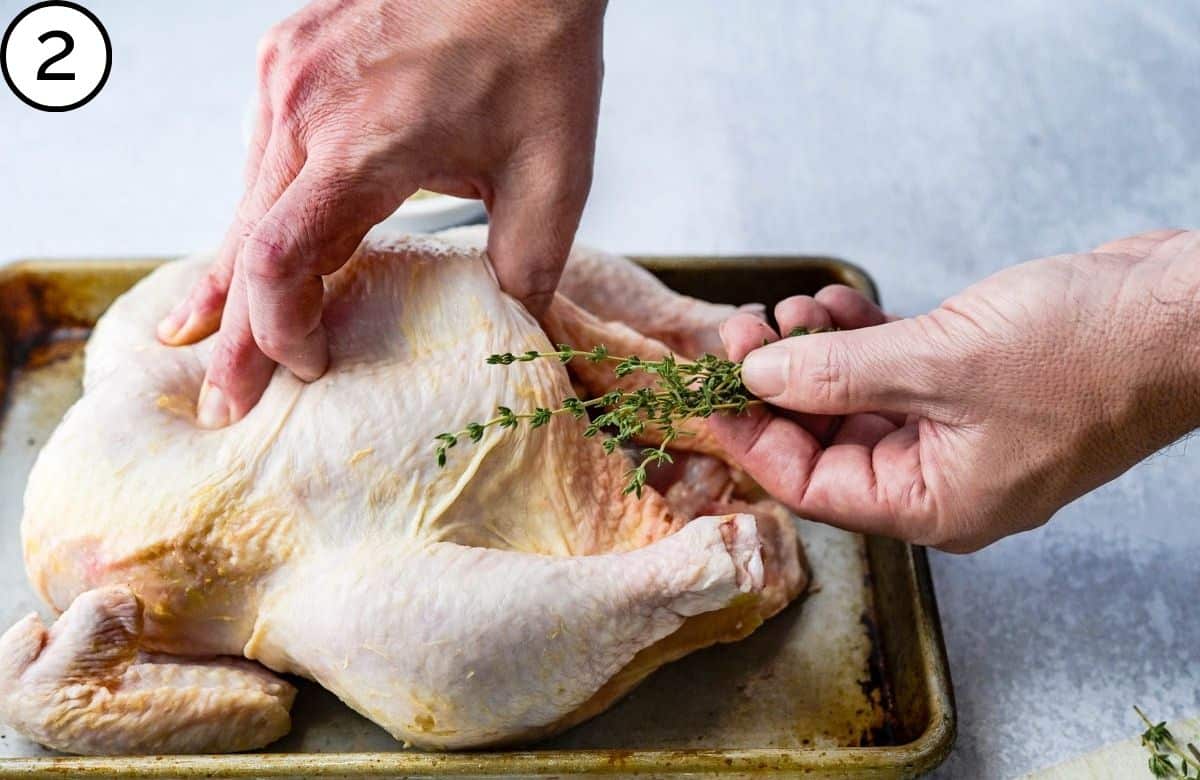
2. Stuff the cavity with garlic cloves, onion and sprigs of fresh thyme.
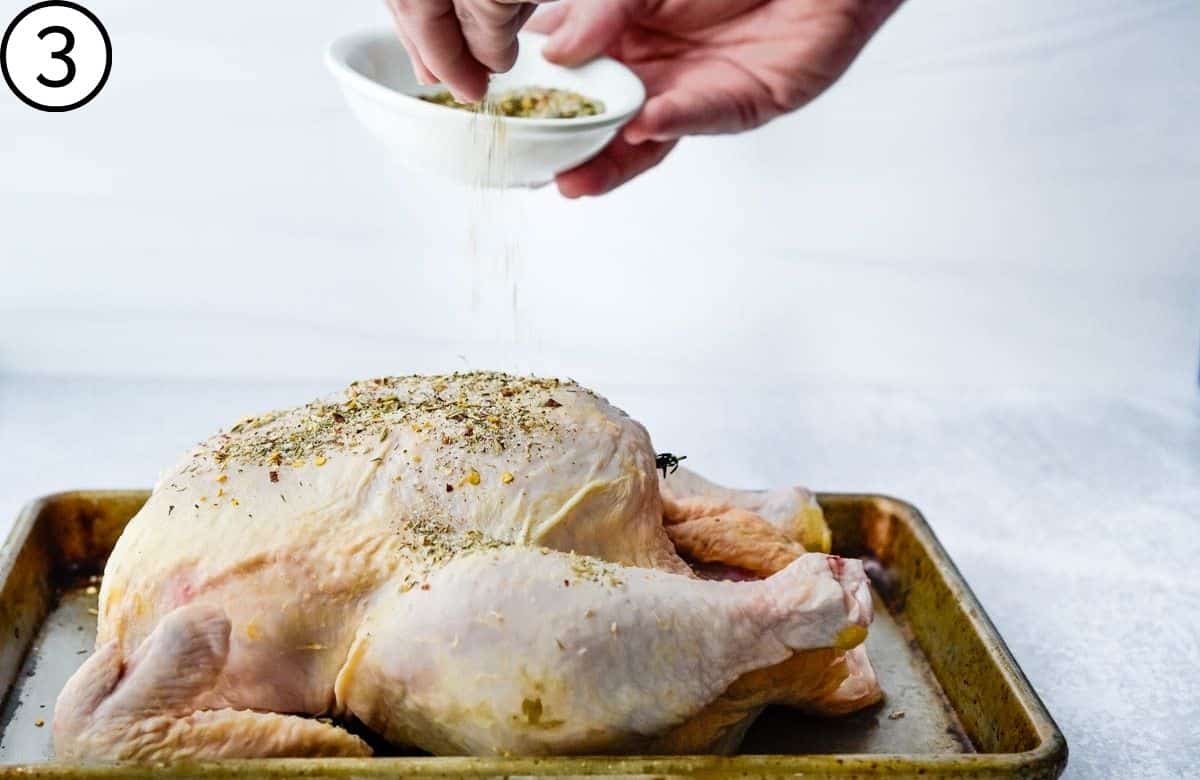
3. Season the bird liberally with the herb rub and pat it with your fingers so it sticks.
It’s essential to truss the chicken when grilling it on a rotisserie. Use these step-by-step photos and instructions as your guide.
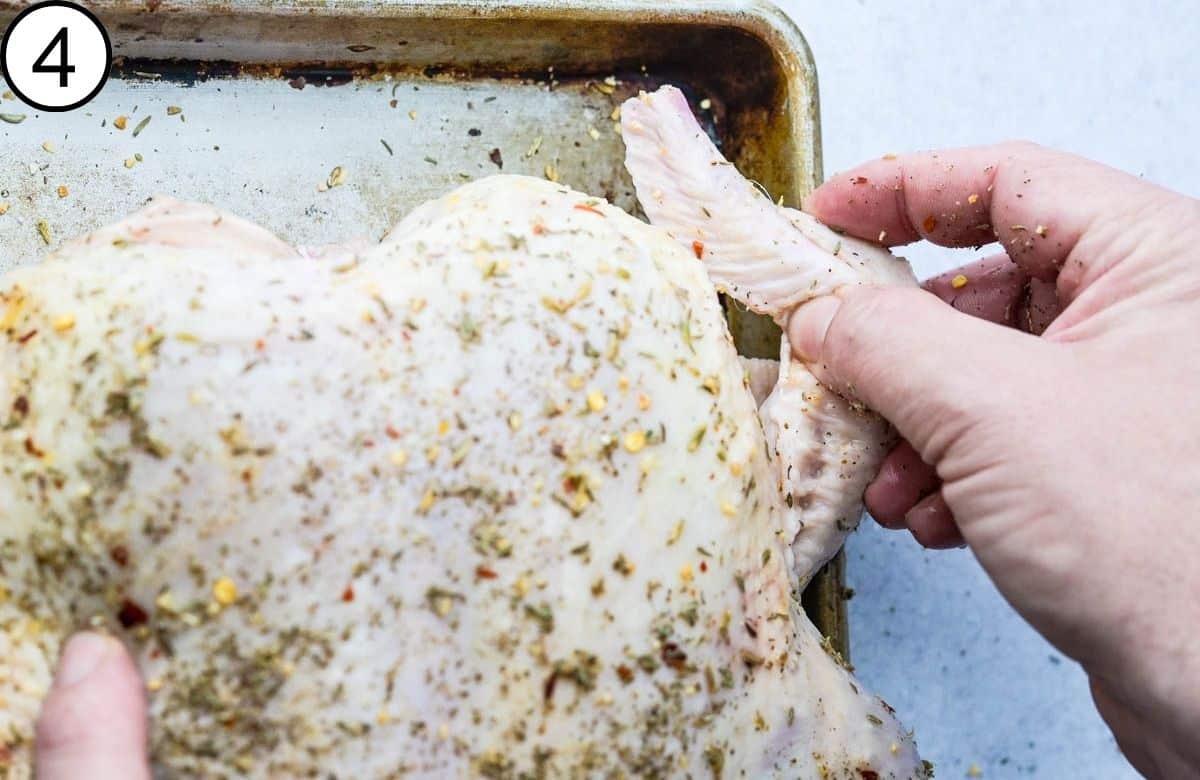
4.Tuck the wing tips behind the bird’s shoulders until they stay put. (It may take a few tries).
This will keep them in place as you rotisserie the chicken on the grill (so they don’t flop around). It should resemble what your arms look like when you rest them behind your head.
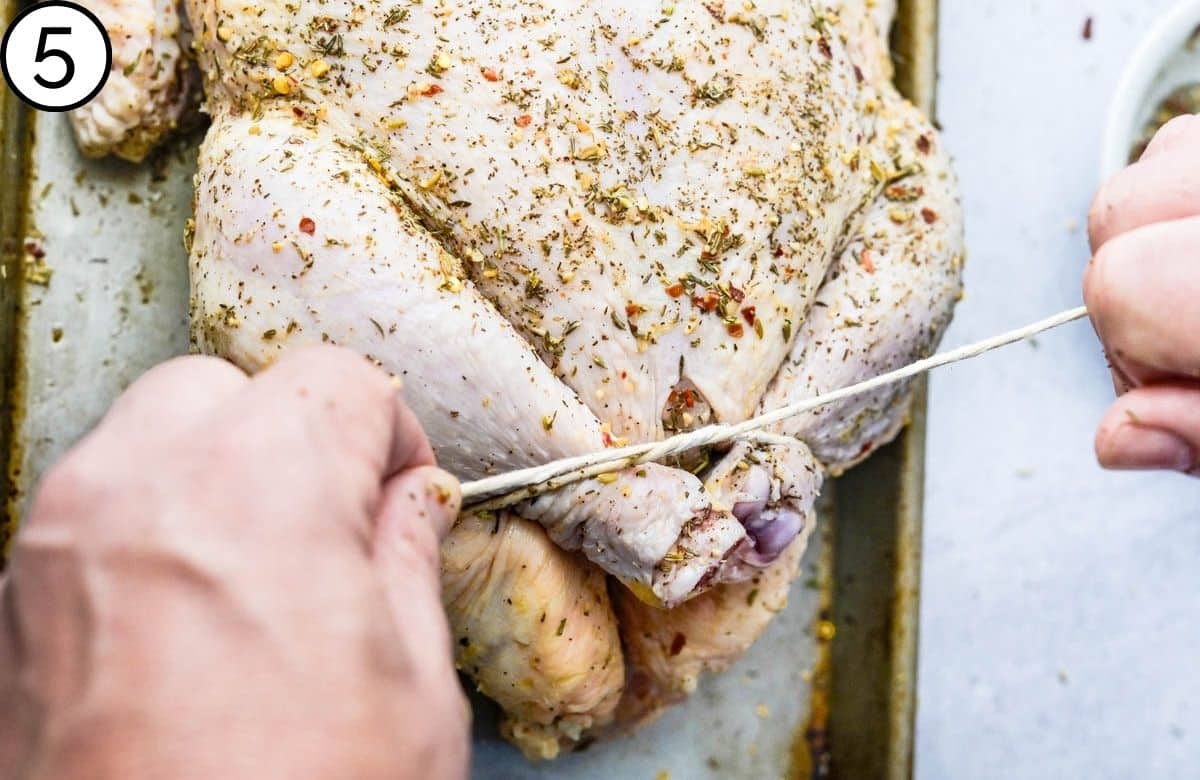
5. You need a piece of kitchen twine about 20-30″ long.
Wrap the twine around the loose flap of fat and skin at the tail and the drumsticks (this is essentially closing up the cavity). Make a simple knot.
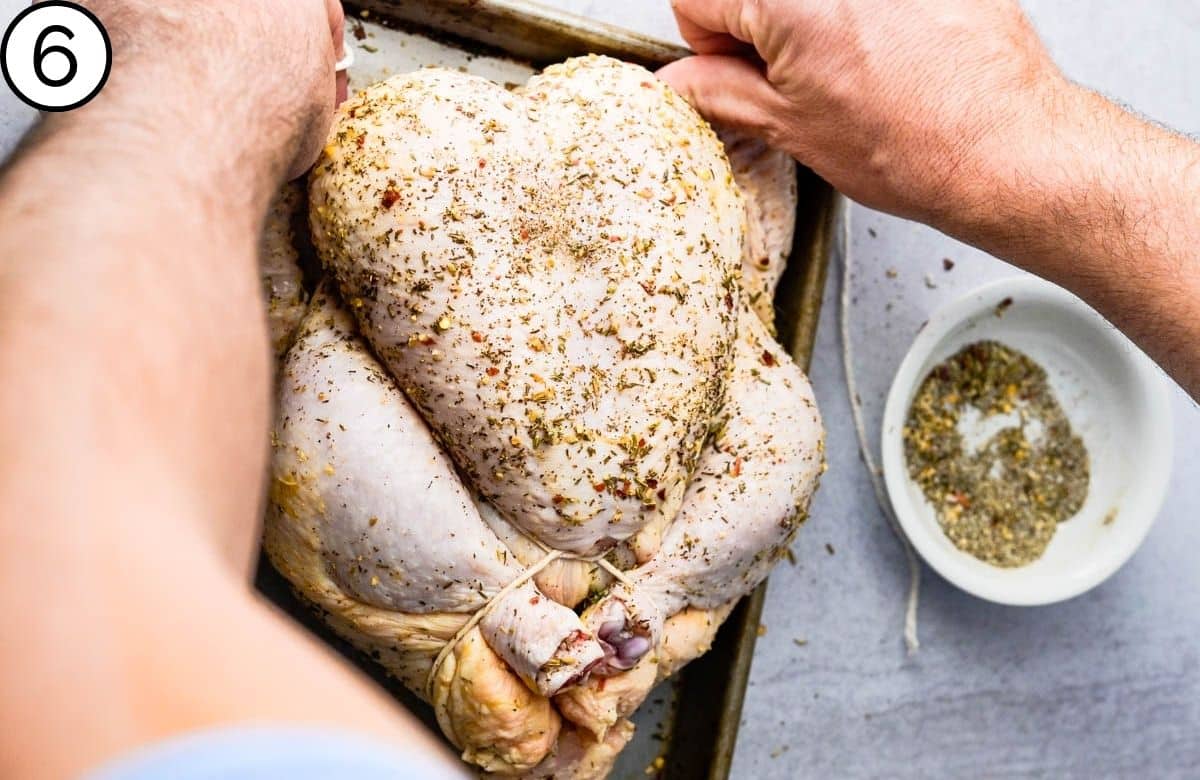
6. Draw the ends of the butcher’s twine up between the drumsticks and the breast to the neck of the bird. When you do this, it tightens the skin of the chicken (almost like a tummy tuck), and the breast will appear plump and proud.
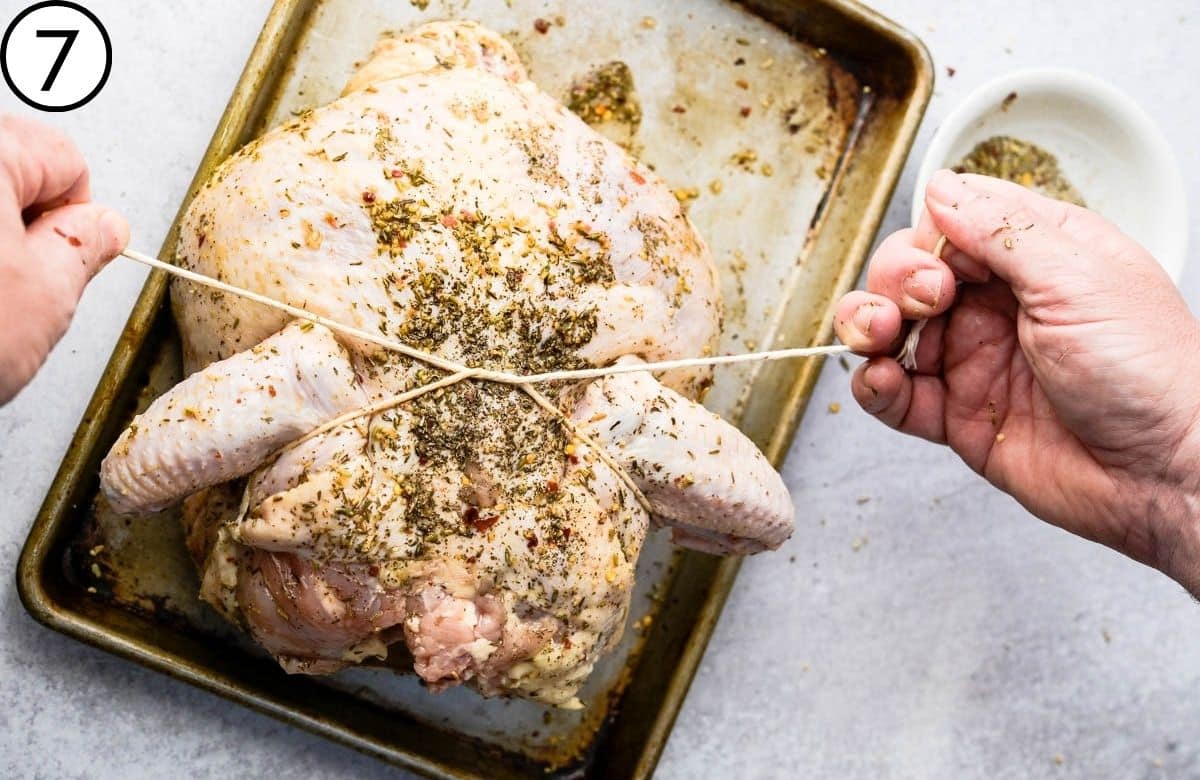
7. Turn the chicken over so the back faces you. Draw the string up at the joint between the wing tips and flats. Tie a tight, secure knot and trim the ends with a pair of kitchen shears.
Tuck any hanging neck skin under the string to hold it in place so it doesn’t flop. This simple method should keep the spit roast chicken in place on the home rotisserie.
Let the chicken rest for at least 30 minutes or overnight so the dry rub effectively seasons the skin and flesh.
8. Set up your rotisserie and grill according to the manufacturer’s instructions for spit roasting. For a gas grill, remove the grates and set a drip pan above the burners (to catch drippings).
Preheat the grill to 425°-450°.
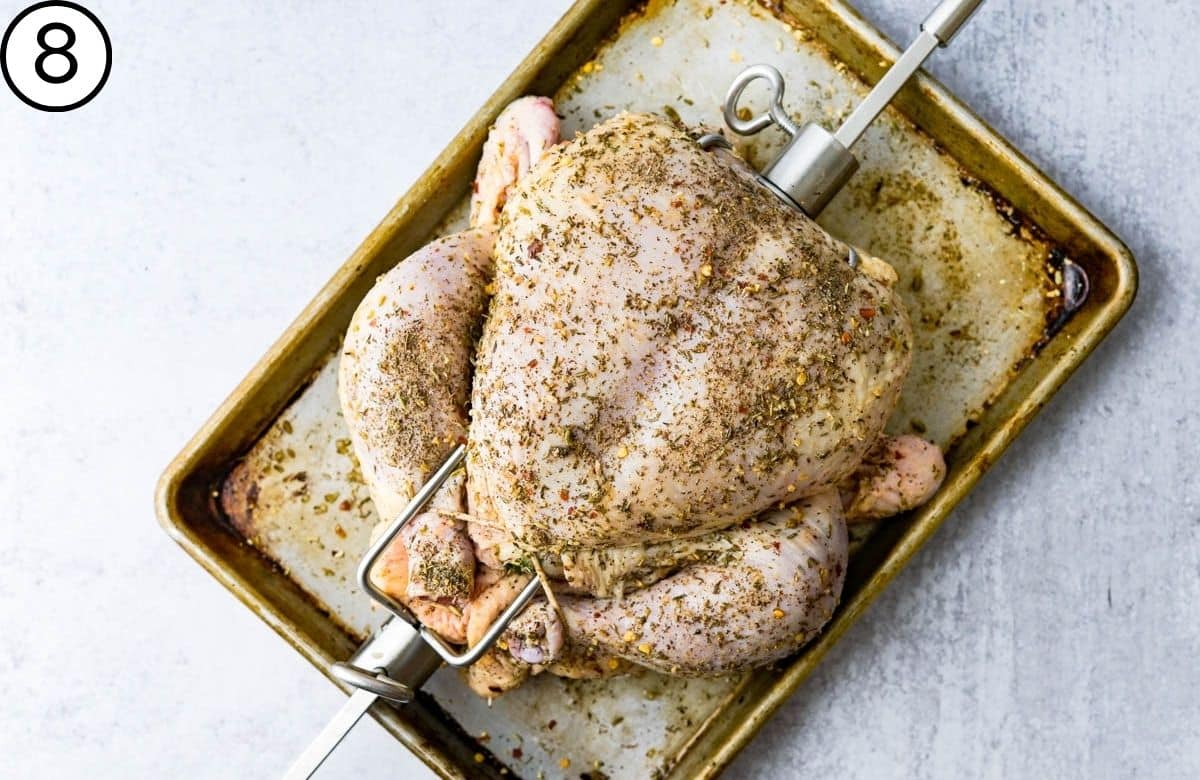
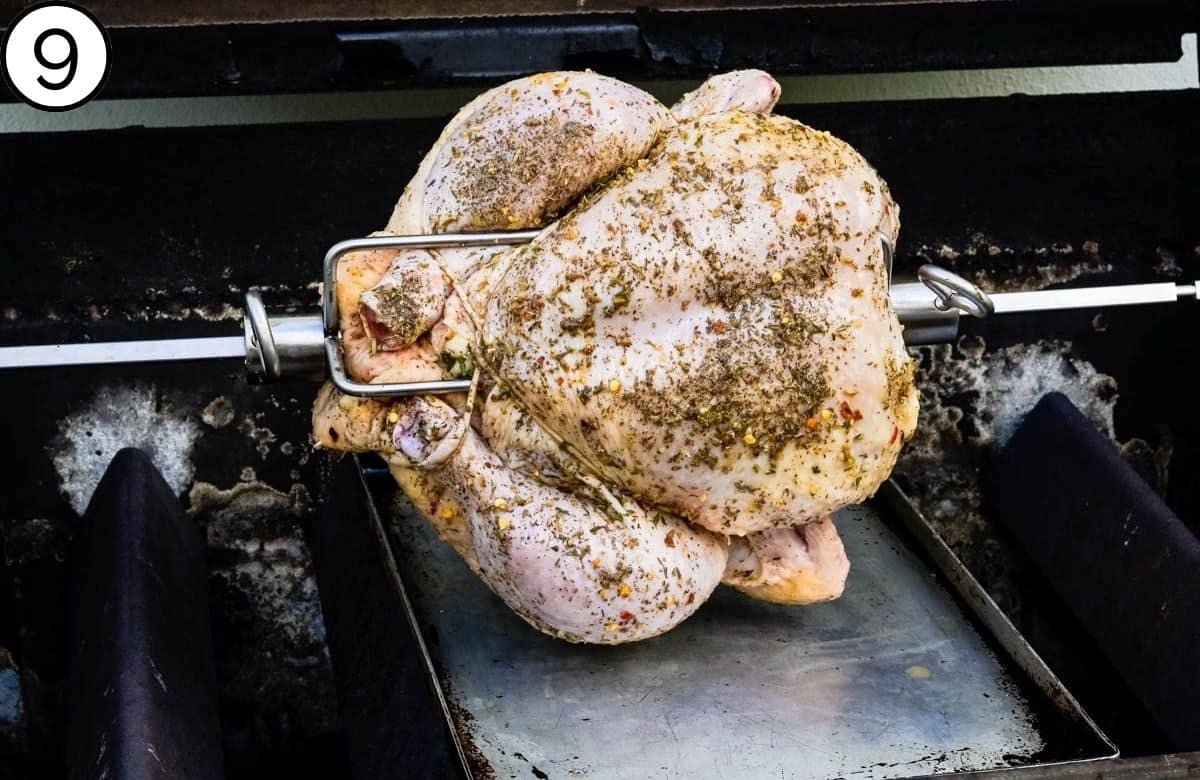
Slide one spit fork onto the rotisserie shaft and tighten it. Thread the chicken onto the spit through the cavity. Secure the bird on the tines of the fork so it can’t shift.
Slide the second spit fork onto the rotisserie shaft and secure it on the opposite side with the tines. Tighten it so the fowl doesn’t move.
If you’re making multiple chickens, thread them one after the other so they are snug on the spit, with the pressure of one chicken holding the other in place.
Secure the tines of the last fork in the chicken and tighten it.
Make any adjustments to ensure the bird is firmly held onto the spit by the two spit forks. Tighten the screws on the spit forks securely.
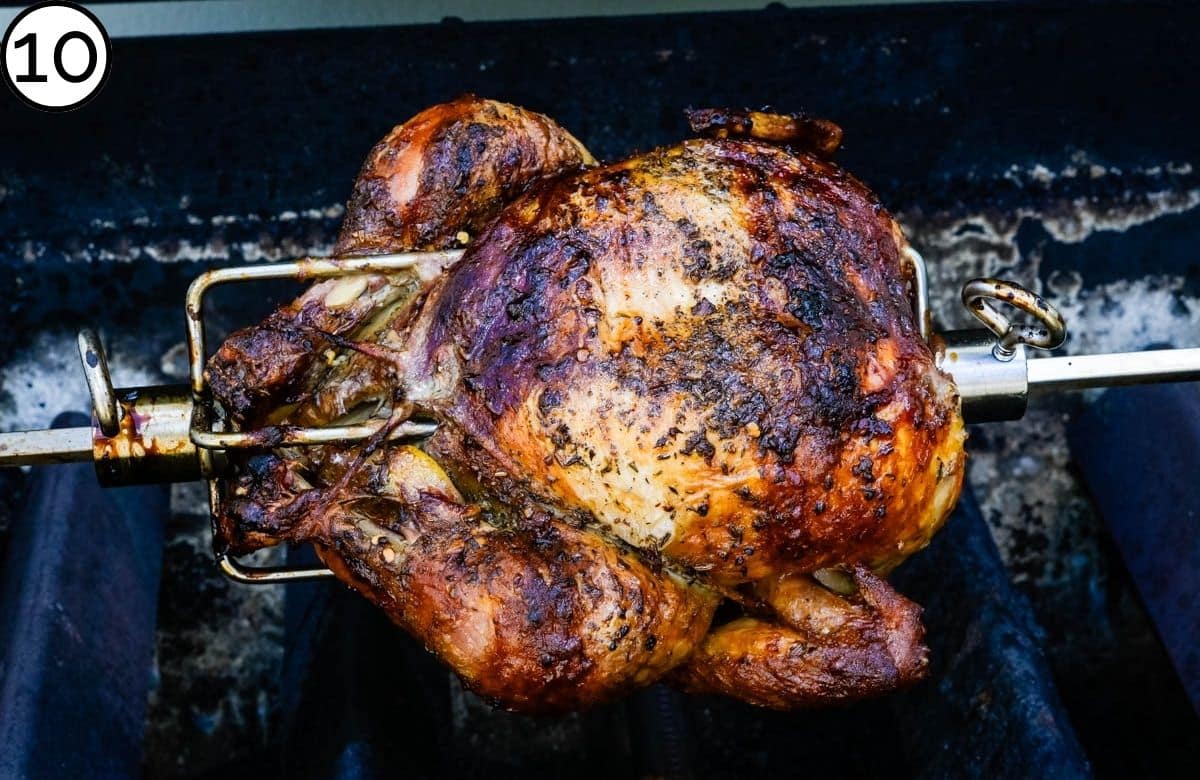
9. Arrange the spit onto the turning mechanism according to your manufacturer’s instructions. Turn on the rotisserie motor, close the lid and cook for 45 minutes.
After that period, you can check the bird’s internal temperature for doneness.
The big question most folks have is how long to cook a rotisserie chicken. The answer depends on how big your chicken is and the temperature of the grill, which means the cooking time can vary. The safe internal temperature for poultry is 165° F, but it continues to cook after you remove it from the grill.
10. Check the internal temperature with an instant-read thermometer in the innermost part of the thigh and wing and the thickest part of the breast. I recommend removing it at 162° because of carryover cooking.
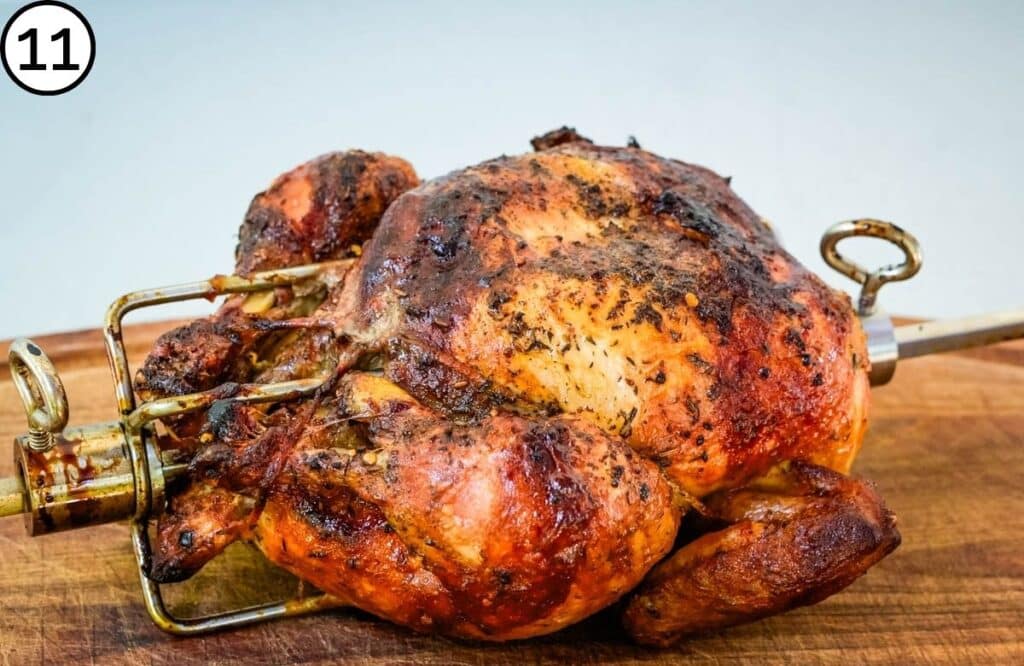
11. Use your Pitt Mitts to protect your hands when you remove the rotisserie chicken from the grill.
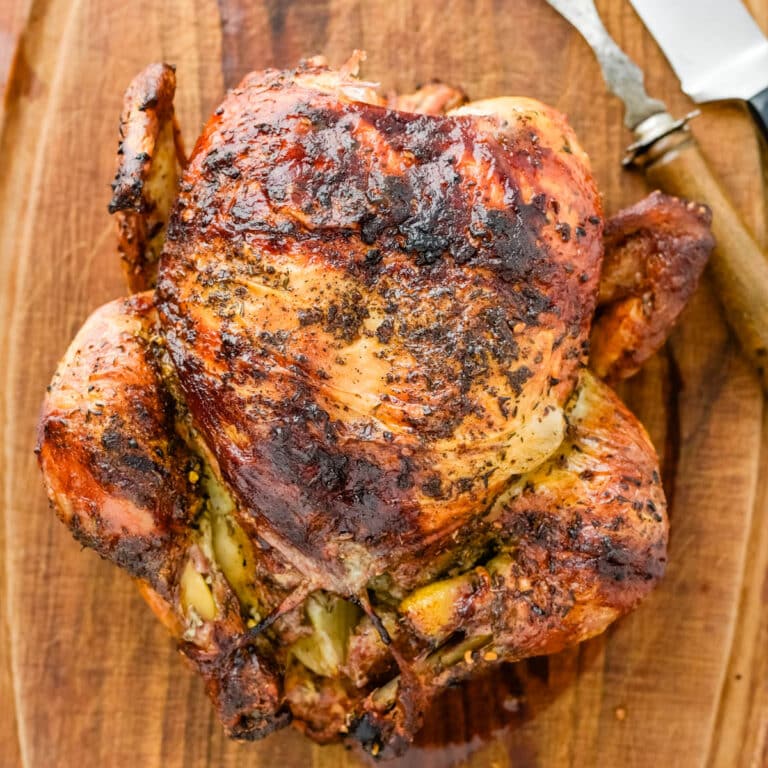
Transfer the whole assembly to a cutting board.
Let it rest for 5-10 minutes, remove the tines holding the bird in place and slide it off the spit.
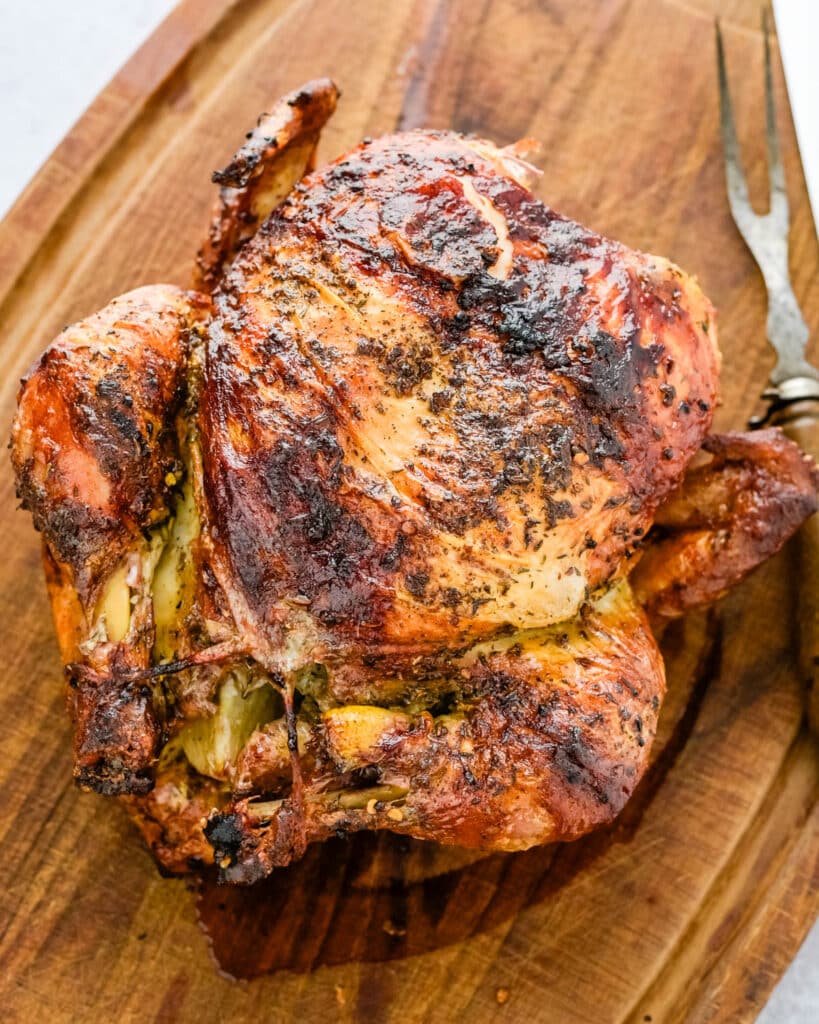
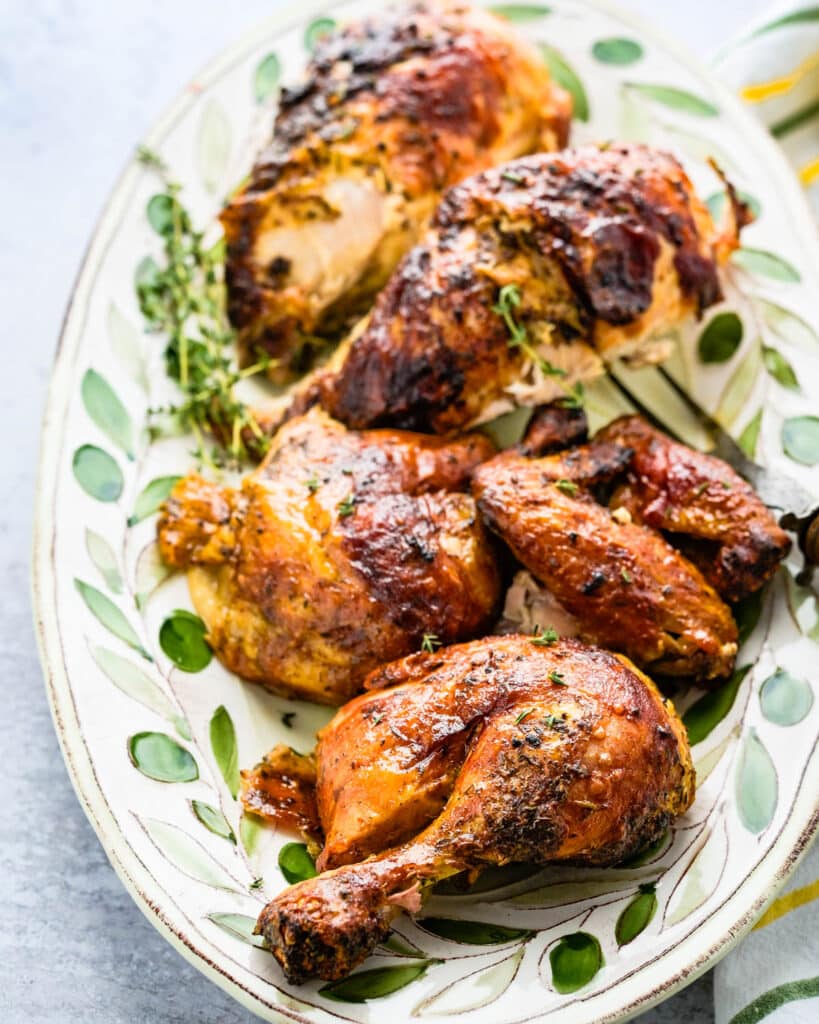
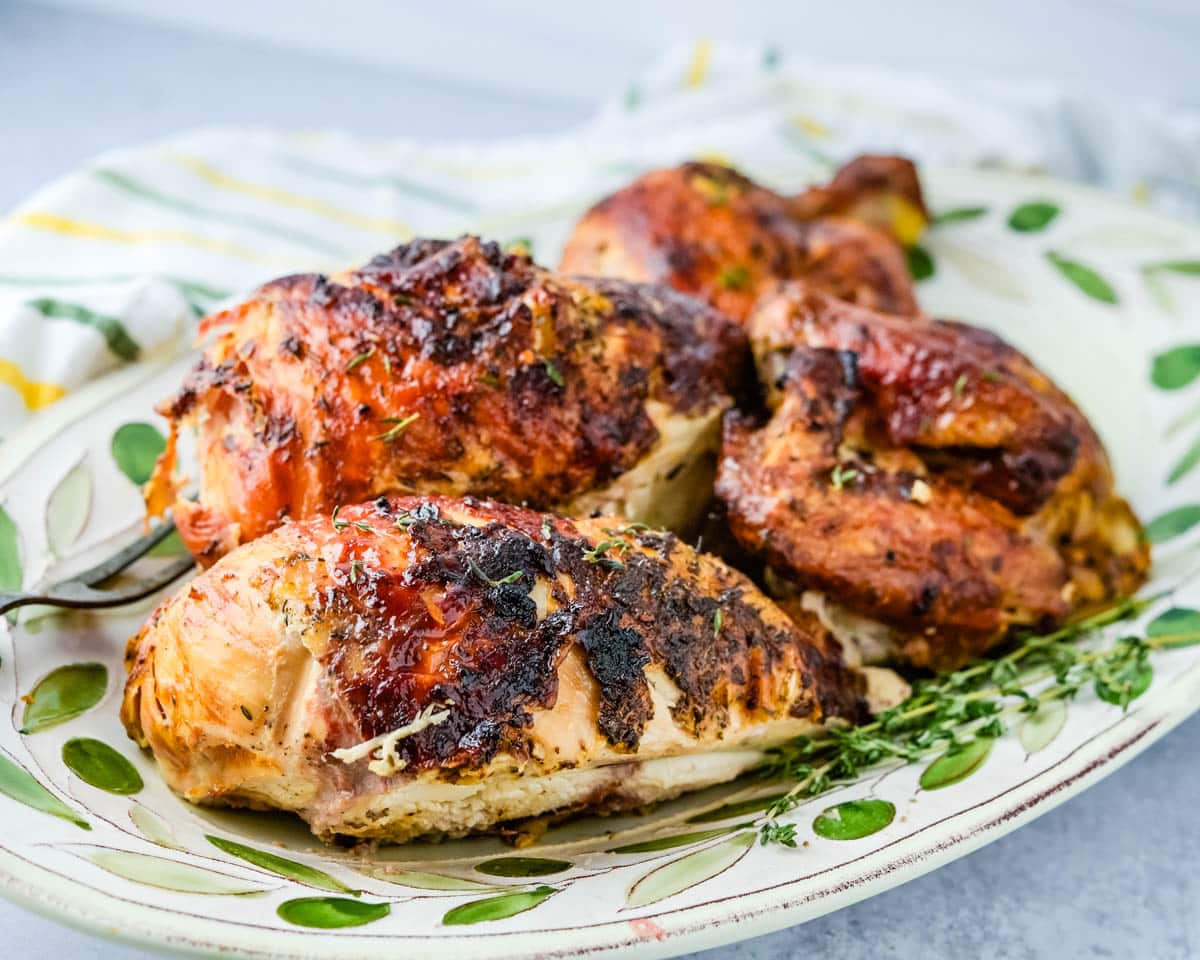
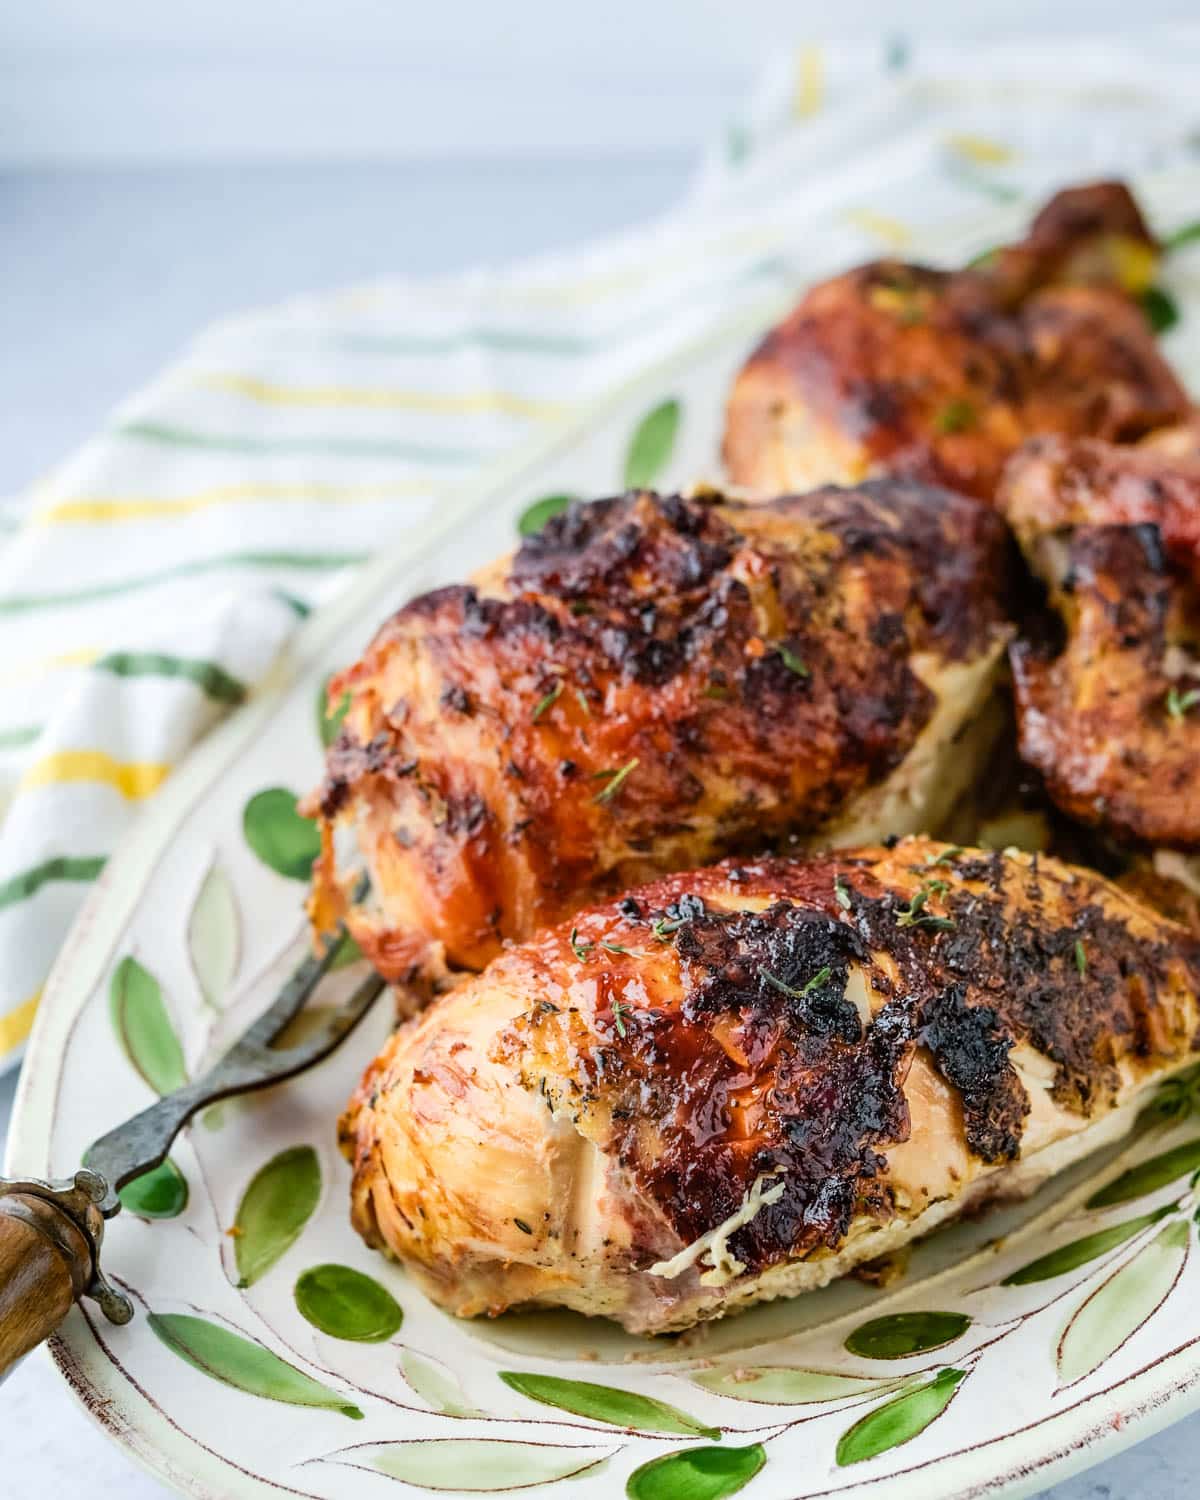
Carve the fowl by slicing through the joints at the thigh to remove the leg quarters and at the crux of the drums and wing. Remove the breasts from the bone and arrange the pieces on a serving platter. Pour any collected juice or drippings over the meat.
Pro-Tips:
- There’s no need for basting because the rotisserie is in constant motion. The action of the rotisserie cooks every part of the fowl and naturally bastes it.
Variations:
- You can use store-bought poultry seasoning or BBQ rub for a different flavor.
- Instead of the dry rub, you can brine the bird for 4-6 hours in a simple brine solution of ½ cup Kosher Salt, ½ cup brown sugar, 2 whole bay leaves and a teaspoon of whole peppercorns with 2 quarts water. Stir the mixture until the salt and sugar dissolve, then add the chicken.
- Add fresh rosemary to the chicken cavity for more aromatics and flavor.
Storage and Freezing
Storage:
Leftovers can be kept in the refrigerator in an airtight container or well-wrapped in aluminum foil for up to 5 days. Can be enjoyed cold, straight from the fridge or warmed in a low oven (300° F) for 10-12 minutes.
Freezing:
You can freeze a whole rotisserie chicken. Remove the onion, garlic and thyme from the cavity. Wrap well in aluminum foil and a layer of freezer paper to prevent freezer burn. Freeze for 2-3 months. Thaw before using.
What to serve with your bird:
- Creamy Yukon Gold Mashed Potatoes
- Kale and Butternut Squash Gratin
- Pickled Cherry Cold Rice Salad
- Italian Green Beans
- Yellow Rice with Pignoli
What to do with the leftovers:
Unless you’ve got a big crowd, you’ll likely have leftovers from this spit roasted chicken. Here’s how to use them.
- Curried Chicken Salad
- Chicken Stock from Rotisserie Chicken
- Tropical Mango Chutney Chicken Salad
- Easy Chicken Fried Rice
- Tex Mex Chicken Chile Rellenos
Rotisserie Chicken on a grill
SPECIAL EQUIPMENT:
- Rotisserie attachment for gas grill or charcoal grill
- Butcher's twine
INGREDIENTS:
FOR HERB SPICE RUB
- 2 teaspoons kosher salt
- 1 teaspoon black pepper
- 1 teaspoon dried thyme
- ½ teaspoon minced garlic or garlic powder
- ½ teaspoon fennel seed crushed
- ¼ teaspoon crushed red pepper flakes
FOR CHICKEN:
- 4 pound whole chicken
- 1 small onion quartered
- 2 cloves garlic crushed
- 5 sprigs fresh thyme
DIRECTIONS:
- In a small bowl combine the salt, pepper, thyme, garlic, fennel and crushed red pepper. Mix to combine and set aside.
- Remove the giblets and neck from the chicken. Use paper towels to pat the chicken dry on the inside and outside. Sprinkle a teaspoon of seasoning mix inside the chicken cavity. Fill the chicken cavity with the onion, garlic and fresh thyme.
TRUSS THE CHICKEN:
- Cut a piece of kitchen twine about 30" long. Tuck the ends of the wings back behind the chicken (like you were putting your hands behind your neck) until they stay put.
- Bring the string under the tail of the chicken and over the drumsticks, drawing them together and tying tightly (but not in a knot). Hook the string under the tip of the breast bone and pull the string up along the sides of the breast bone between the legs and the body, along the breast toward the neck.
- Turn the chicken over so the bback side is up and draw the string over the elbow joints of the wings to the back of the chicken. Pull the string snugly and tie in a knot. Tuck any hanging neck skin under the string to hold it in place.
- Let the chicken rest for at least 30 minutes or up to several hours or overnight with the rub before cooking.
SETTING UP THE ROTISSERIE:
- Set up your rotisserie according to the manufacturers instructions. For a GAS GRILL, remove the grill grates and set a drip pan above the burners to catch any drippings.
- Heat the grill to 425°-450°.
- Slide one spit fork onto the rotisserie shaft and tighten. Thread the chicken onto the spit and secure it in the center of the tines of the spit fork. Ensure that the chicken is securely held. Slide the second spit fork onto the rotissierie shaft and secure the bottom end of the chicken with the tines.
- Arrange the shaft on the rotisserie mechanism according to manufacturers instructions. Start the rotisserie and cook for 45 minutes. Use an instant read thermometer to gauge the doneness. You want to cook the chicken until it reads 180°F in the thickest part of the chicken – usually the thigh (without touching bone). Make any adjustments to heat or drip pan and continue to cook the rotisserie for an additional 15-20 minutes or until you reach the desired temperature.
- Use grill mitts to remove the rotisserie from the grill and transfer to a cutting board.
- Remove the spit forks and shaft and let the chicken cool for 10-15 minutes before carving.
NUTRITION:
Pin “Spit Fire Rotisserie Chicken” For Later!
This was delicious! I did a 6# chicken, which took about 1.75 hours to grill.
Loved how easy this was to make right at home! The seasoning was perfect and my chicken came out juicy as well.
This look so much better than the store bought chickens! Yum! 🙂
There are few things tastier than a homemade roasted chicken! I still struggle with trussing it just right, but still practicing 😉 Love how informative this post is!
I have NEVER EVER made rotisserie chicken at home but feel much more confident after reading your post.
I usually buy my rotisserie chicken from Costco, but due to the quarantine, it has been hectic and I try to minimize grocery shopping and buying only fresh produce, fresh meat, and pantry ingredients. It’s great to learn how to make this at home. I can finally enjoy a good rotisserie chicken again. 🙂