Seasoned Oyster Crackers
Whether you love to snack on oyster crackers straight from the bag or use them as a topping for your favorite soups, bisques and chowders, these easy (and delicious) fried seasoned oyster crackers are for you. They’re super crunchy, golden and lightly seasoned. Use pantry staples for the simple spice blend and bring these bite-sized beauties a whole new level.
I got this idea when flipping through the Poole’s Diner cookbook. There was a photo of fried saltine crackers served alongside a bowl of soup. I thought, why not oyster crackers? And why not season them?
This is an easy way to jazz up plain oyster crackers and it doesn’t take any time to make. The crackers fry up in less than a minute and you can actually use your favorite spice or seasoning blend to flavor the oyster crackers.
Table of Contents
Why you’ll love this recipe:
- It’s an easy way to “chef up” plain oyster crackers.
- Great for snacking or topping soups, chili and salads.
- You can season it with your favorite seasonings for variety.
- You can do this with saltine crackers, too.
Ingredients:
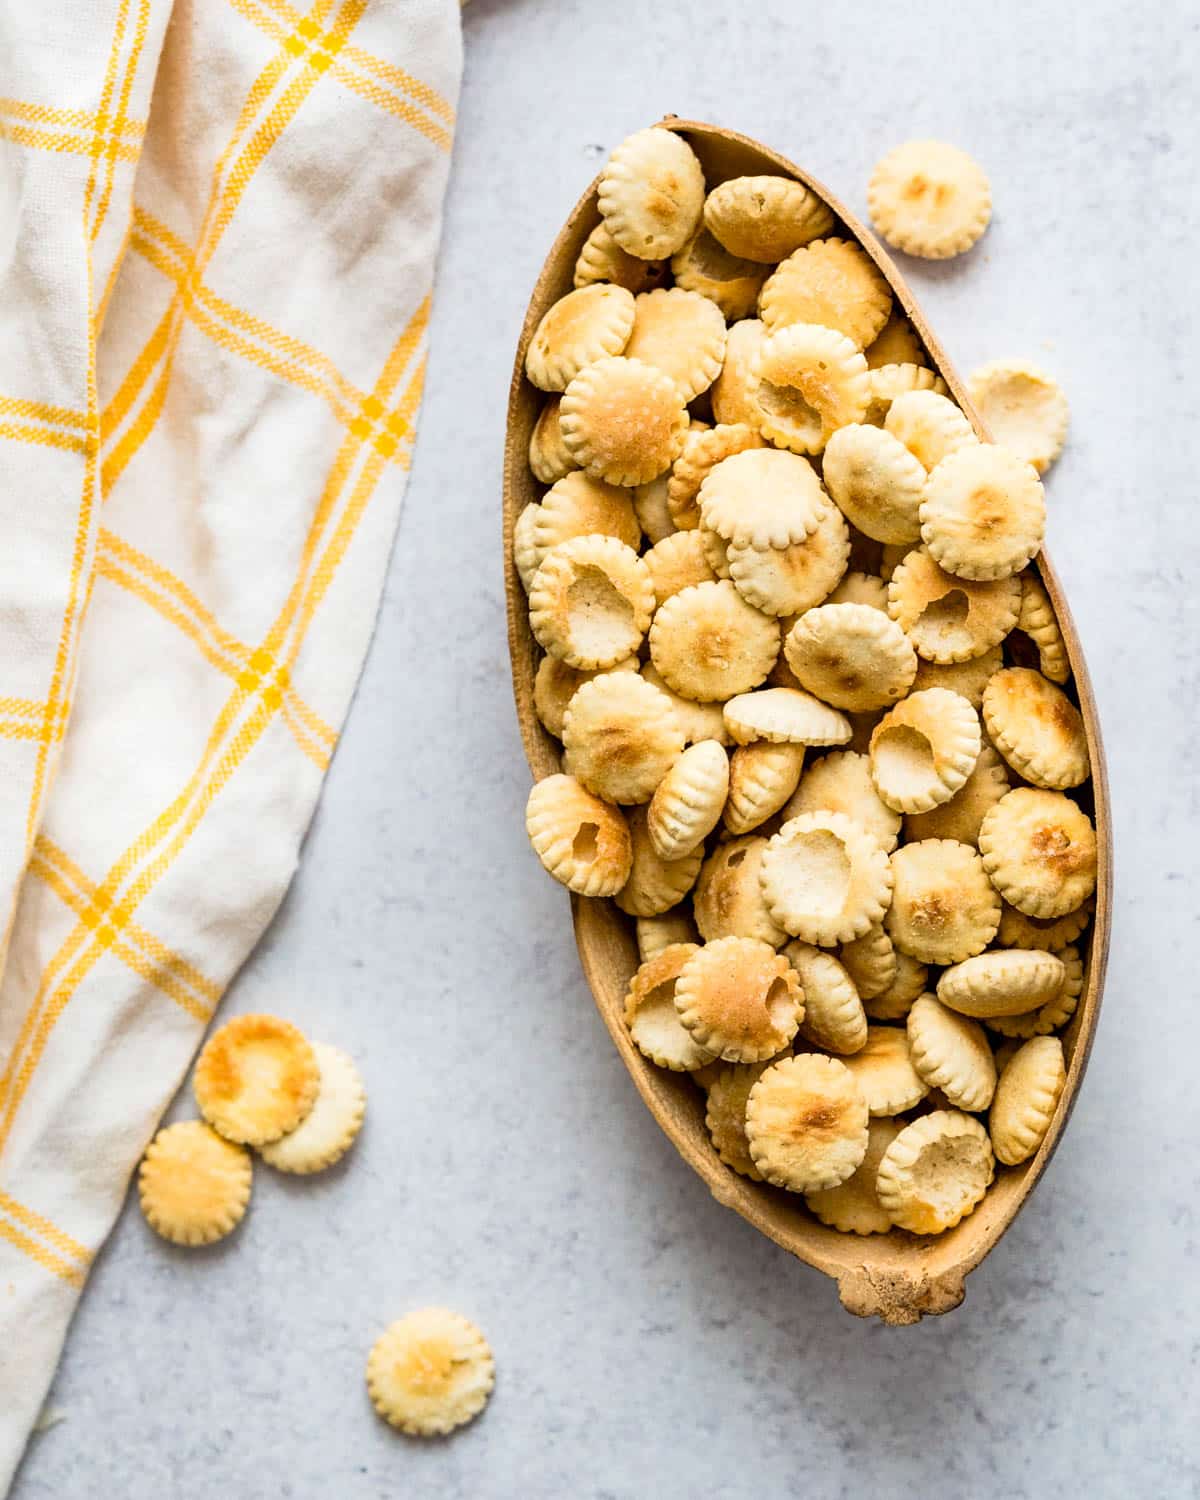
- Oyster Crackers – you can use any brand you like.
- Vegetable Oil (for frying)
- Seasoning Salt – You can use any flavor seasoning salt you like. I used a blend from Penzey’s spices.
- Everything Bagel Seasoning – a combination of onion, garlic, poppyseeds and sesame seeds.
- Crushed Red Pepper Flakes – for a spicy kick.
This process goes pretty quickly, so before you start frying the oyster crackers, make sure everything else is ready to go. Have your spice mix already blended and line a rimmed sheet pan with paper towels to soak up any excess oil.
Get my latest recipes, helpful kitchen tips and more good things each week in your inbox.
How to fry oyster crackers
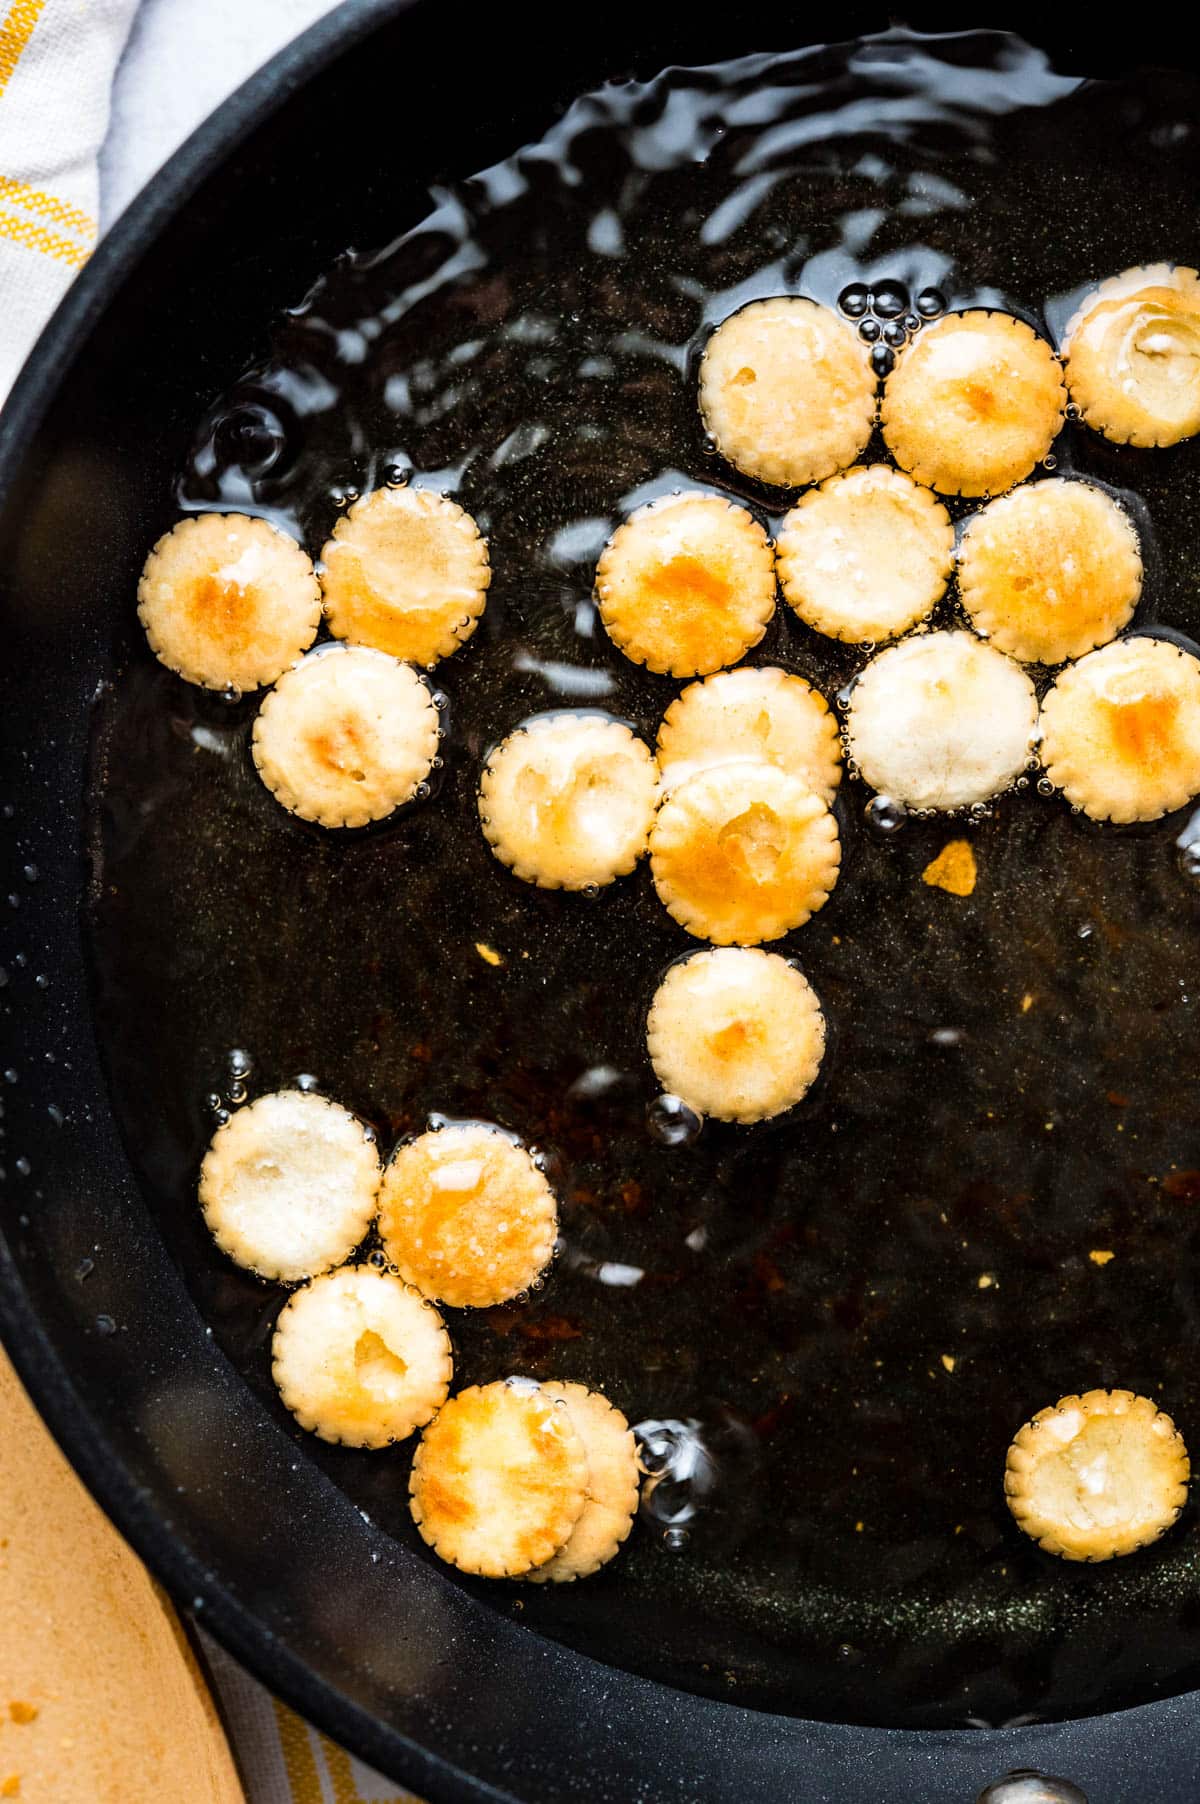
- Add about 1/2″ of oil (I recommend canola or vegetable oil) to a heavy skillet and heat over medium high heat.
- Carefully add the crackers a handful or two at a time and fry for about 10-15 seconds.
- Use a kitchen spider or slotted spoon to stir and flip the oyster crackers to fry both sides. Cook for another 10-15 seconds or until they’re a nice golden brown.
- Quickly transfer the fried crackers to the pan and sprinkle on the seasoning. Give the pan a shake to coat the crackers.
- Continue frying crackers and seasoning in this method.

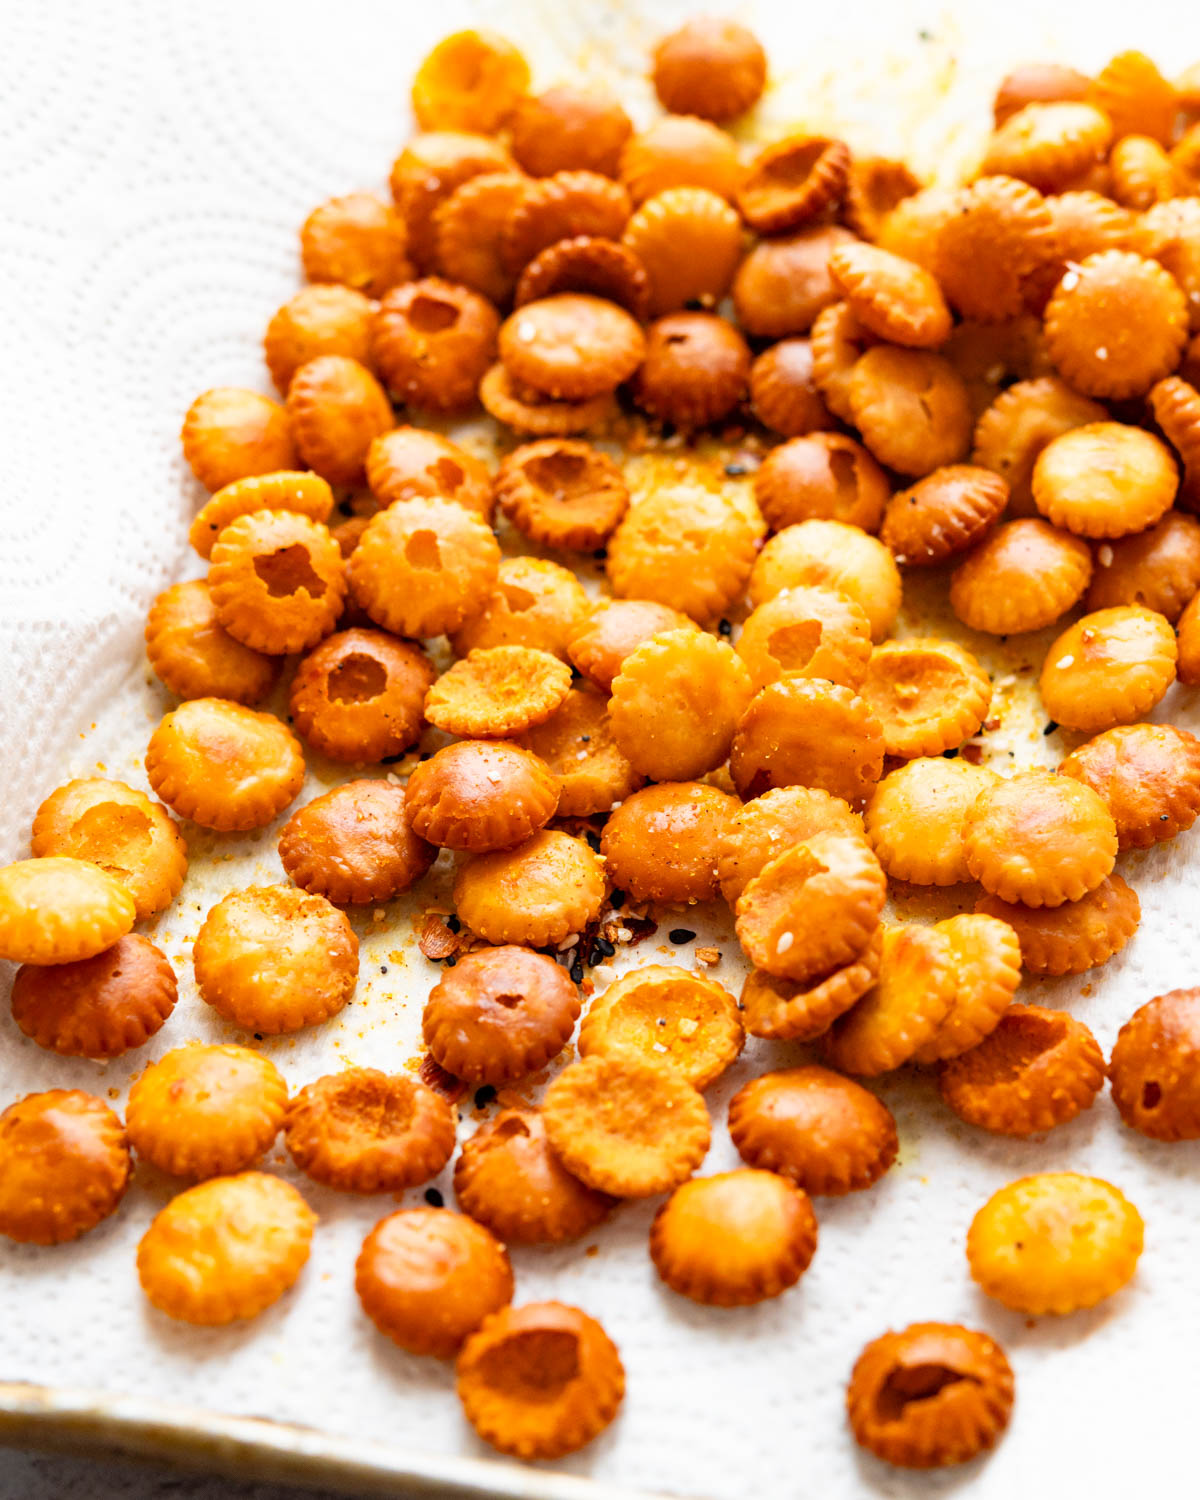
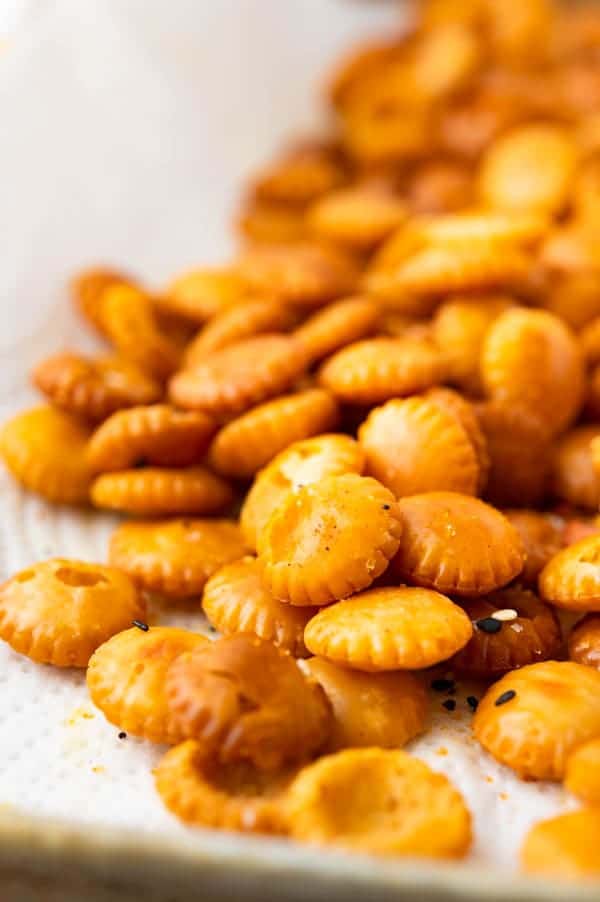
Just look at those golden brown bites. Seriously crunchy and totally addictive. You won’t get that from baked snack crackers.
About seasoning for fried oyster crackers
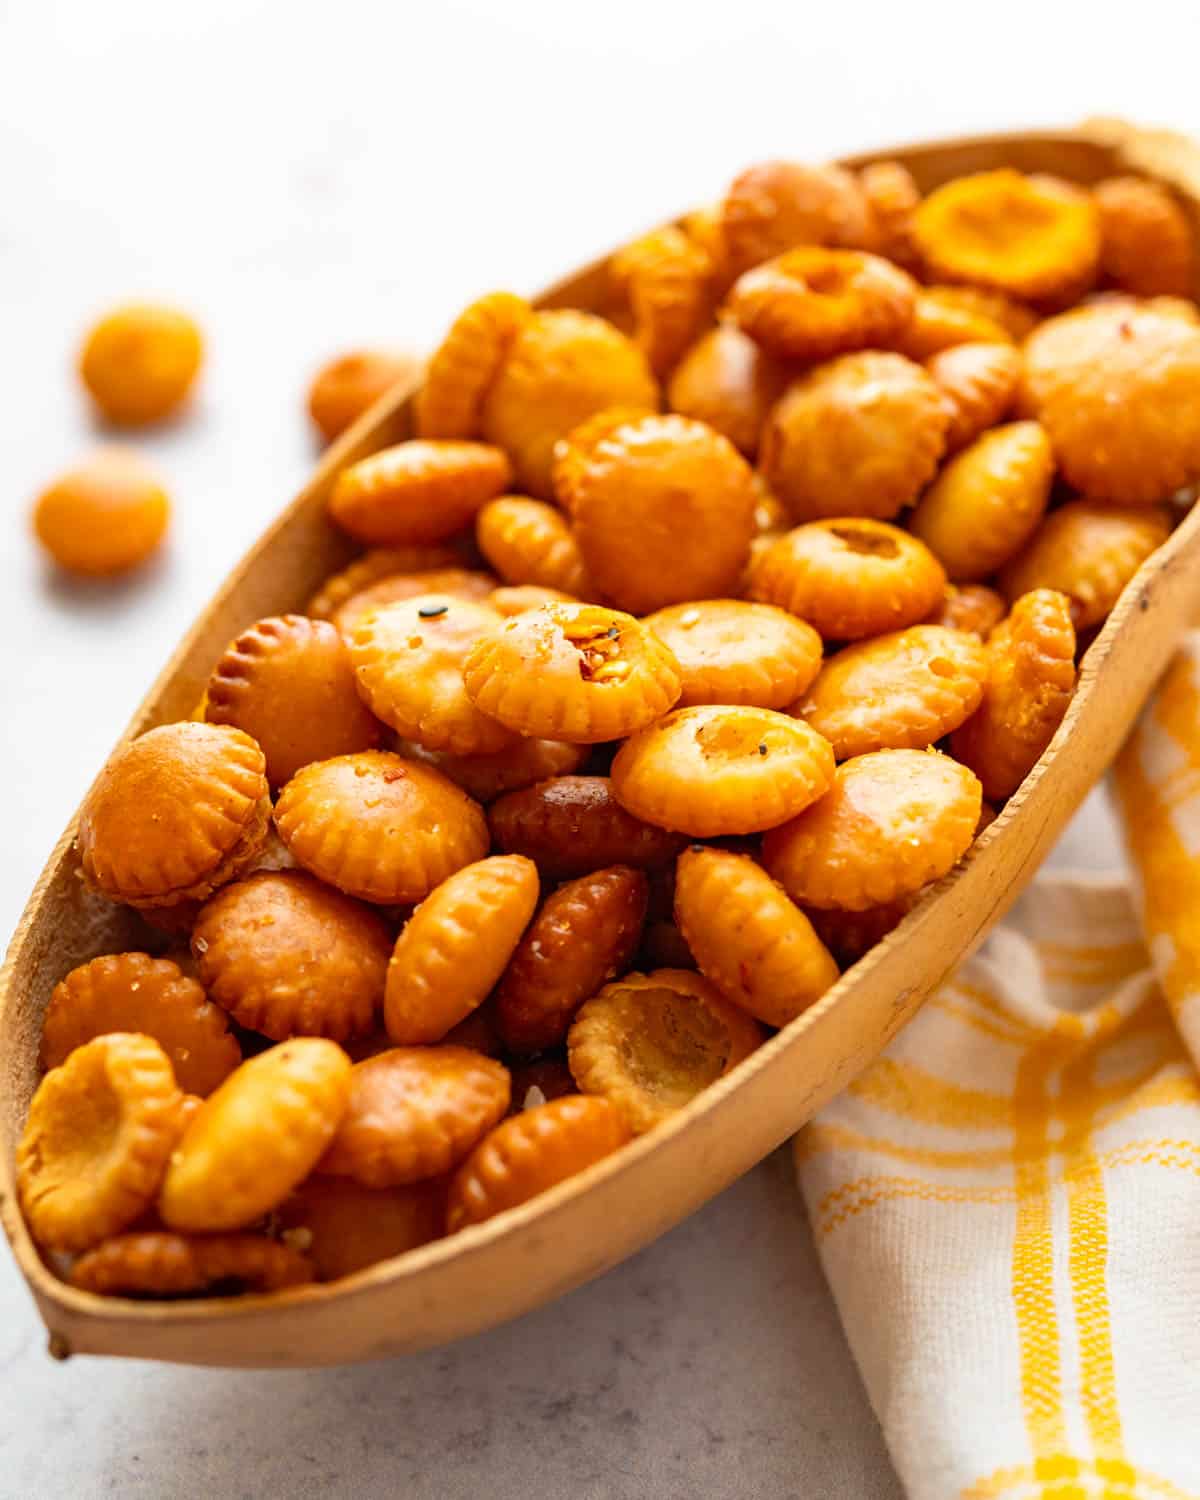
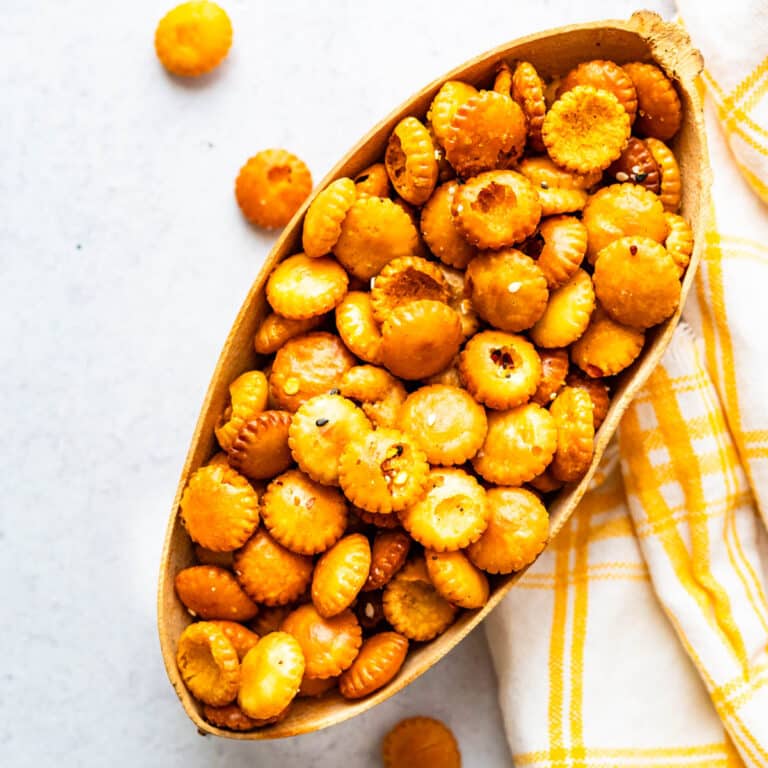
I used a ready made seasoning salt with red pepper flakes (for spice) and Everything Bagel Seasoning… because I seriously love it. The spice blend doesn’t STICK to the crackers per se. Instead the seasoning settles into the divots and cracks of the oyster crackers.
Can I use other seasonings?
Yes. For every 2 cups of fried oyster crackers, season them with about 1 1/2 to 2 teaspoons of your favorite spice blends. Be sure to toss it in well.
Spice blend options for seasoned crackers:
You can use your own homemade spice blend or store-bought dry spice blends to season your oyster crackers.
- Ranch dressing packet (Hidden Valley Ranch)
- Chipotle seasoning & dry rub
- Italian seasoning
- Cajun seasoning
- BBQ seasoning
- Curry seasoning
- Old Bay seasoning
- Dill seasoning
- Garlic seasoning
- Cinnamon Sugar
- Pumpkin Spice
How long will seasoned oyster crackers last?
These crackers will stay crisp in an airtight container for up to a week.
How to make fried oyster crackers last longer
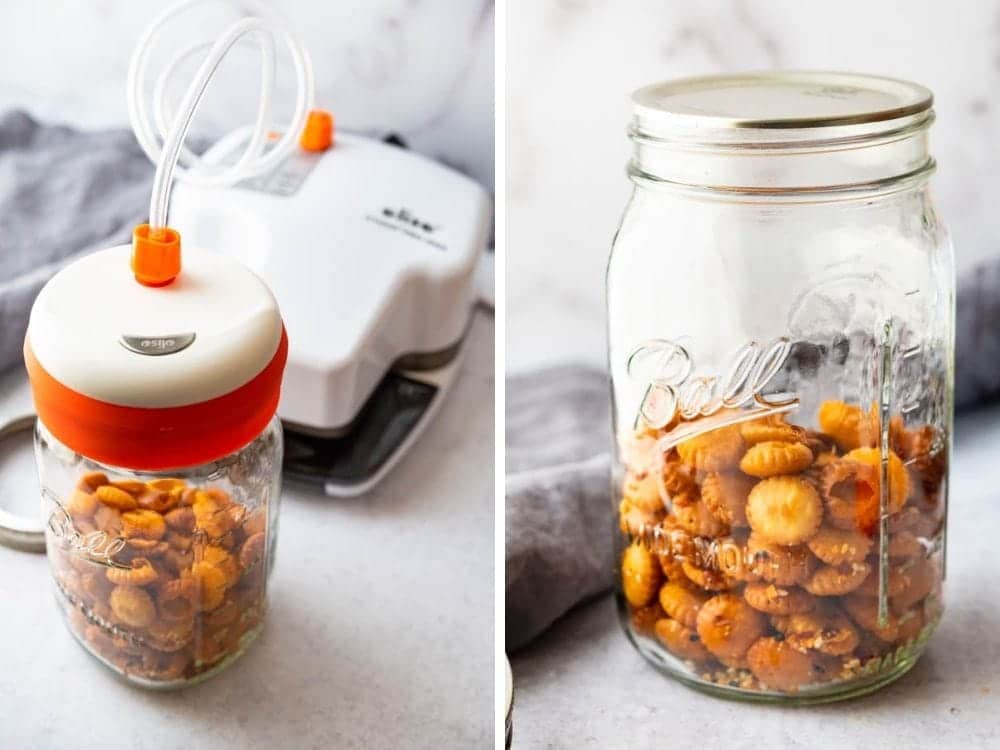
Vacuum sealed, these fried crackers will last for several weeks. (I have the Oliso vacuum sealer and what I like about it is that I can store a big batch of these crispy seasoned crackers in a canning jar.
When I need some, I just grab a handful, then vacuum seal the jar again. They don’t get stale. It’s so handy.
Uses for seasoned oyster crackers:
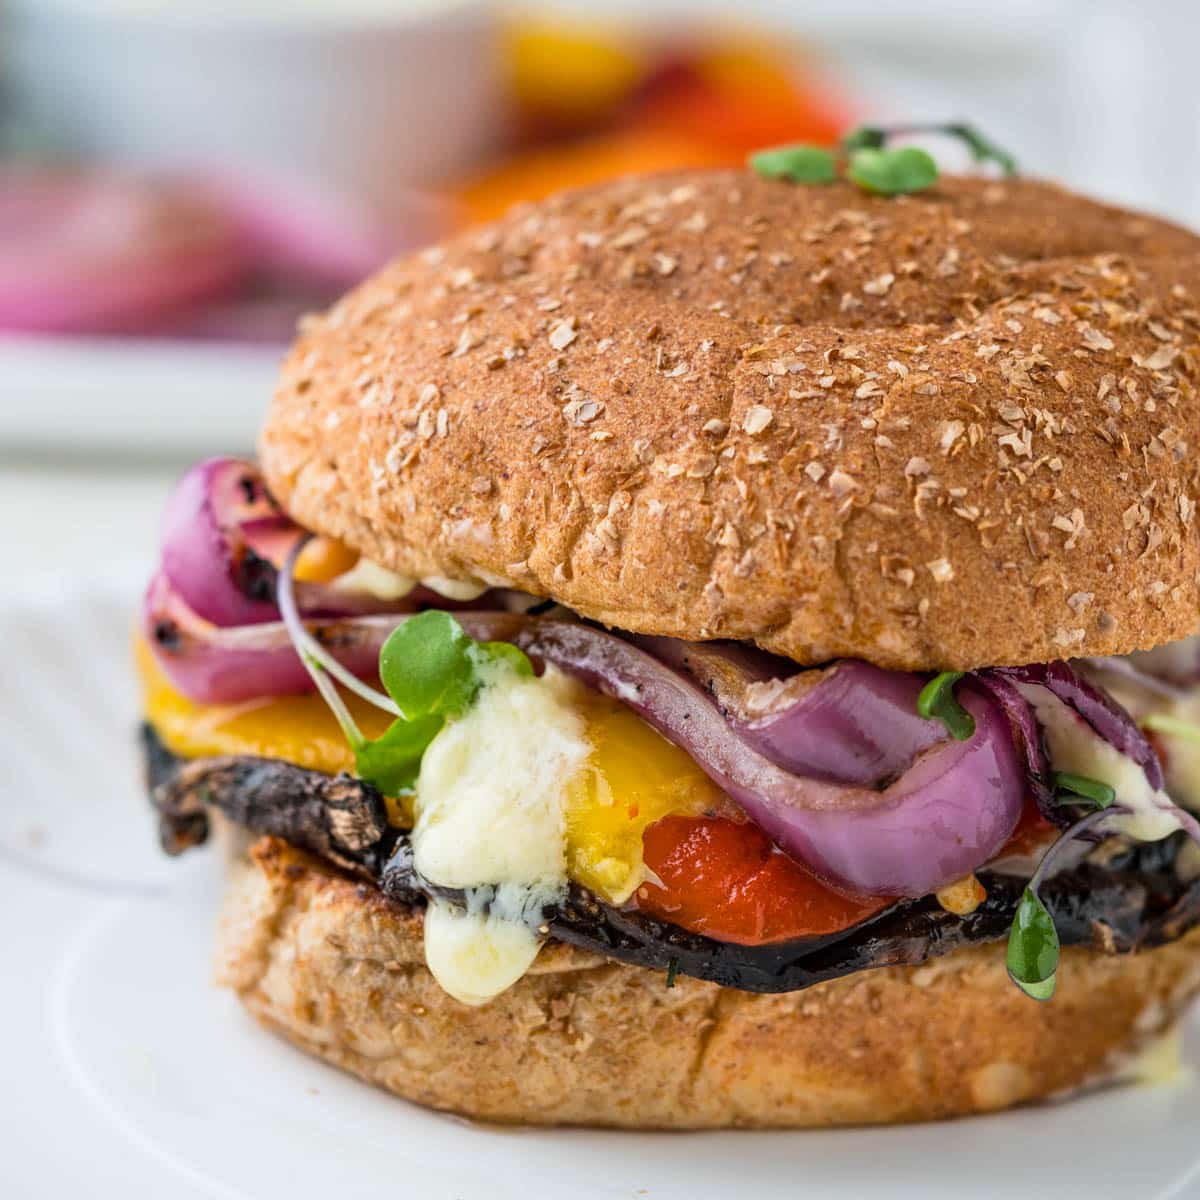
Top soups and chowders with fried oyster crackers:
Use seasoned oyster crackers as a garnish:
- With Simple Green Leaf Salad with Shallot Vinaigrette
- Over Smoked Salmon Omelette
- In place of croutons for Summer Heirloom Tomato Salad
- On Chopped Kale Salad
Snack on seasoned oyster crackers:
- Snack on its own
- Mixed with Trail Mix
- Tossed with other crackers (like Cheez Its or Goldfish) and pretzels and roasted nuts.

Tried this recipe? Leave a rating and review.
Your comments and shares are invaluable to me and the thousands of readers who use this site daily. If you've made the recipe, leave a star rating and review. We want to hear how you liked it.
We'd love it if you shared the recipe with your friends on social media!
Seasoned Fried Oyster Crackers
SPECIAL EQUIPMENT:
- shallow skillet
- spider or slotted spoon
INGREDIENTS:
- oyster crackers
- canola or vegetable oil for frying
- ½ teaspoon seasoning salt (or MSG)
- 1 teaspoon Everything Bagel Seasoning
- pinch crushed red pepper flakes
DIRECTIONS:
- Line a small sheet pan with paper towels and set aside.
- Add the oil to the skillet and heat to about 325-350°. When the oil is hot, add one oyster cracker and if it starts to bubble immediately, the oil is hot enough. This is a tester. Cook for 1 to 2 minutes, flipping occasionally until crispy and golden. Use this tester to judge how done you want your fried oyster crackers to be and let it be your guide for the rest of the batch. Remove the tester from the pan before you start frying the first batch.
- Add 1 cup of oyster crackers gently to the hot oil and fry, stirring and flipping occasionally for 1-2 minutes or until they’re light golden brown and crisp.
- Use the spider or slotted spoon to transfer the fried crackers to the paper towel lined pan and immediately sprinkle with half of the seasonings. Toss quickly to coat.
- Add the remaining cup of oyster crackers to the hot oil and fry in the same manner. When they’re golden and crisp, scoop with the spider or slotted spoon, letting all of the oil drain away before transferring to the sheet pan. Season with the remaining seasoned salt, Bagel seasoning and crushed red pepper. Toss well to coat.
- Fried oyster crackers will keep for about 3-5 days in an airtight container or 3-4 weeks in a vacuum sealed container.
NUTRITION:
Pin “Fried Seasoned Oyster Crackers” For Later!
These are my husbands favorite crackers! His birthday is in a couple of weeks. I think I’ll surprise him!
So much better than any store bought cracker. These are a great snack, and I come from a family of snackers. Thank you
I could snack on these oyster crackers all day! I can’t wait to make them with out next batch of chili!
Looks delicious! Can’t wait to try this one. I think my family will be all over it.
This look so delicious and yummy! My daughter is going to love this recipe! I can’t wait to show her this!